Add QnA on Timeline
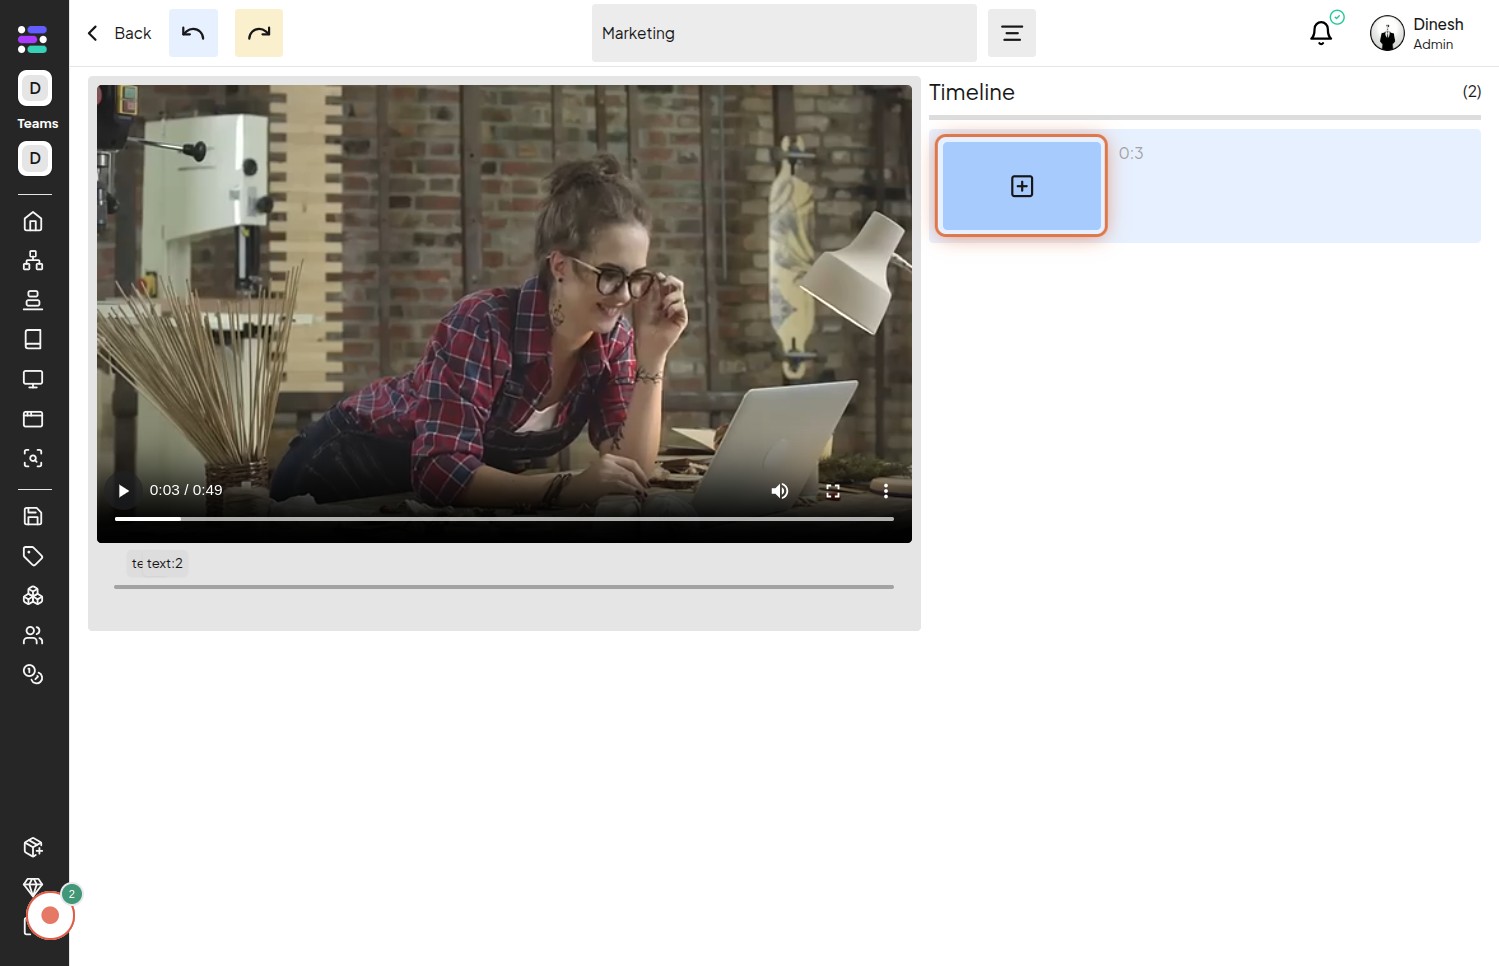
Step 1: Click on the "Step" button to begin adding a new step to your timeline.
This action will typically open a dialog or interface where you can define the details of the new step.
Step 2: Confirm the action by clicking on the "Step" button again in the confirmation dialog.
This second click usually confirms that you intend to add a step at the currently selected point in the timeline.
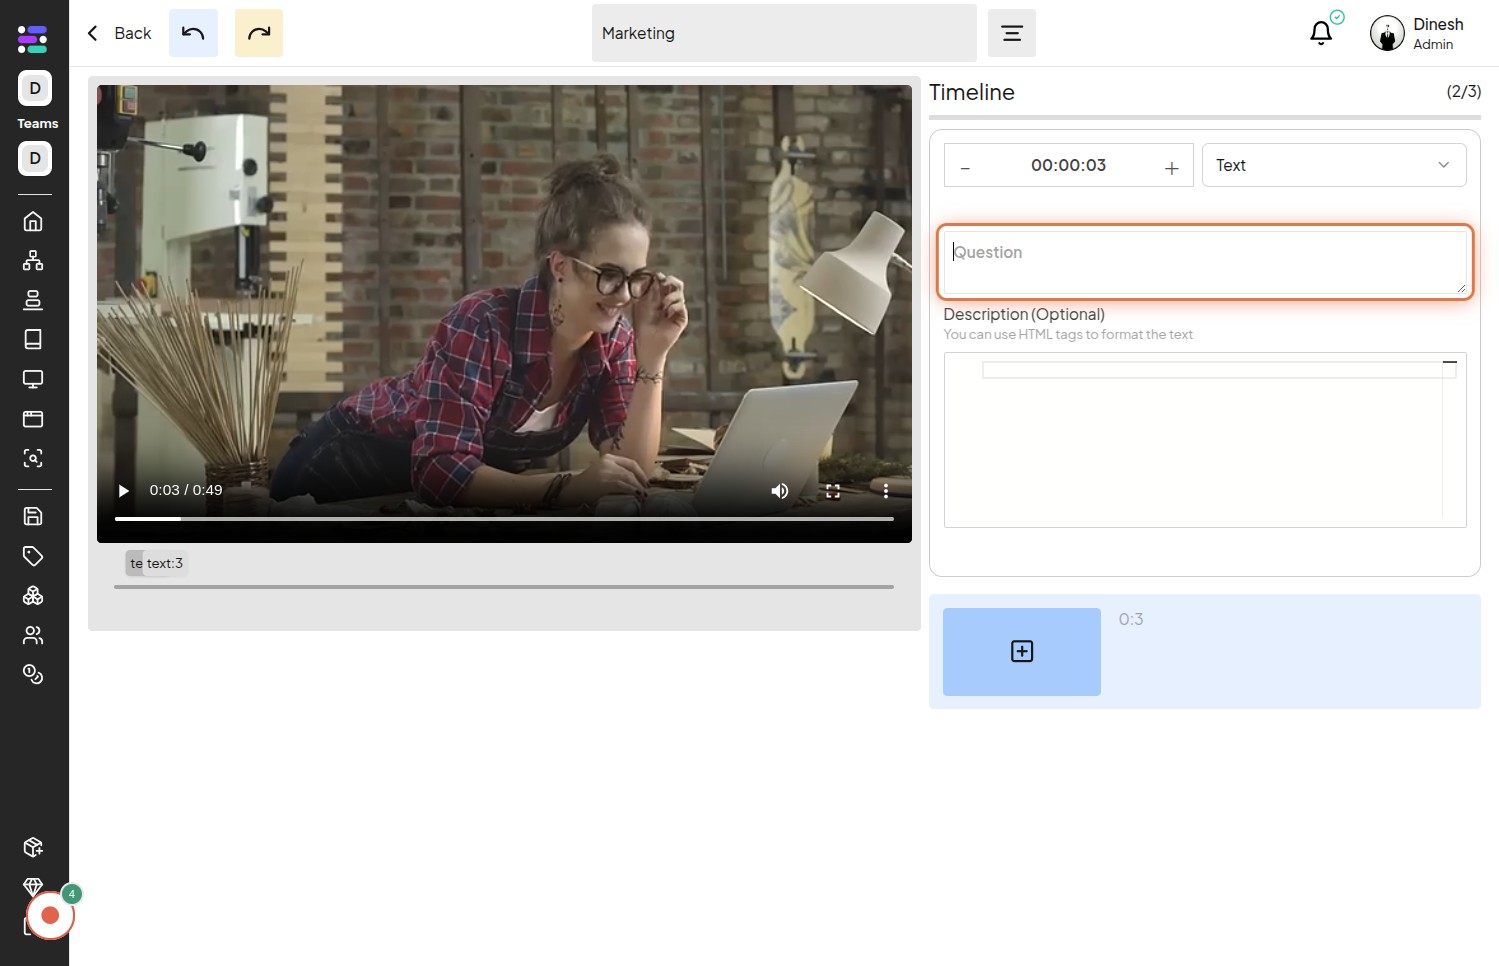
Step 3: Click on the "Text" field to start adding the question for your QnA.
This will activate the text input area where you can type in the question you want to ask on the timeline.
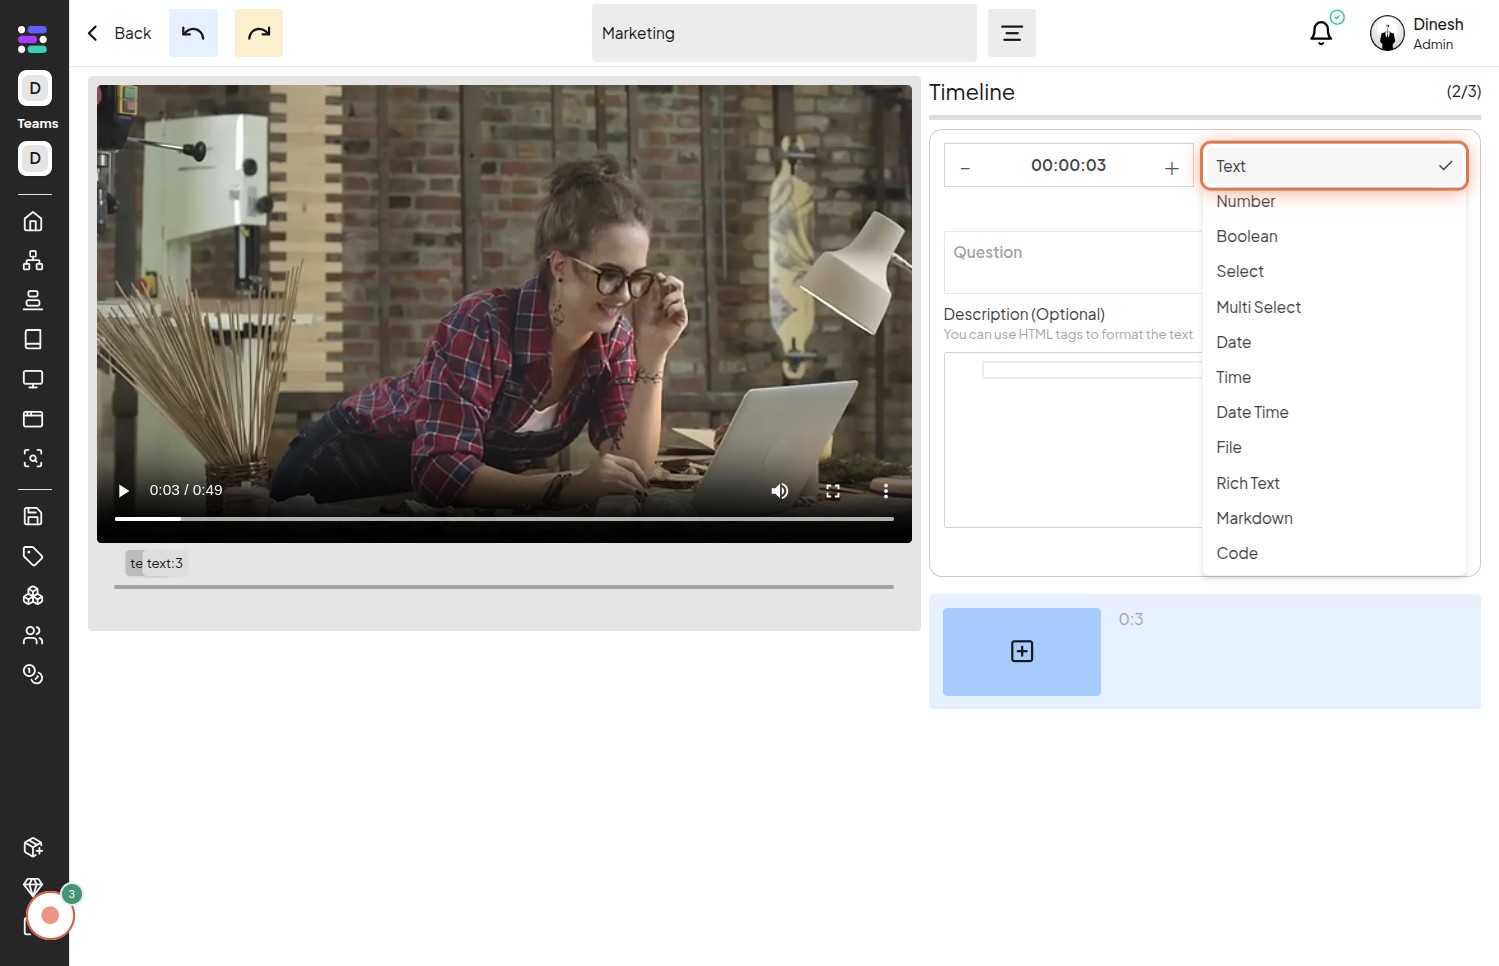
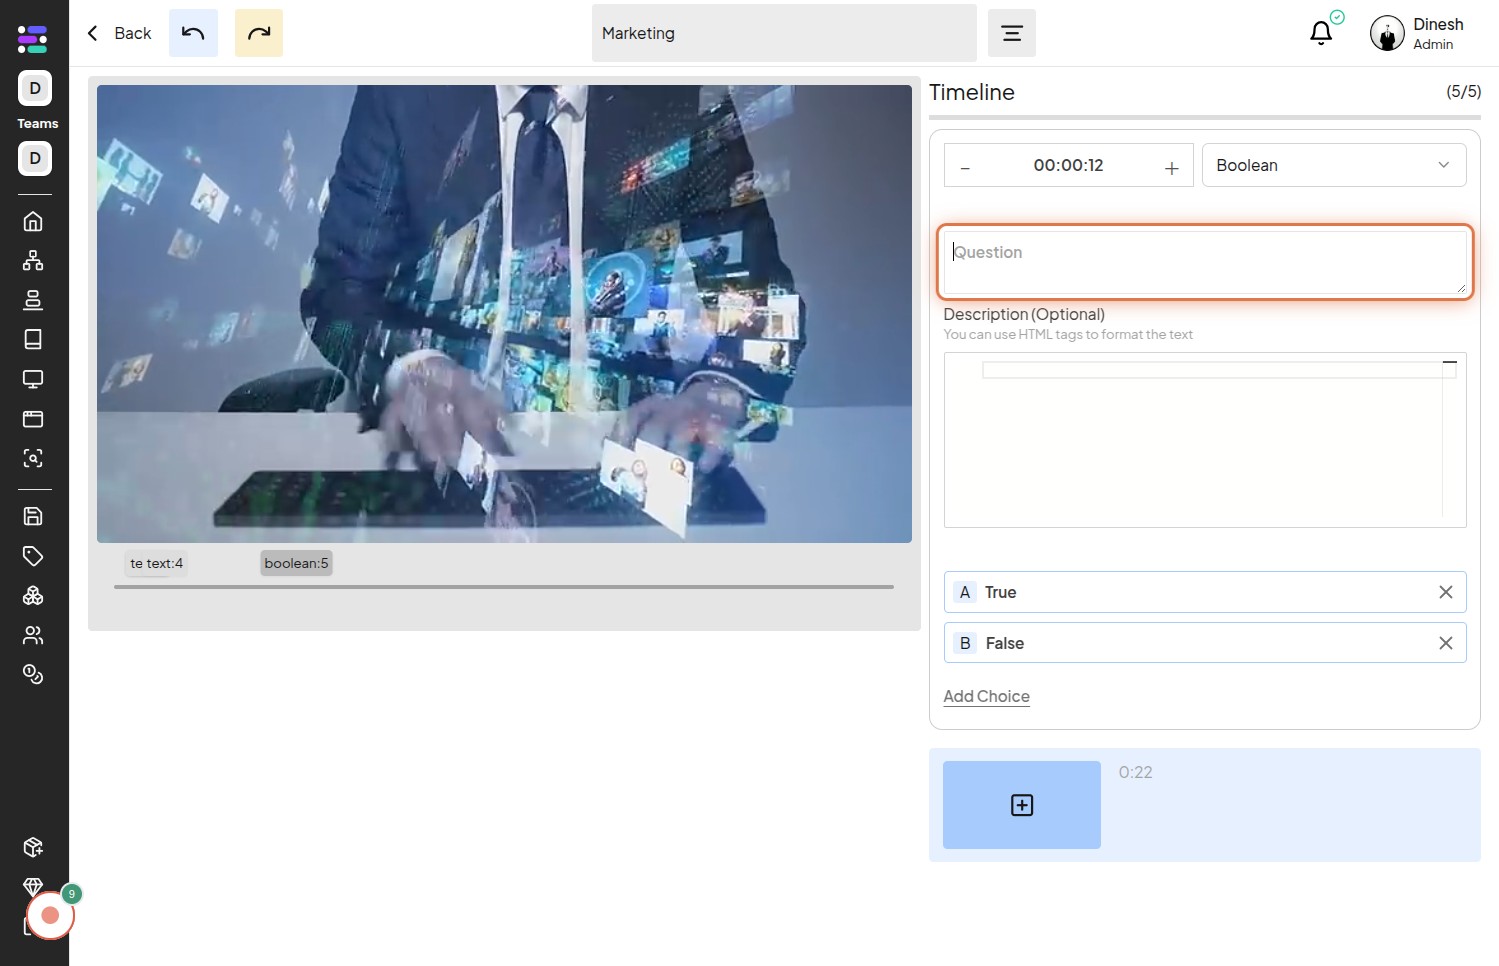
Step 4: Click on the "Question" label to focus on the question input field.
Sometimes, clicking the label associated with an input field ensures that the correct field is selected for editing.
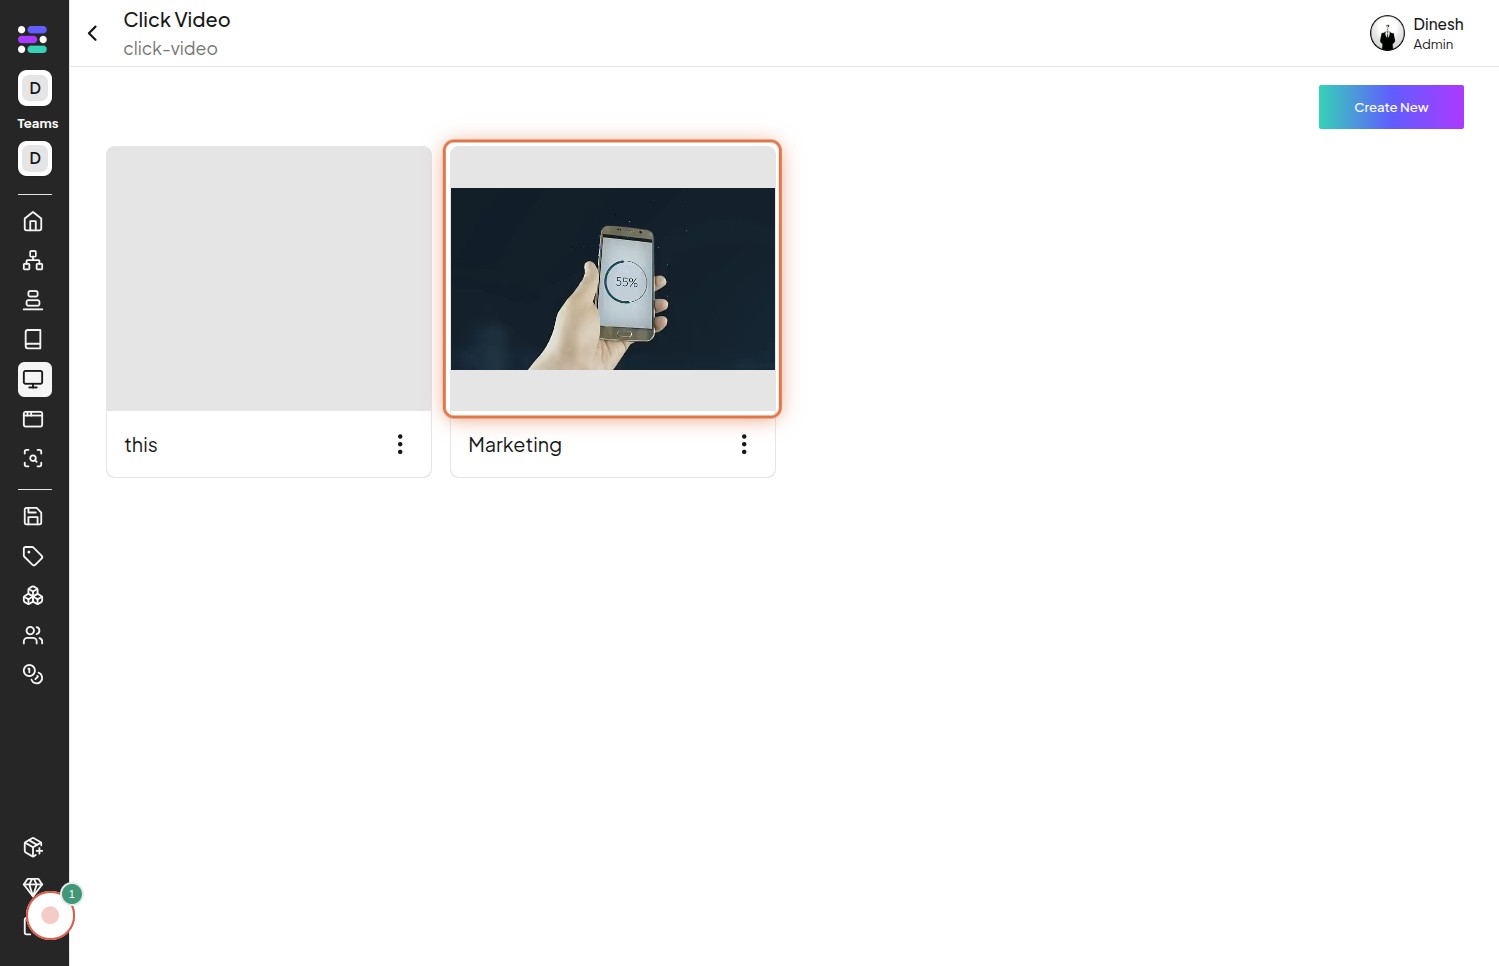
Step 5: Click on the "presentation" option to select the type of content for this step.
This indicates that you might be adding a presentation or a slide related to the question on the timeline.
Step 6: Click on the "Step" selection to choose a specific step within the presentation.
If your presentation has multiple steps or slides, this allows you to pinpoint the exact step you want to associate with the question.
Step 7: Click on the specific "Step" within the dropdown or list to link it to the QnA.
This final selection confirms which step in your presentation will be connected to the question you are adding to the timeline.
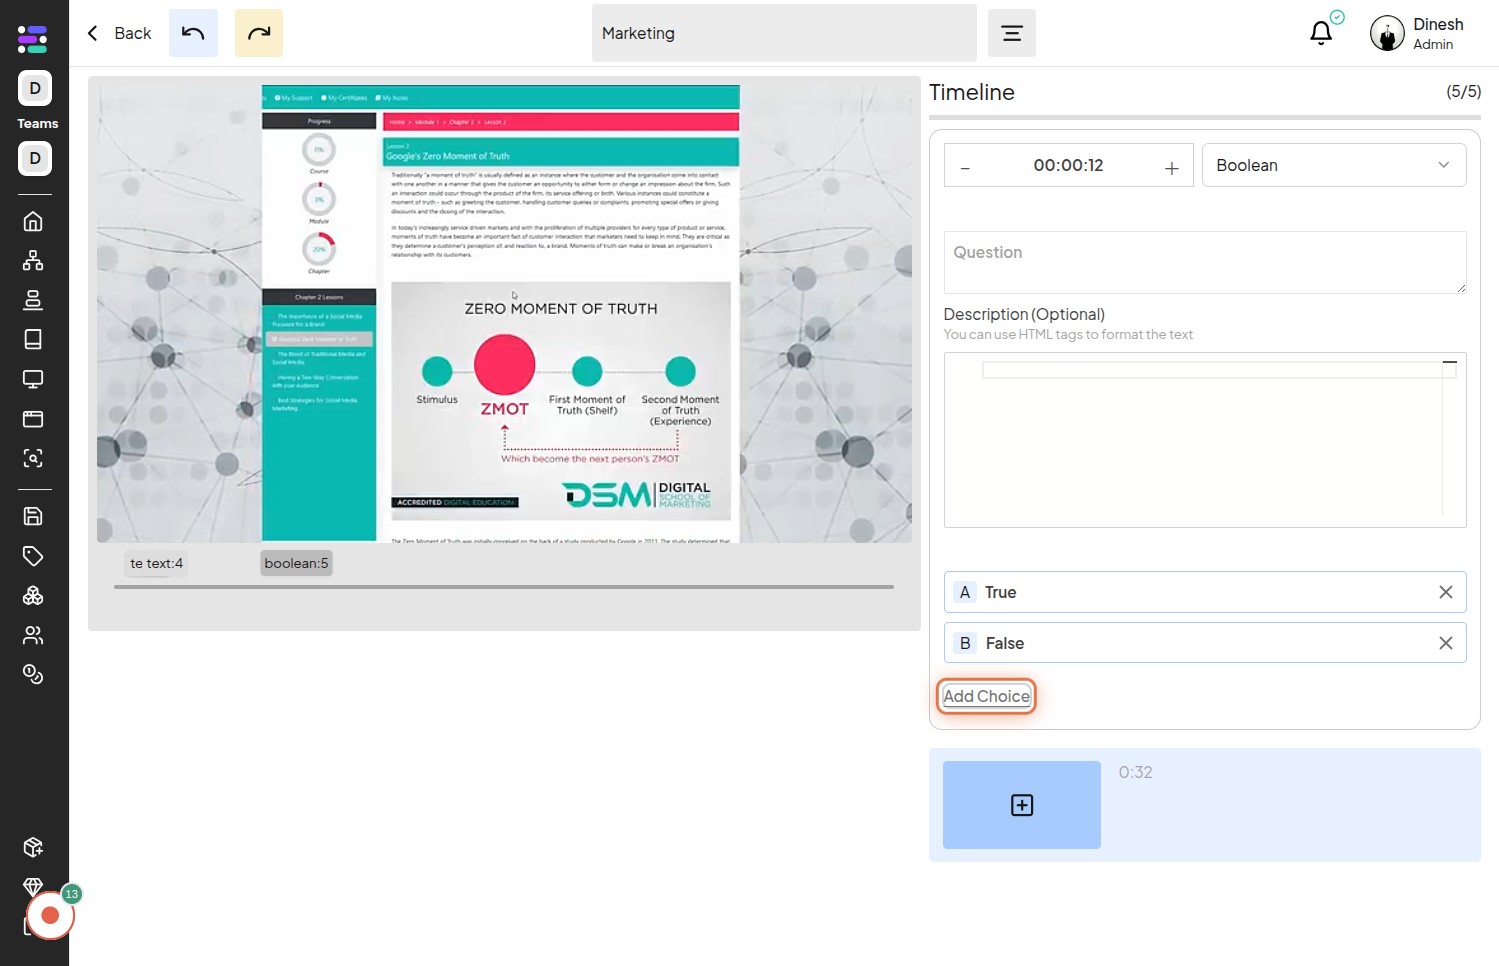
Step 8: Click on the "Boolean" option, likely representing a true/false or yes/no answer type.
This selection indicates the format of the answer you expect for the question you are adding.

Step 9: Click on the "Question" field again, possibly to add the actual question text if it wasn't done in step 3.
This might be a separate field or a confirmation of the question you intend to ask.
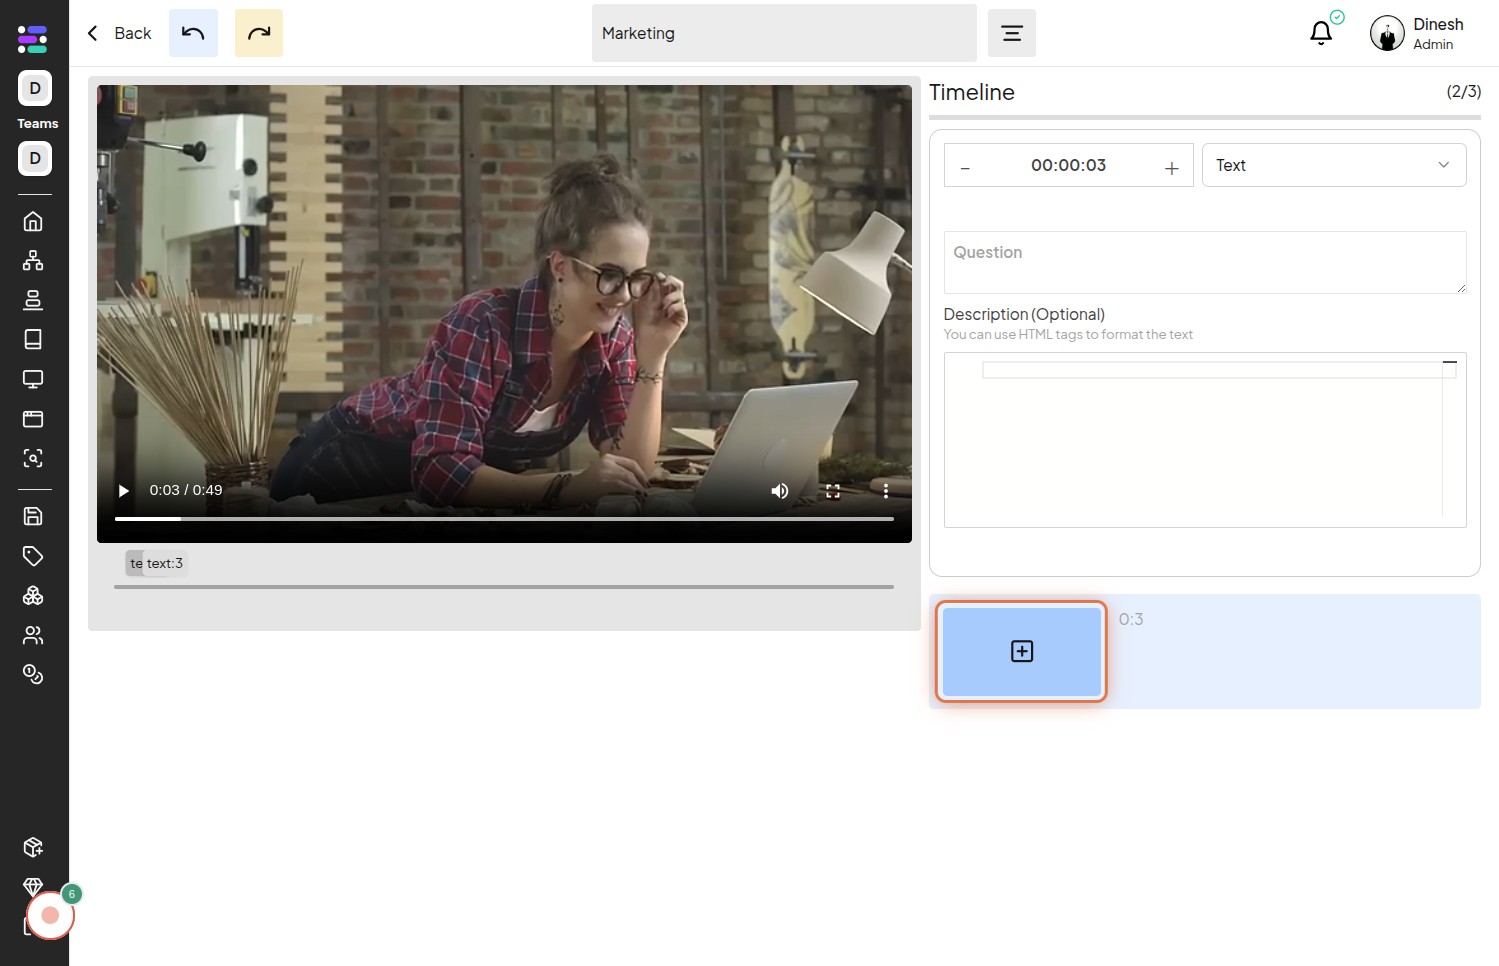
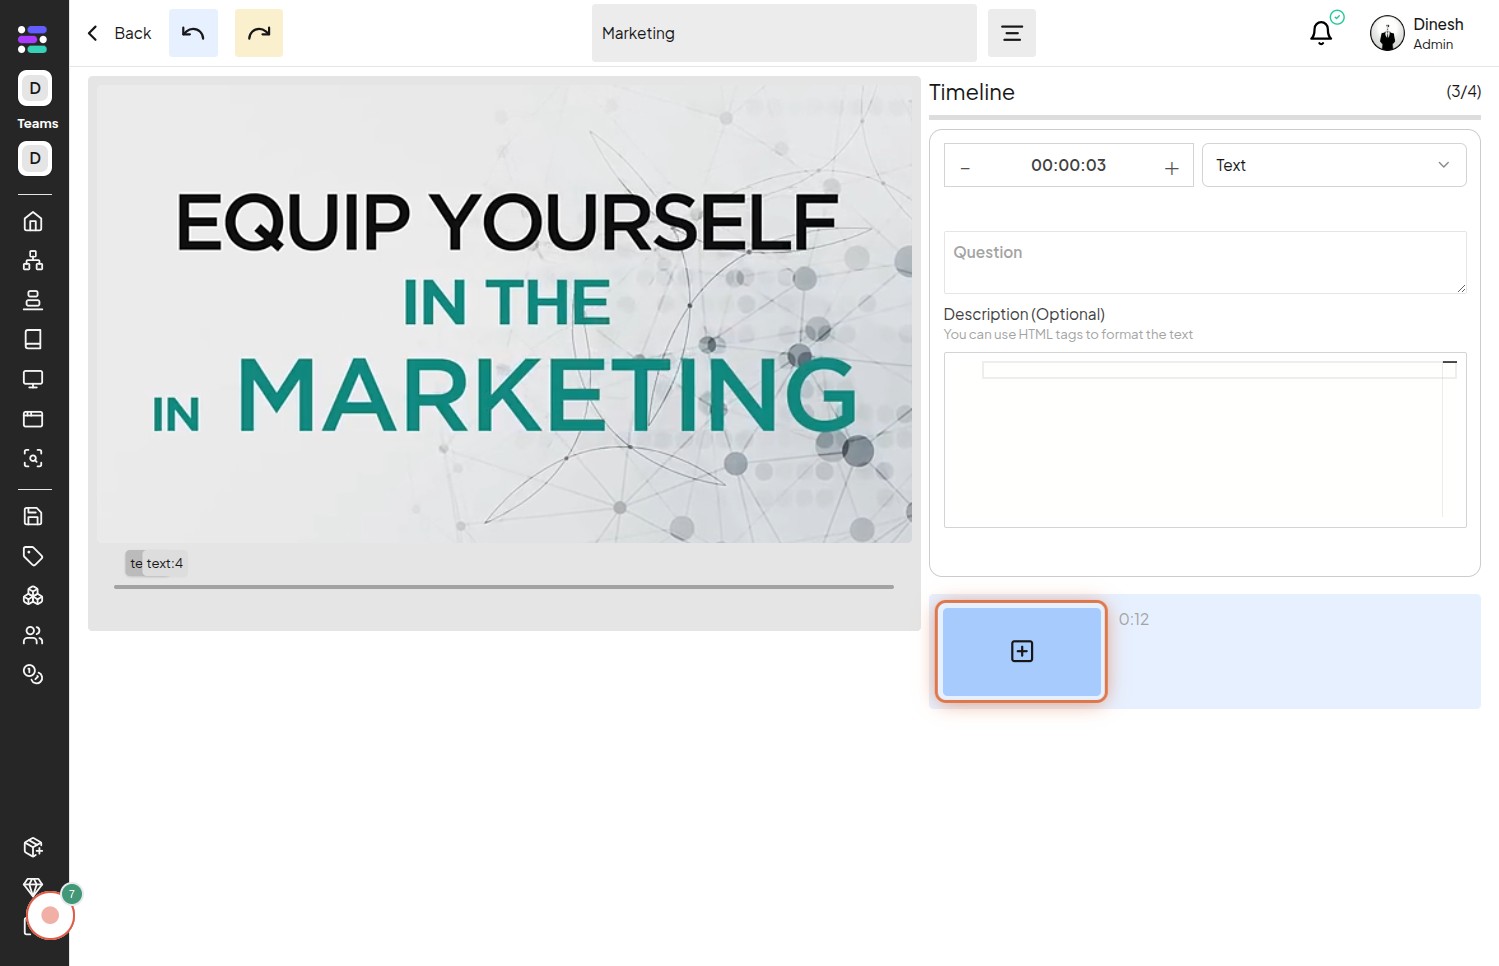
Step 10: Click on the "Step" button to proceed to the next stage of adding the QnA.
This click might save the current settings or move you to the answer configuration part of the process.
Step 11: Click on the "Choice" option, indicating that you will provide specific choices as answers to the question.
This is relevant if the question is multiple-choice rather than a simple boolean or text answer.
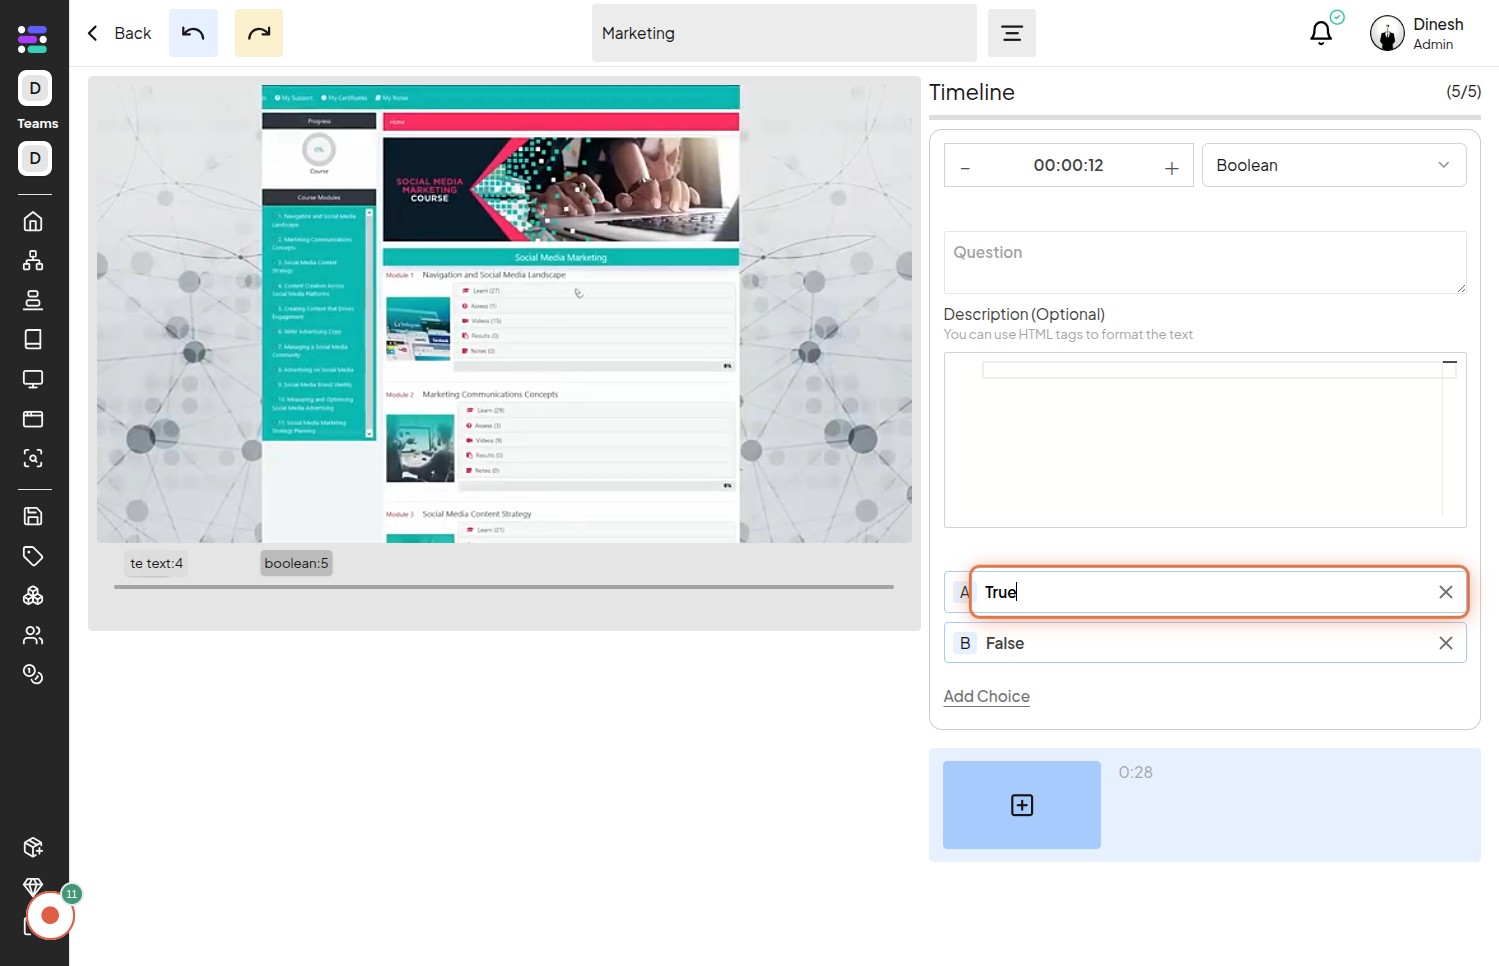
Step 12: Click on the first "Choice" field to enter the text for the first answer option.
This allows you to define one of the possible answers that users can select for the question.
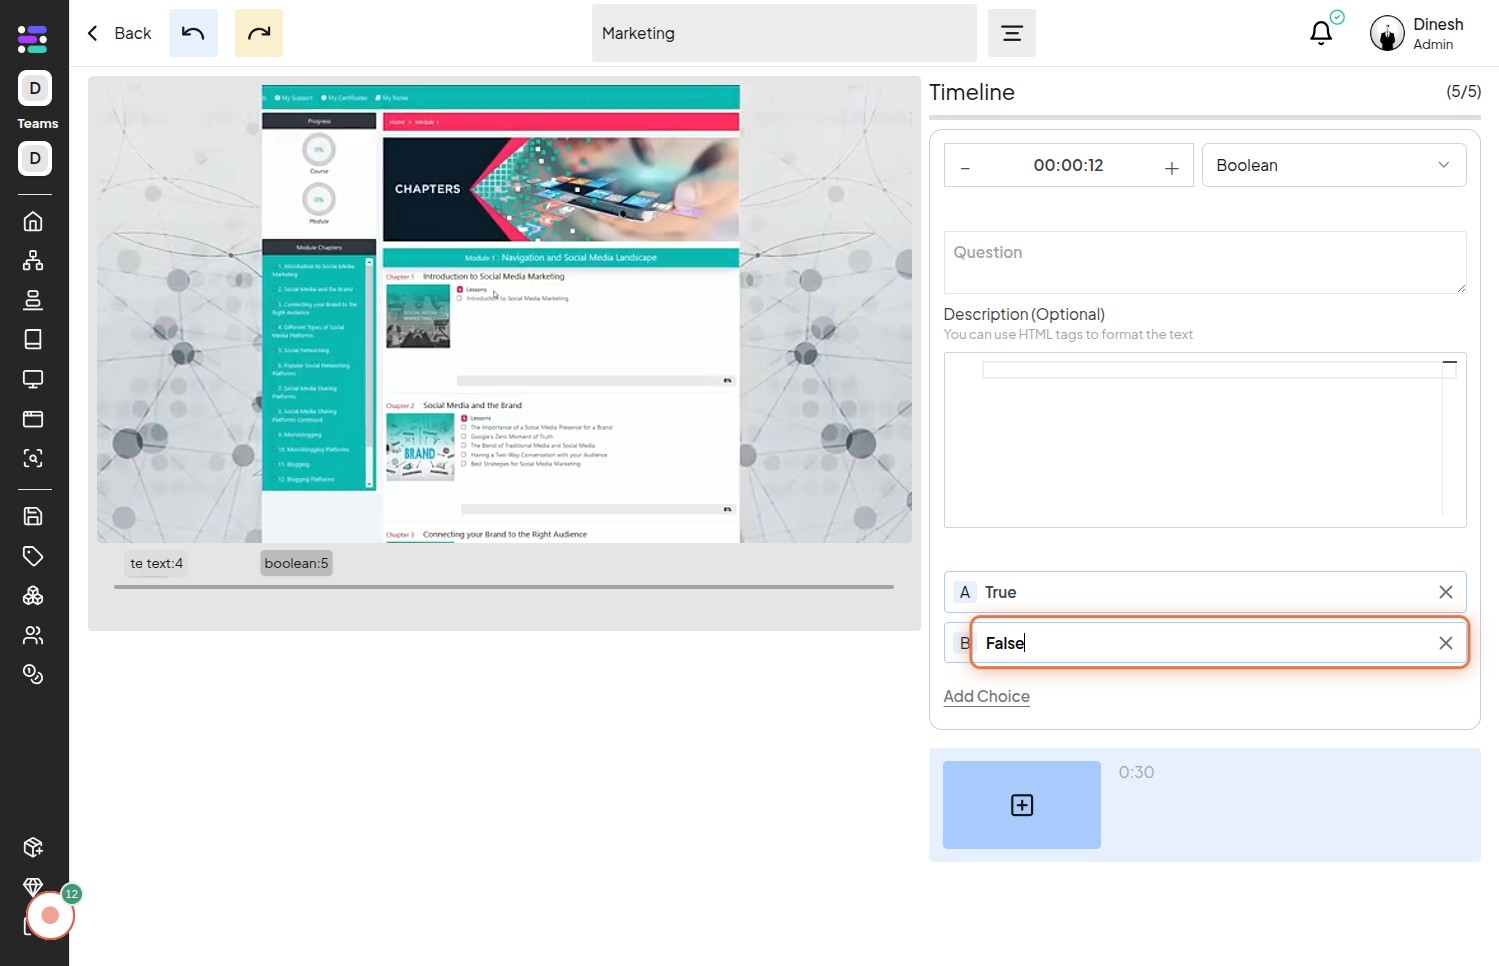
Step 13: Click on the "Add Choice" button to include more answer options if your question requires them.
This button typically allows you to dynamically add additional fields for entering more choices for your multiple-choice question.