Billing
Go to Everyday

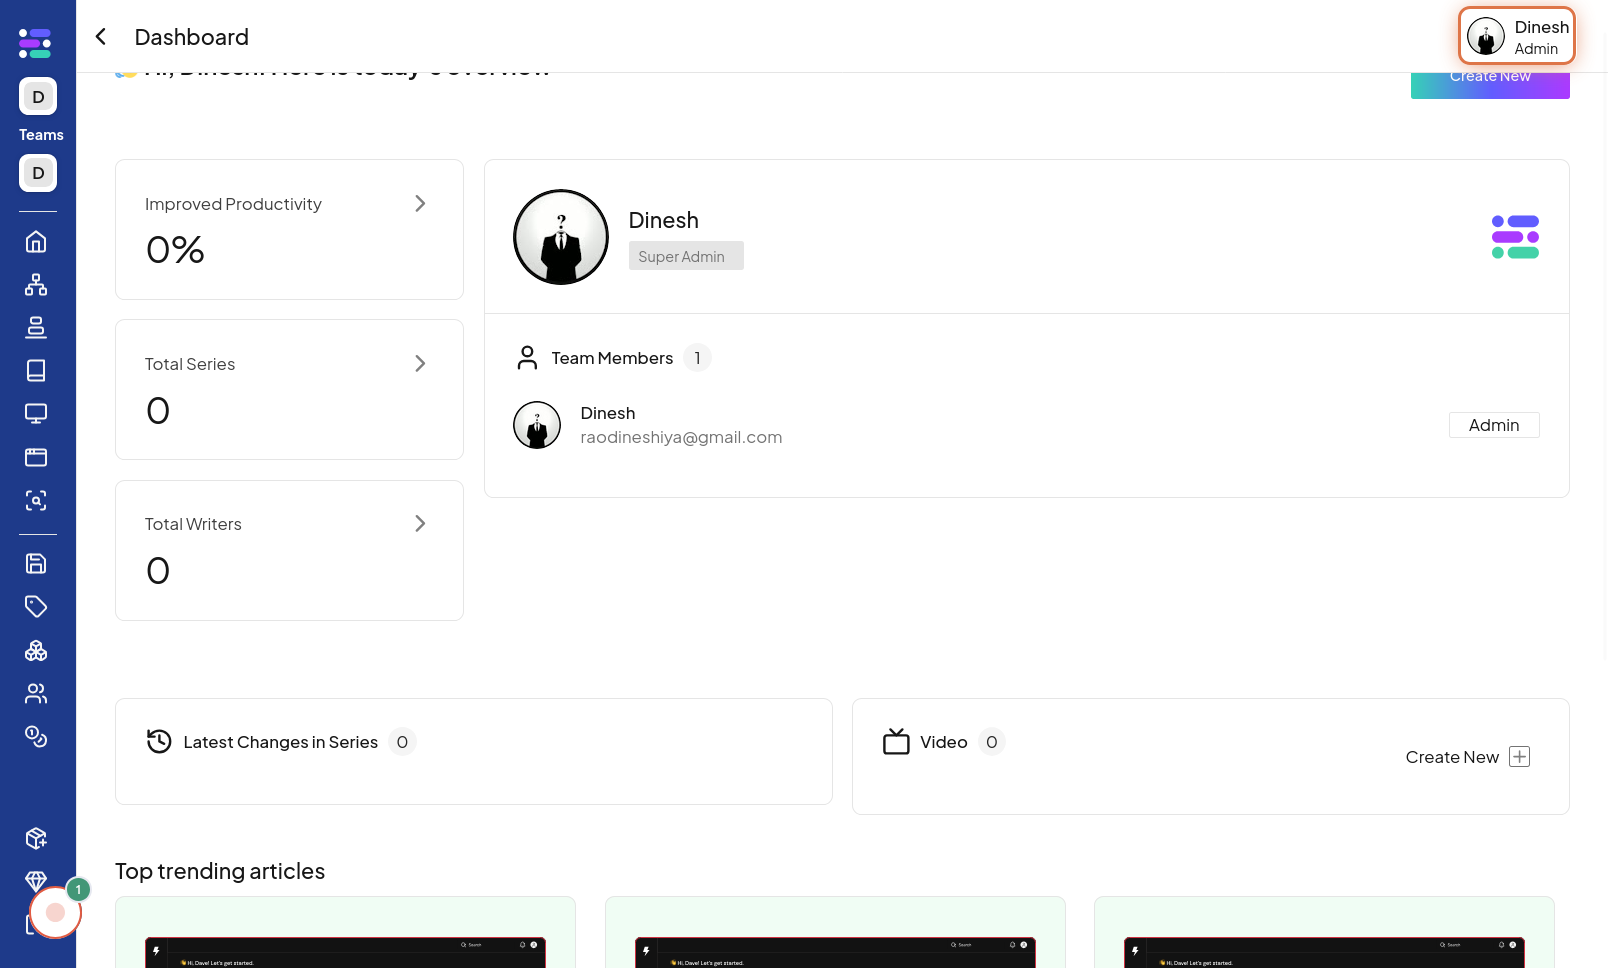
Click on Profile
To begin managing your billing settings, the first step is to navigate to the "Profile" section of the website. The image for this step will guide you to locate and click on the "Profile" navigation link or button. Once you are in the "Profile" section, you need to access your user profile. Click on the "Profile" option, usually found in the website's header or navigation menu. The image associated with this step will highlight the "Profile" button that you need to click to proceed to your profile options.
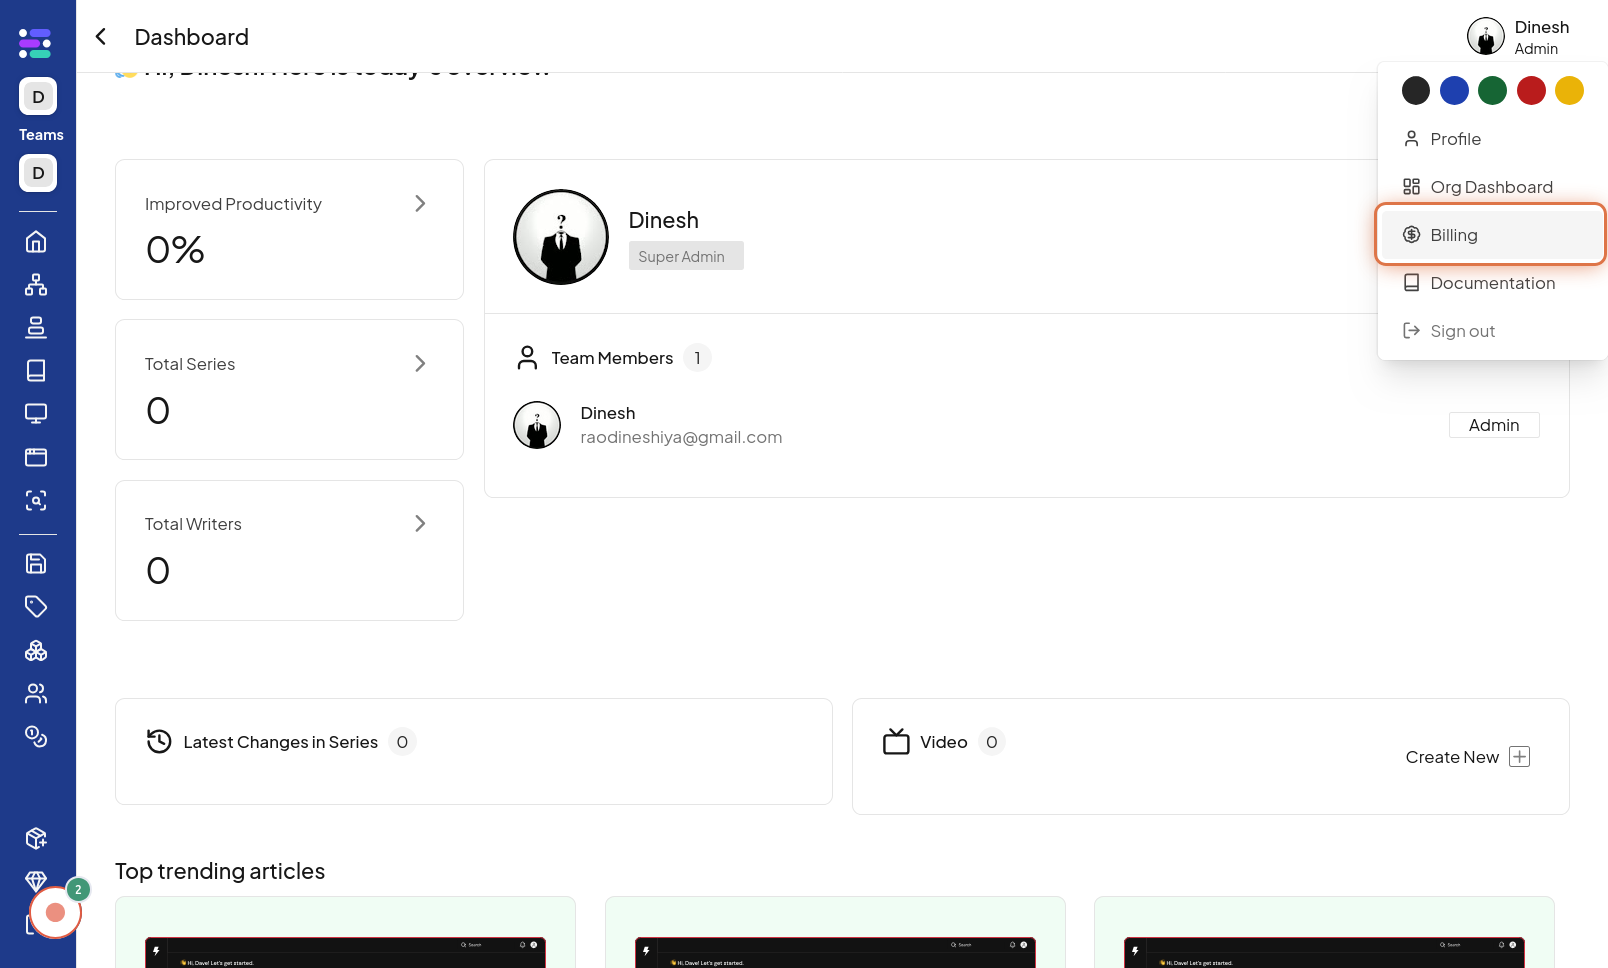
Click on Billing
After accessing your profile options, you should navigate to the billing settings. Click on the "Billing" option, which will take you to the area where you can manage your subscription and payment details. The image for this step will point out the "Billing" button or link that you need to click.
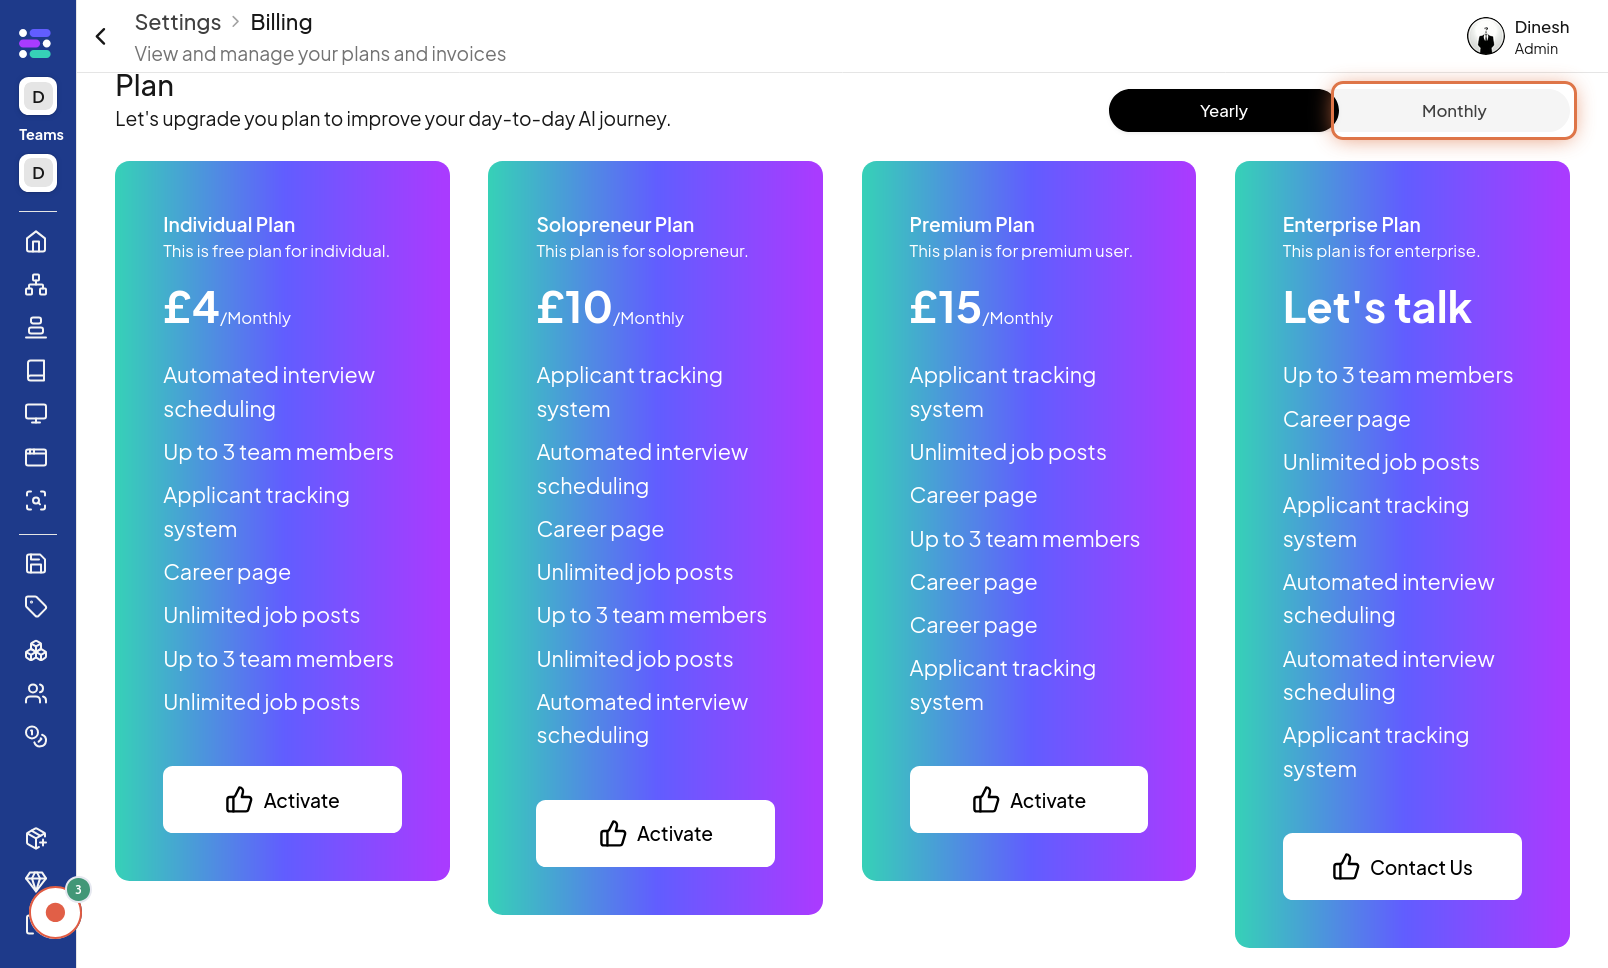
Click on Monthly
To choose a monthly billing cycle, locate and click on the "Monthly" option. This selection indicates that you prefer to be billed on a monthly basis. The image for this step will highlight the "Monthly" option, showing where to click to select the monthly billing plan.
Click on Yearly
If you prefer an annual billing cycle, click on the "Yearly" option. This choice signifies that you want to subscribe and pay for the service on a yearly basis. The image for this step will highlight the "Yearly" option, showing where to click to select the yearly billing plan.
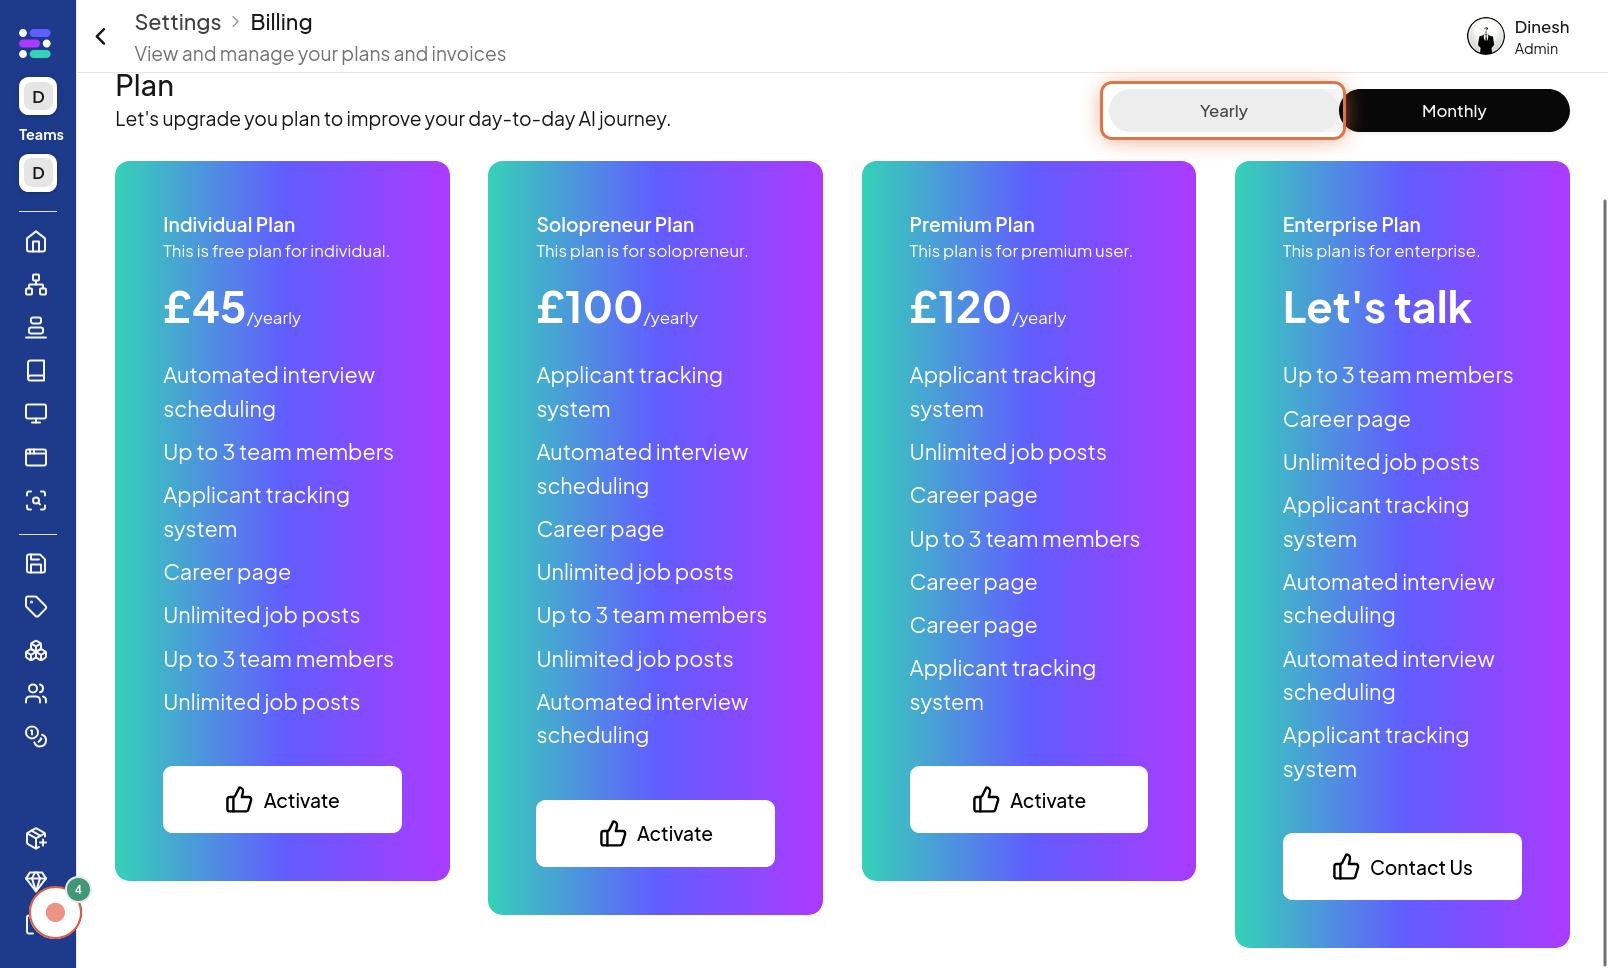
Click on Activate
After choosing your preferred billing cycle (monthly or yearly), the final step is to activate your selected plan. Click on the "Activate" button to finalize your billing choice and initiate the subscription process. The image for this step highlights the "Activate" button, which you need to click to confirm and activate your chosen billing plan. The description mentions "Choose Plan," which is the action completed by clicking "Activate".
