Create Series
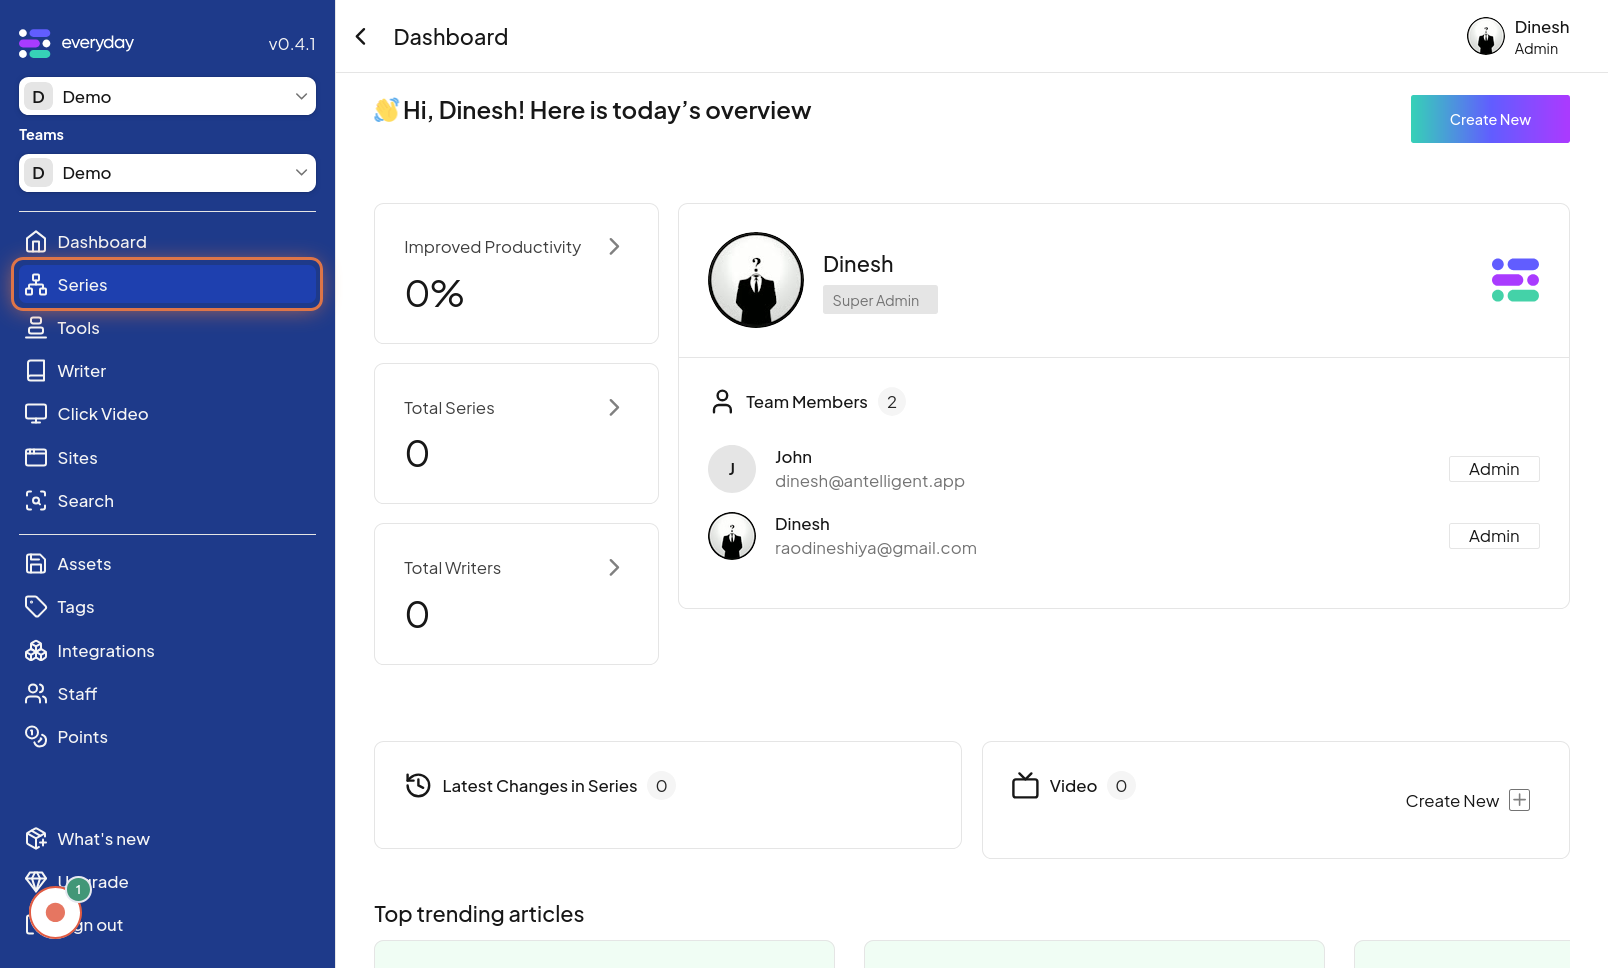
Click on Series Menu

To begin creating a new series, the first step is to click on the "Series Menu". This option, usually found in the main navigation or sidebar, will direct you to the series management area. The image for this step will highlight the "Series Menu" button that you need to click to proceed.
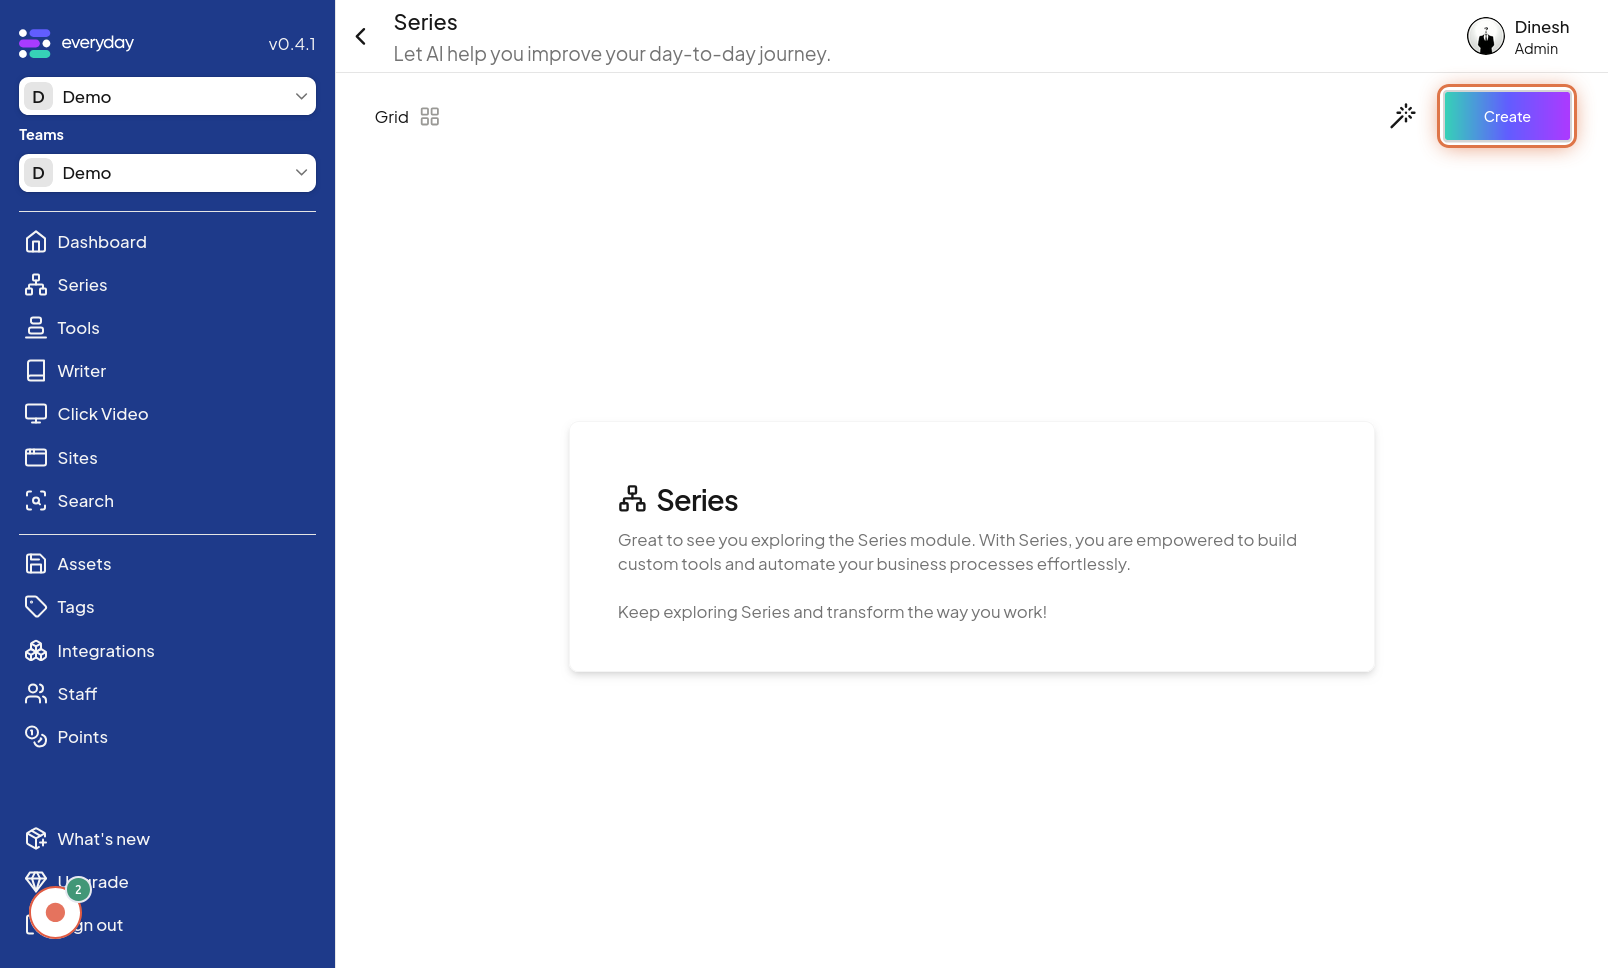
Click on Create
Once you are in the Series Menu, you'll need to initiate the creation process. Click on the "Create" button to start building a new series. The image associated with this step will point out the "Create" button, which is your starting point for series creation.
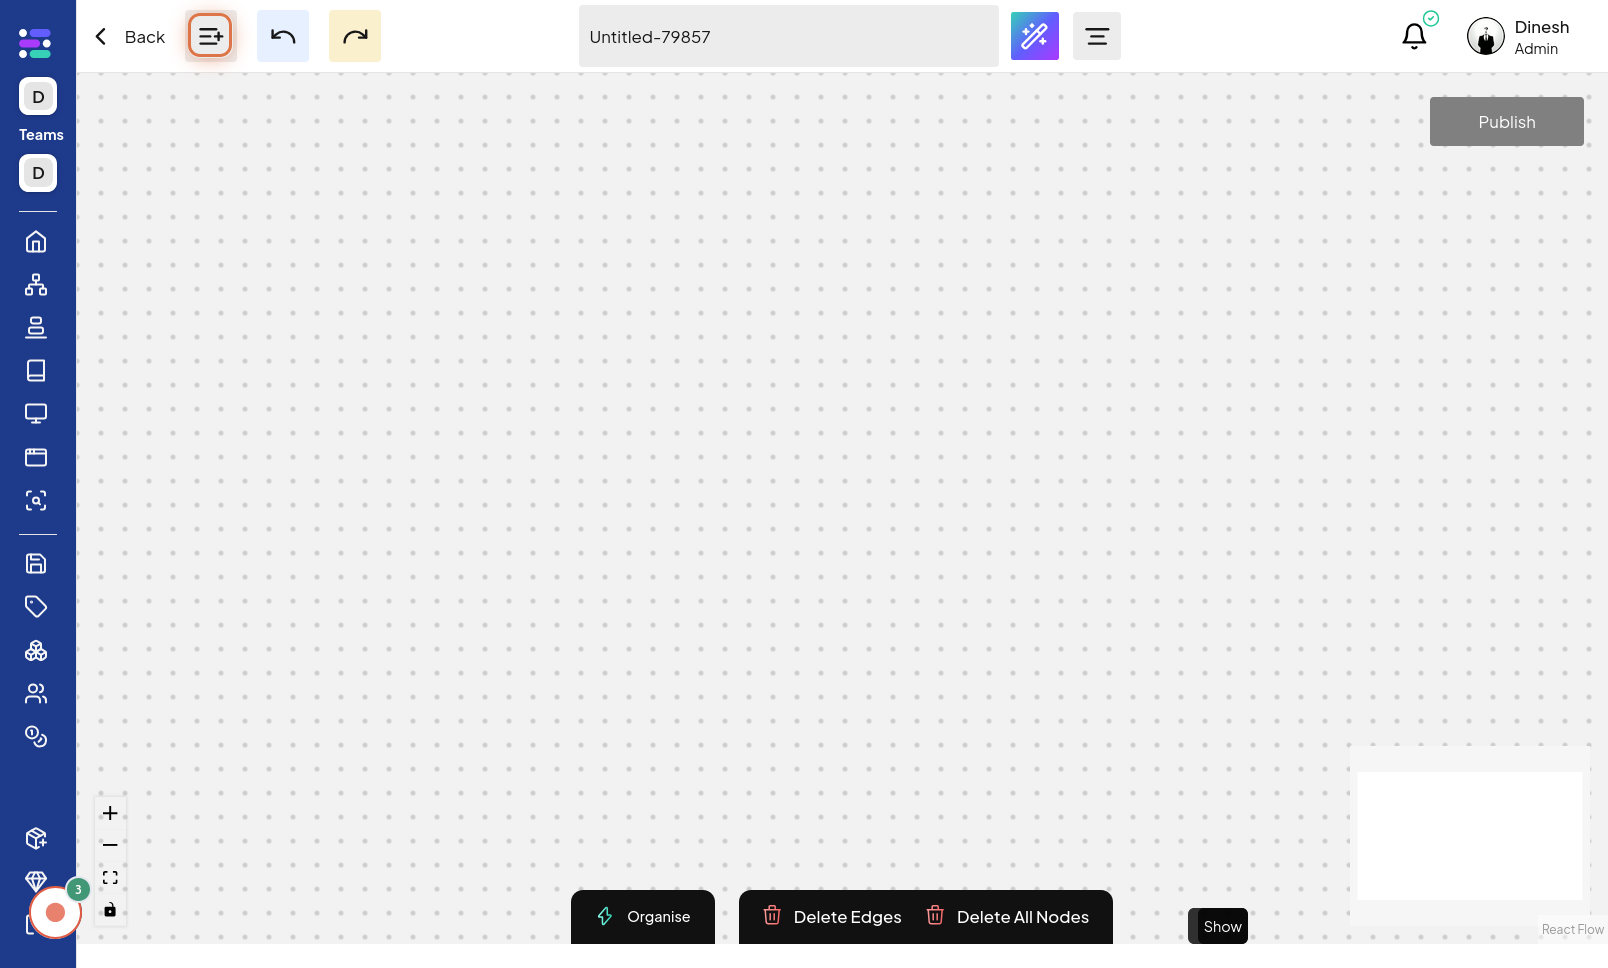
Click on Node icon
To begin constructing your series, you will need to add nodes. Click on the "Node icon" to open the node selection panel. The image for this step highlights the "Node icon", indicating that clicking it will allow you to choose and add nodes to your series.
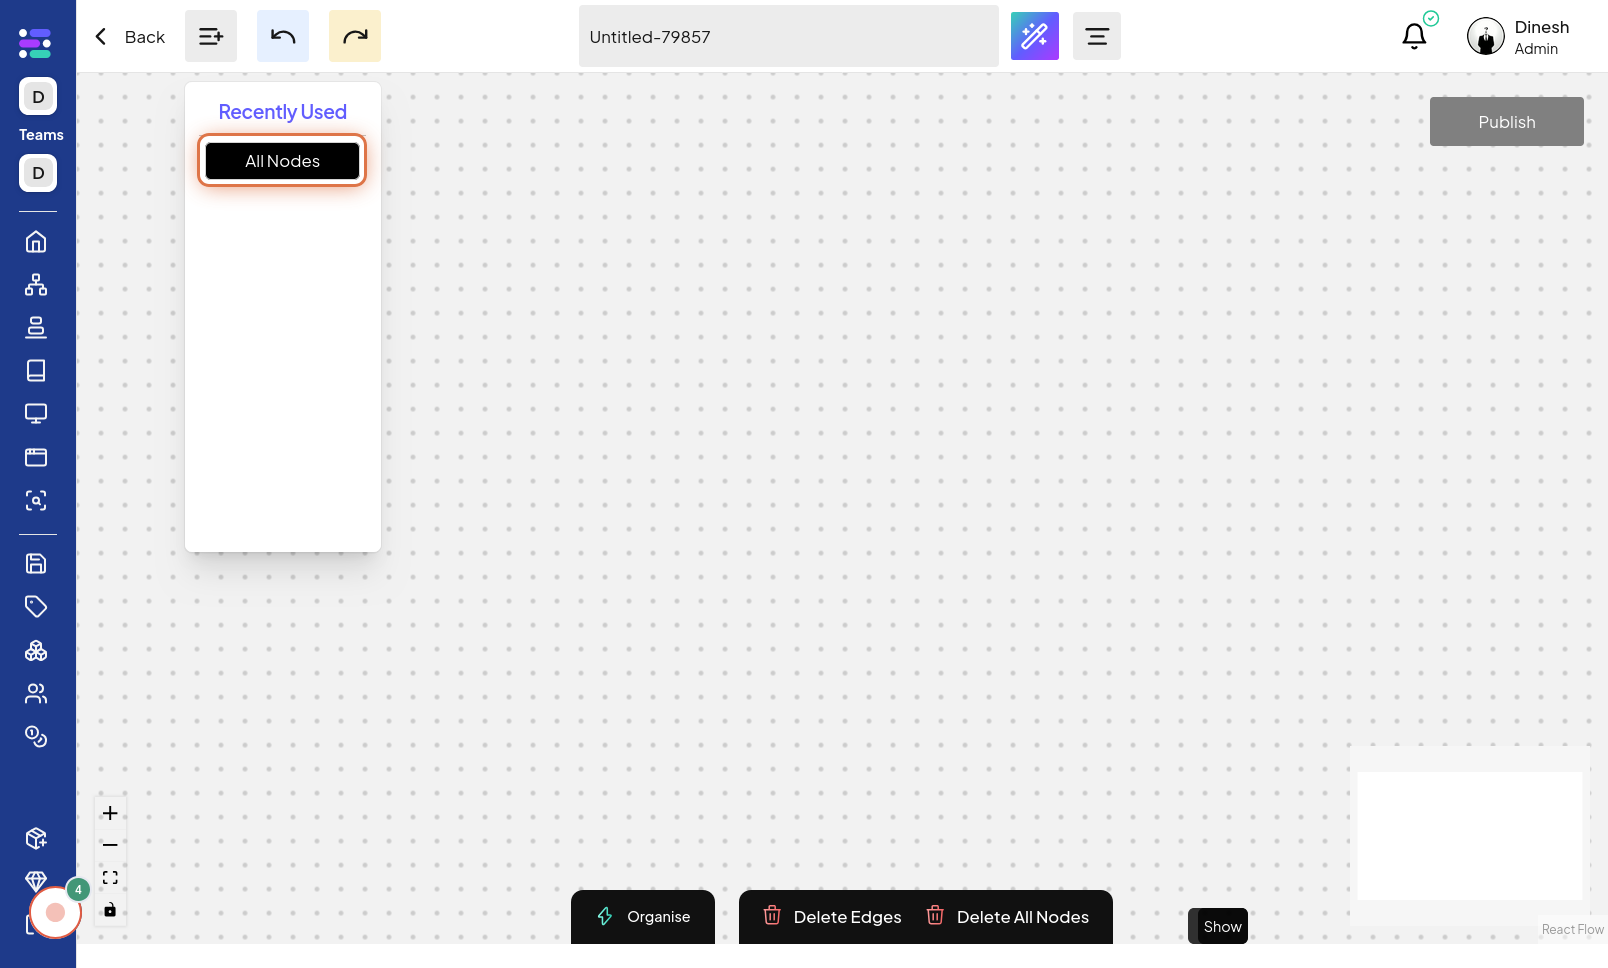
Click on All Nodes
To view all available nodes, click on the "All Nodes" option within the node selection panel. This will display a comprehensive list of nodes that you can use in your series. The image for this step points out the "All Nodes" option, which you need to click to see the full list of available nodes.q
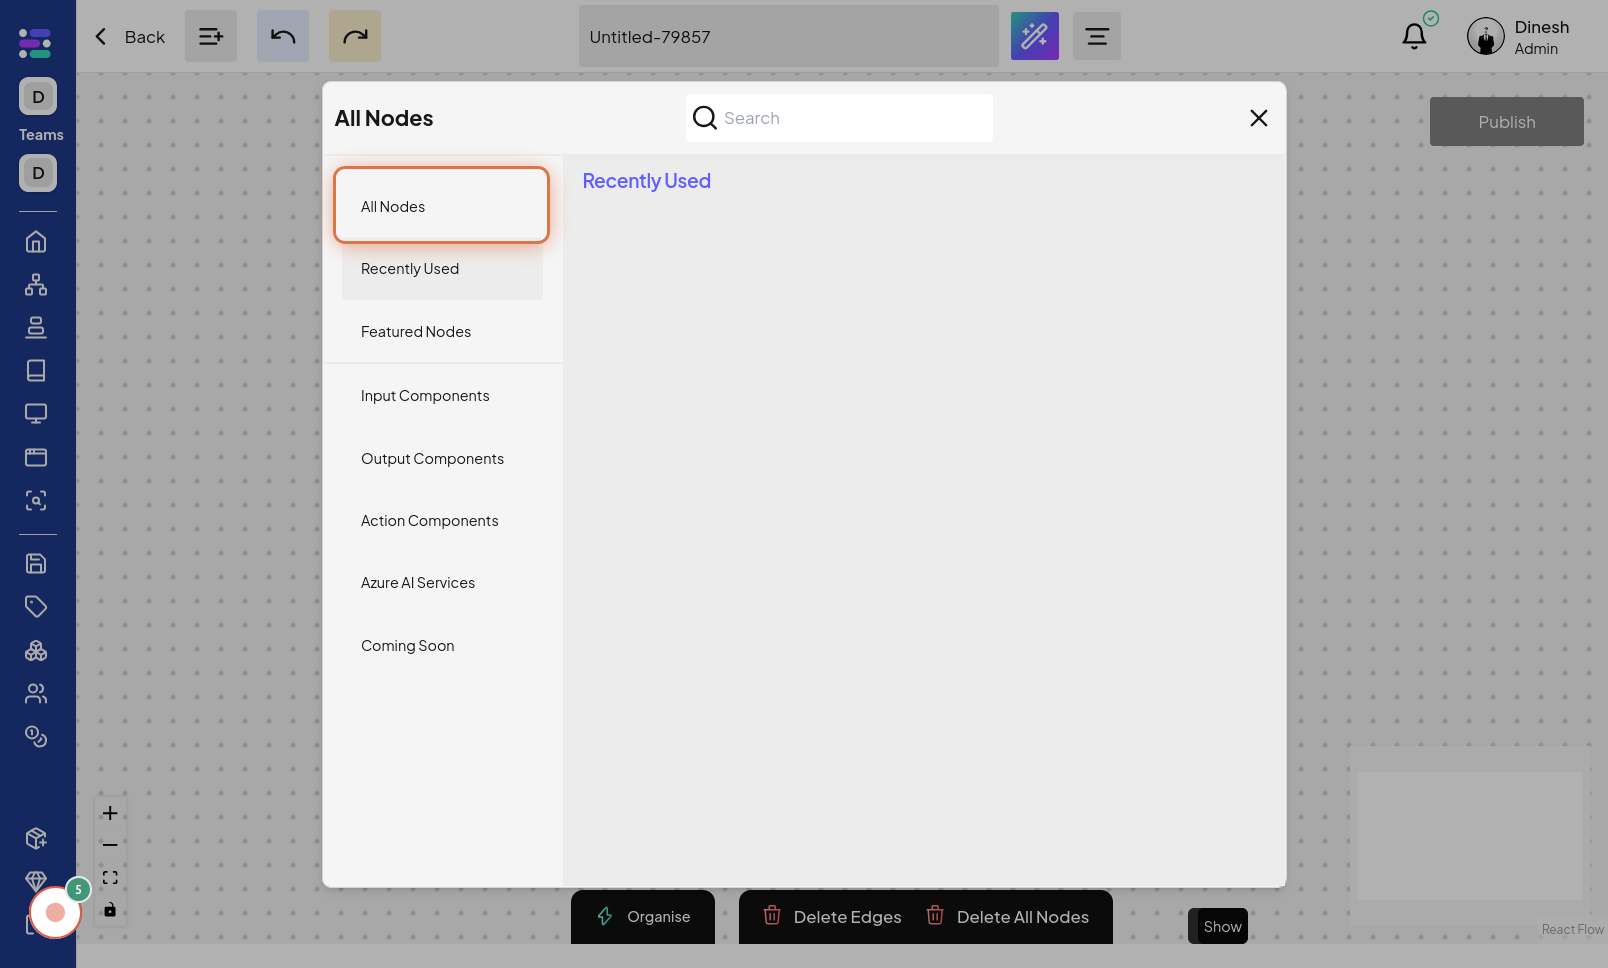
Click on All Nodes
To refine your node selection, you might need to click on "All Nodes" again, possibly to filter or categorize the displayed nodes further. This step's image likely shows clicking "All Nodes" a second time, possibly to narrow down the node list based on categories or types.
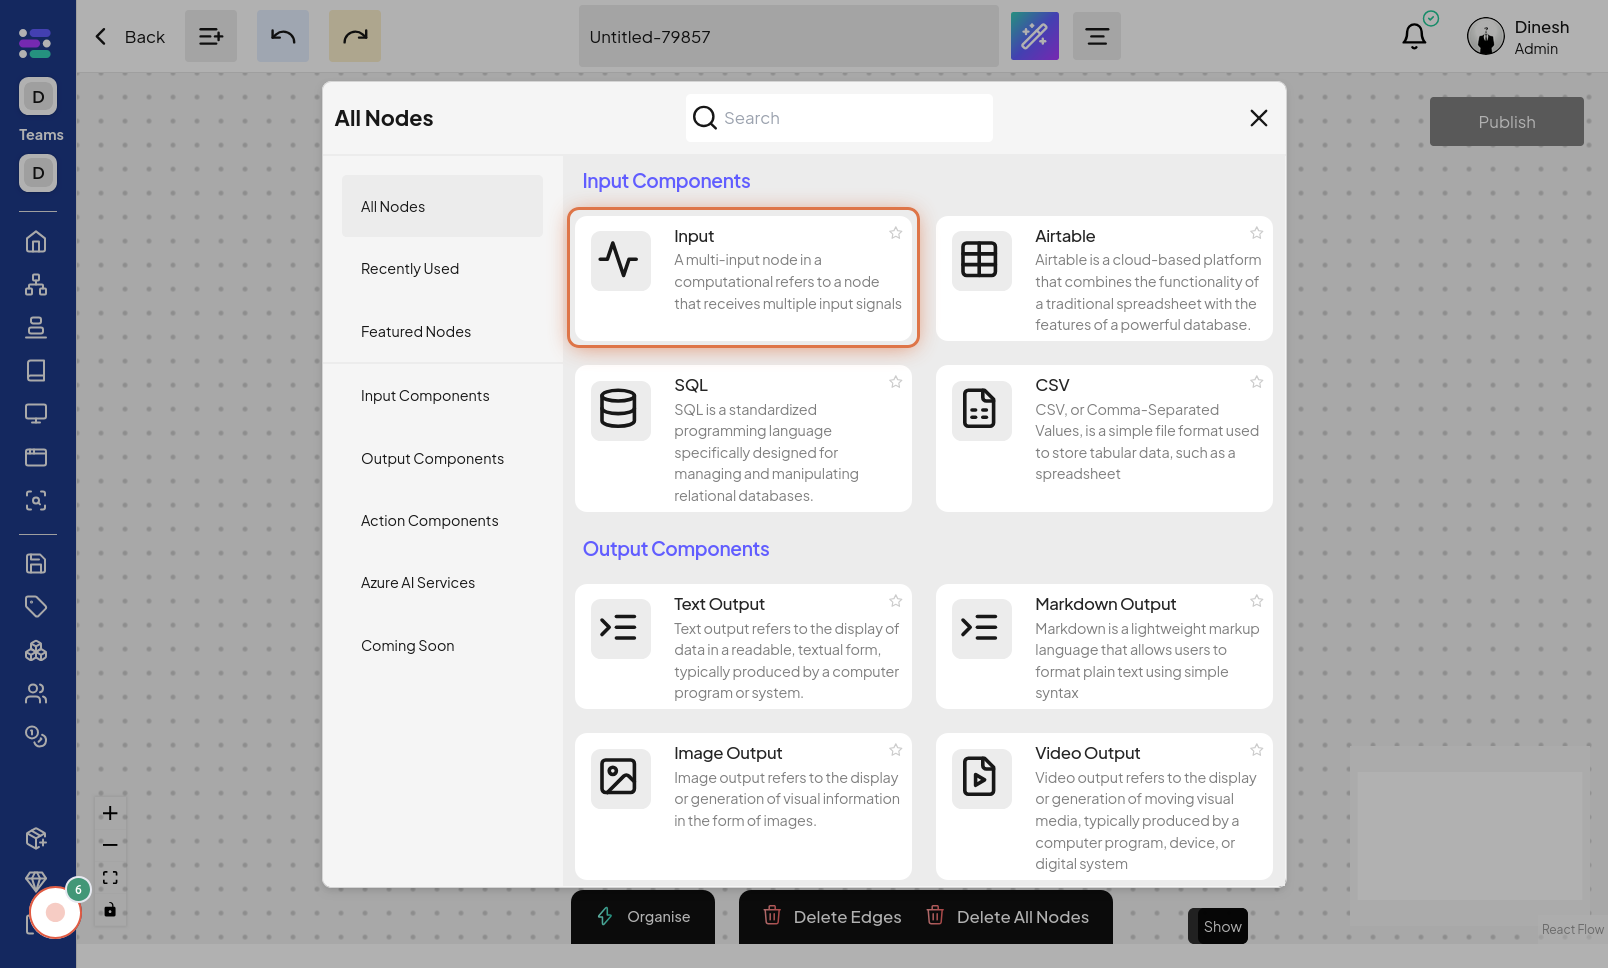
Click on Input Node
From the list of nodes, select the "Input Node" to add an input node to your series workflow. This node will serve as the starting point for data input into your series. The image for this step highlights the "Input Node" option within the list, indicating which node to select.
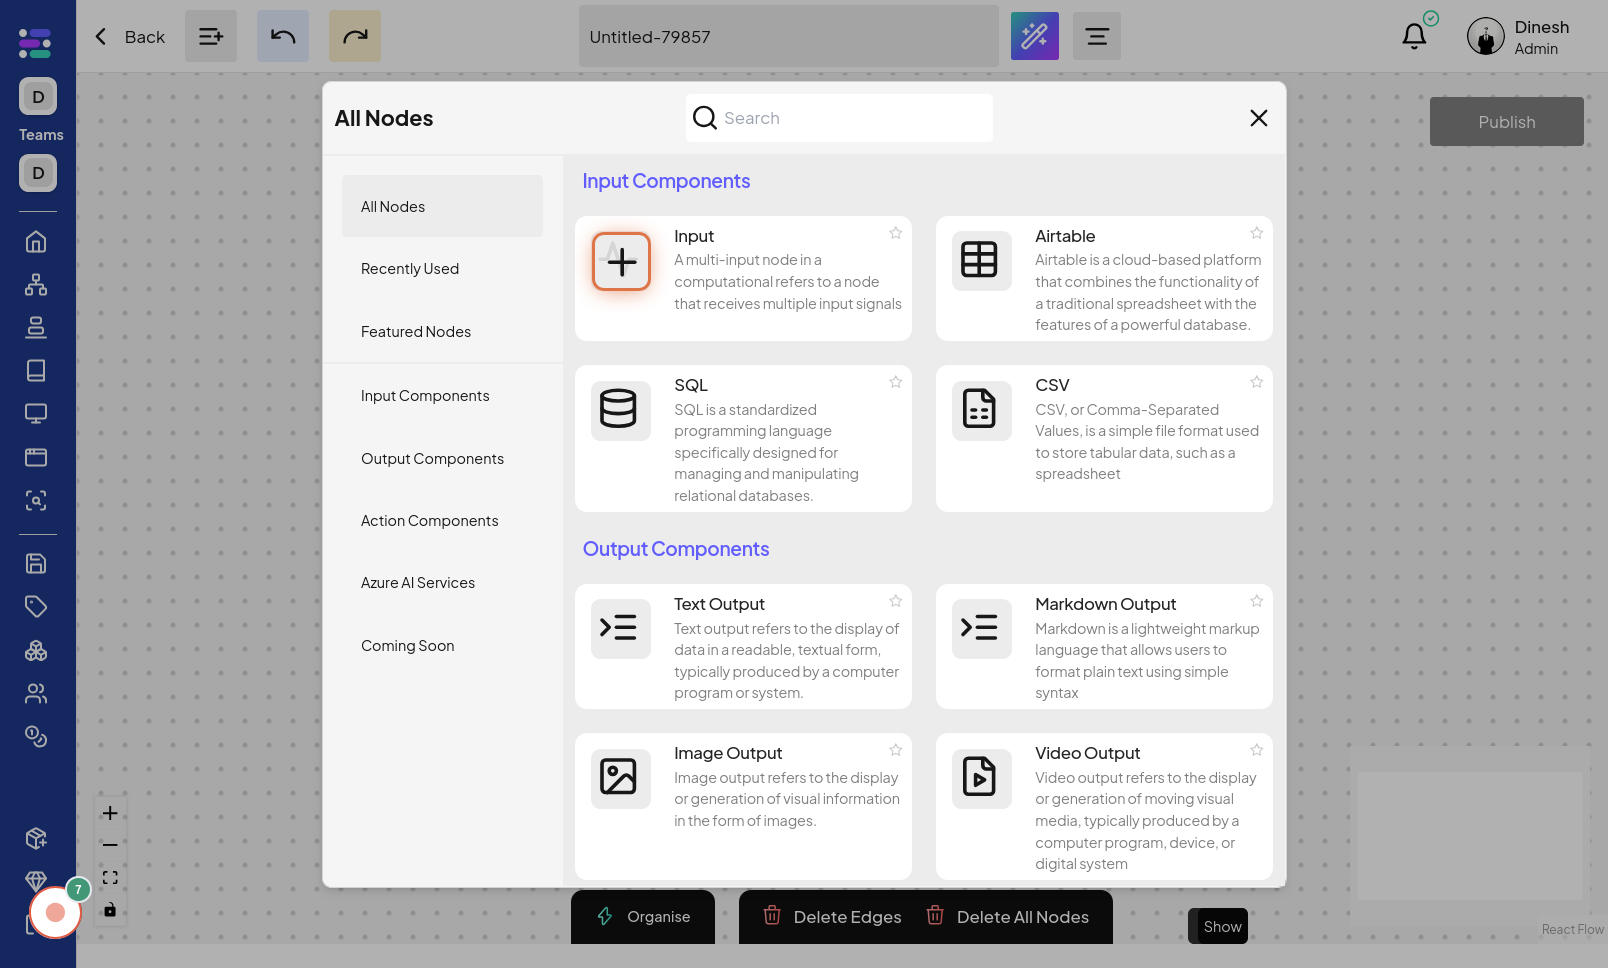
Click on Plus Icon
To connect nodes or add subsequent steps in your series, click on the "Plus Icon". This icon typically indicates adding a connection or a new element in a visual workflow builder. The image for this step points to the "Plus Icon", showing where to click to expand or add to your series.
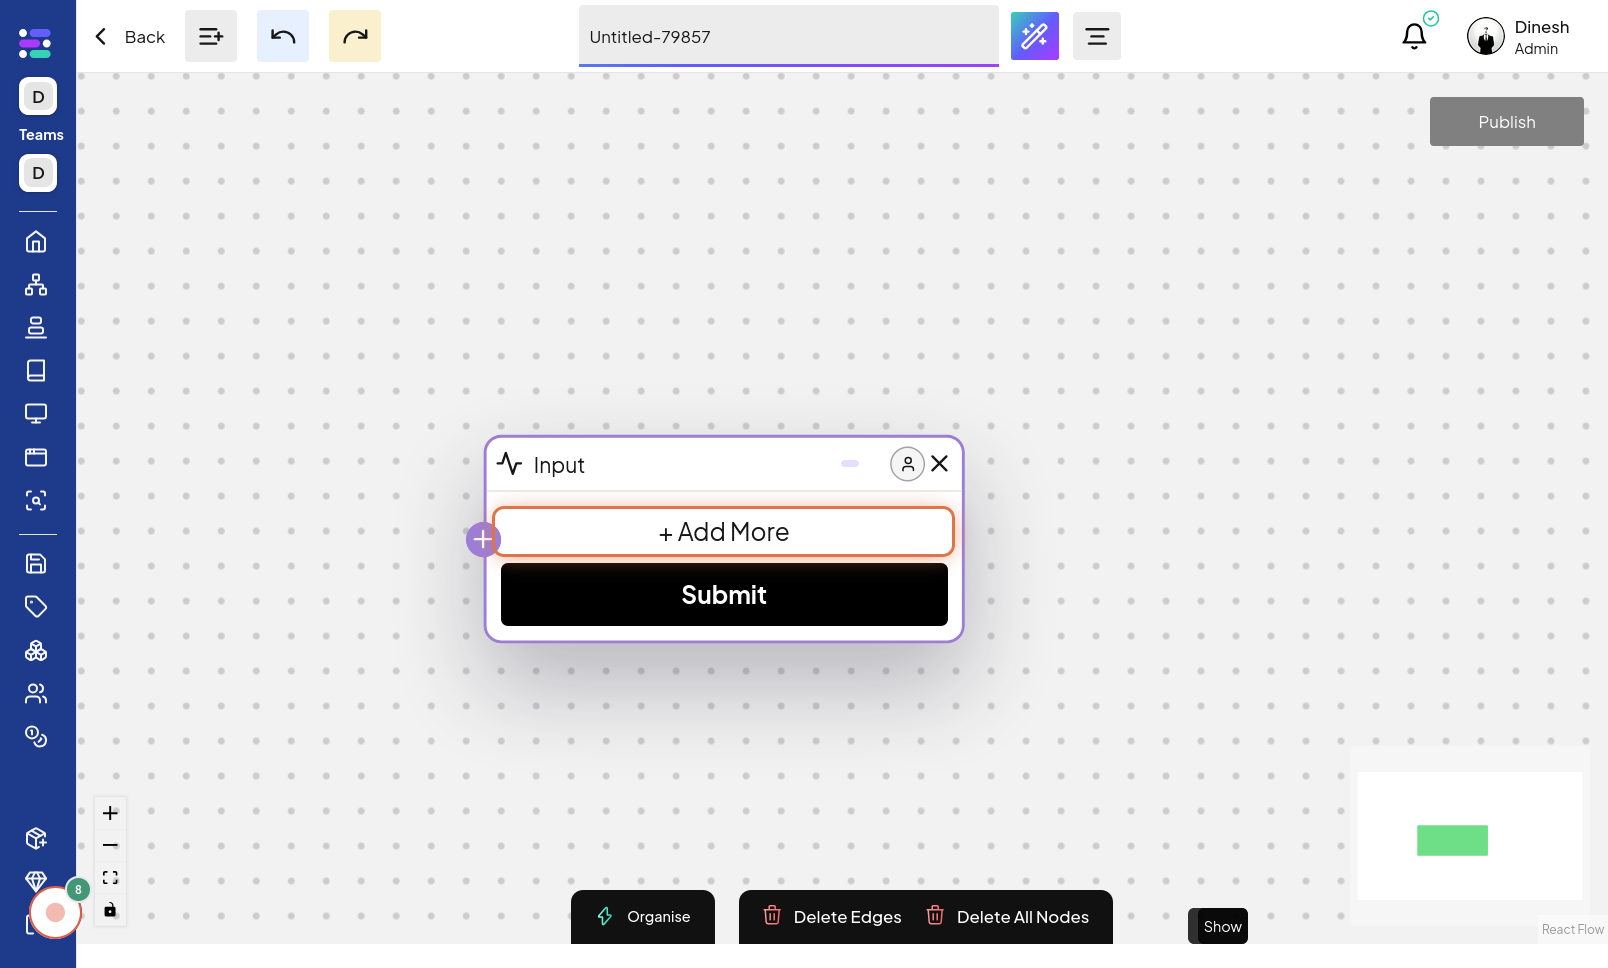
Click on + Add More
To further expand your input configuration or add more input fields, click on the "+ Add More" button. This action will likely allow you to add additional input parameters or fields to your input node. The image for this step highlights the "+ Add More" button, indicating where to click to add more input options.
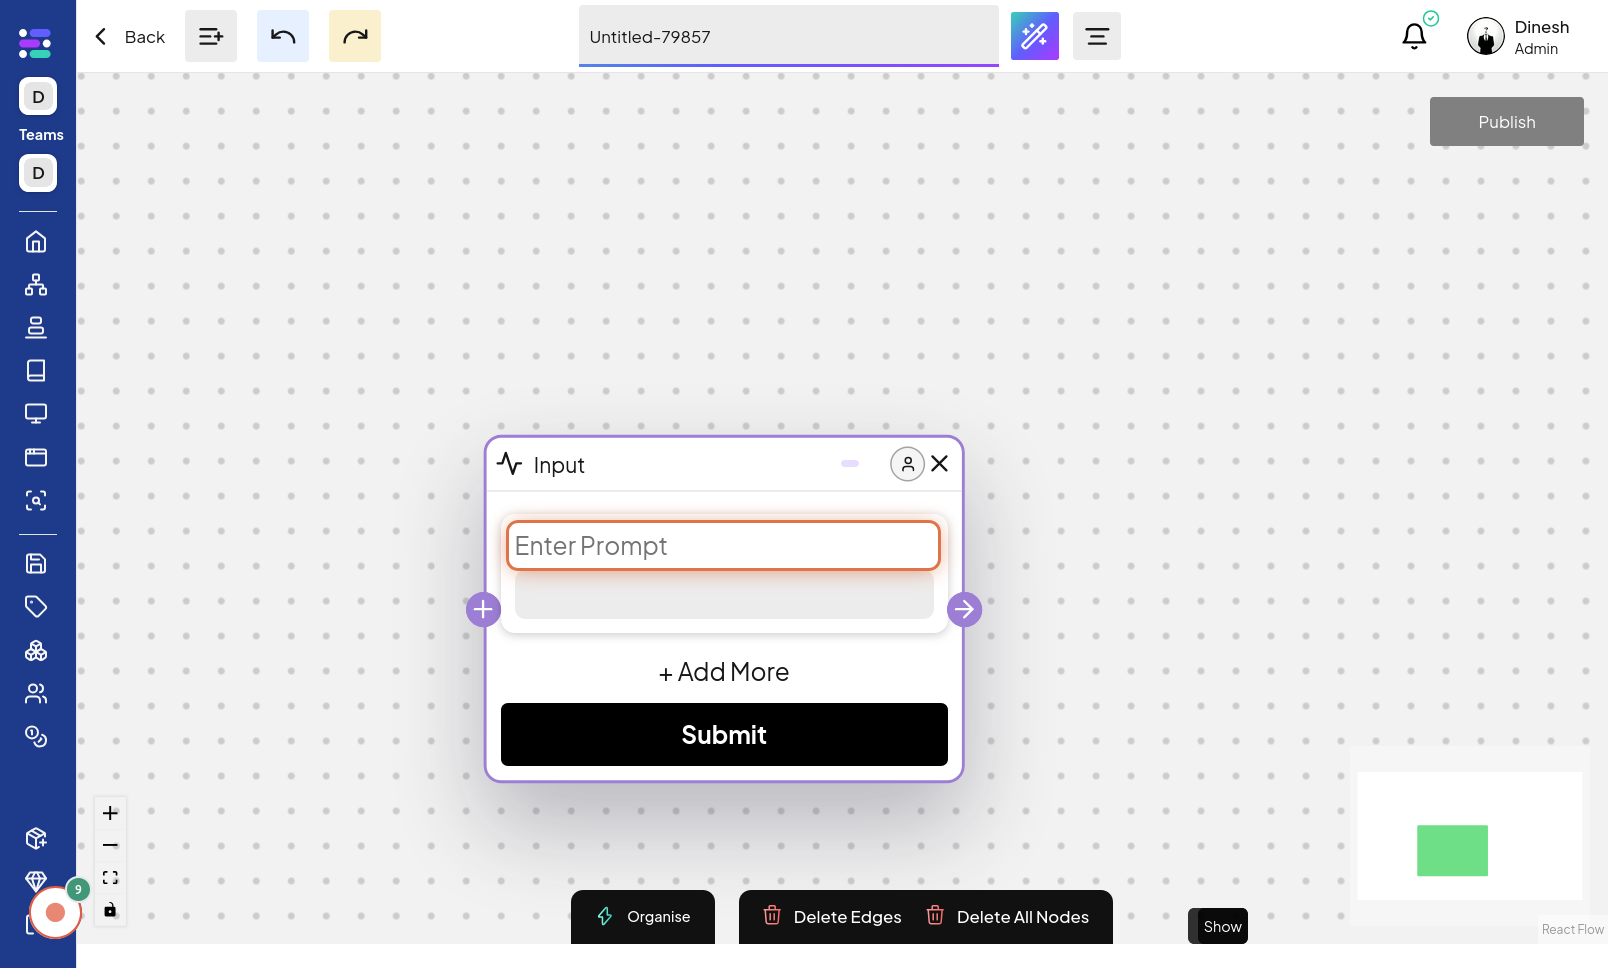
Click on Enter Prompt
To configure a prompt node, you need to specify the prompt text. Click on the "Enter Prompt" field to activate the text input area where you can type in your desired prompt. The image in this step shows the "Enter Prompt" field that you need to click to input the prompt text.
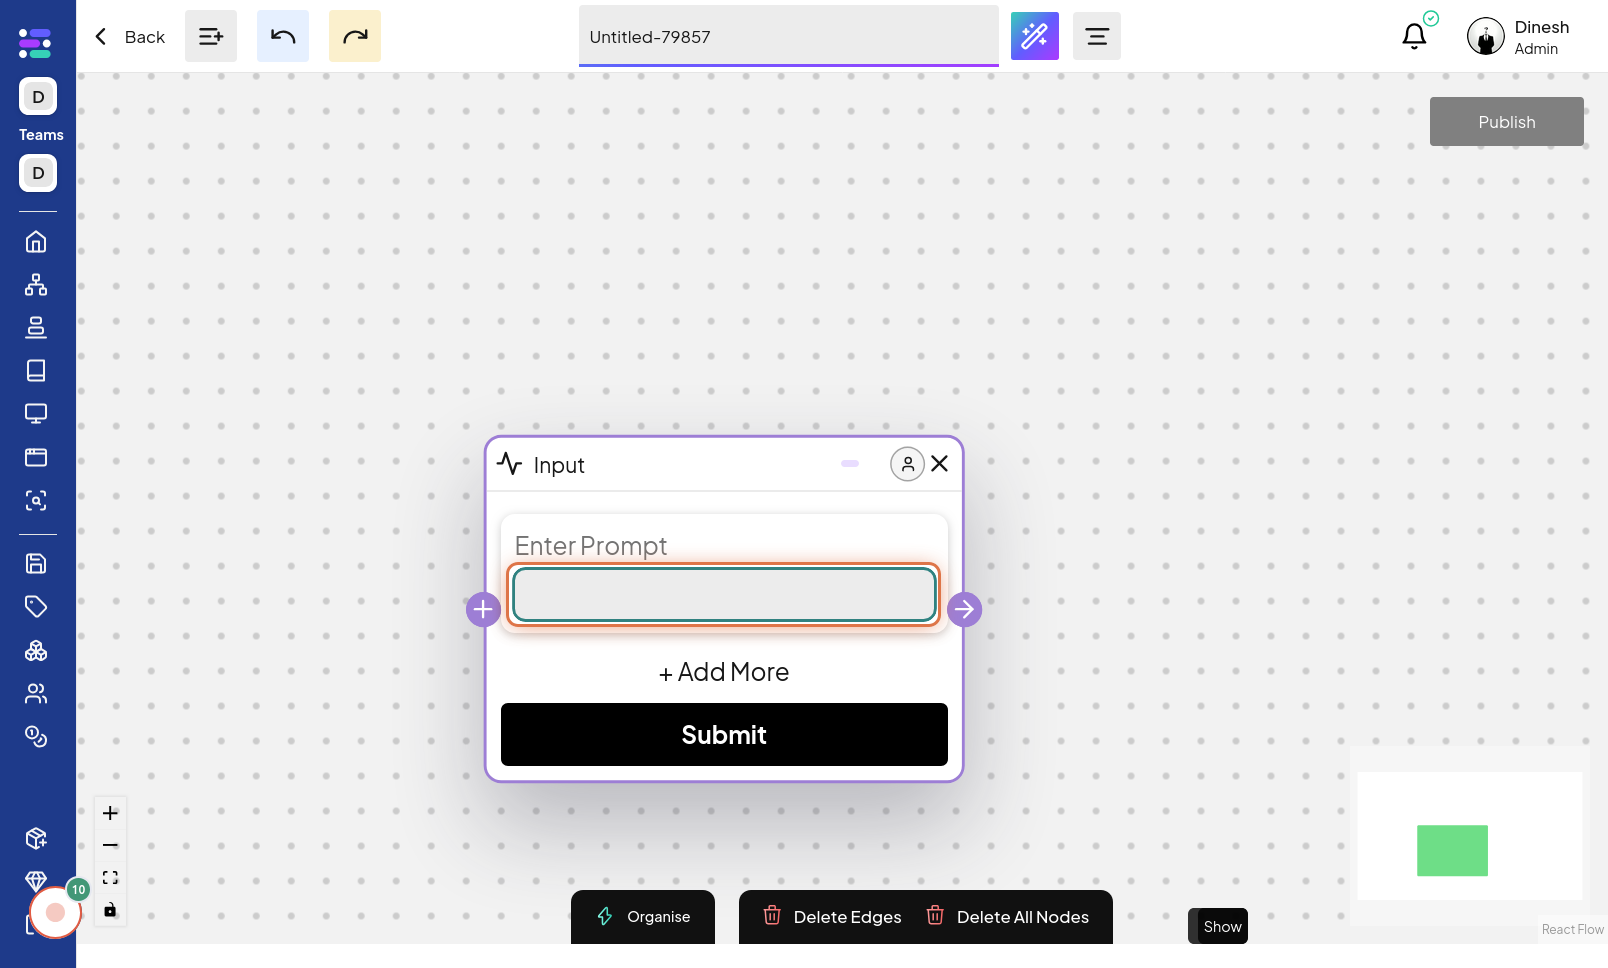
Click on Input field
To begin typing your prompt, you need to click inside the "Input field" itself after selecting "Enter Prompt". This action will focus the text input area, making it ready for text entry. The image for this step points to the specific "Input field" where you will type your prompt.
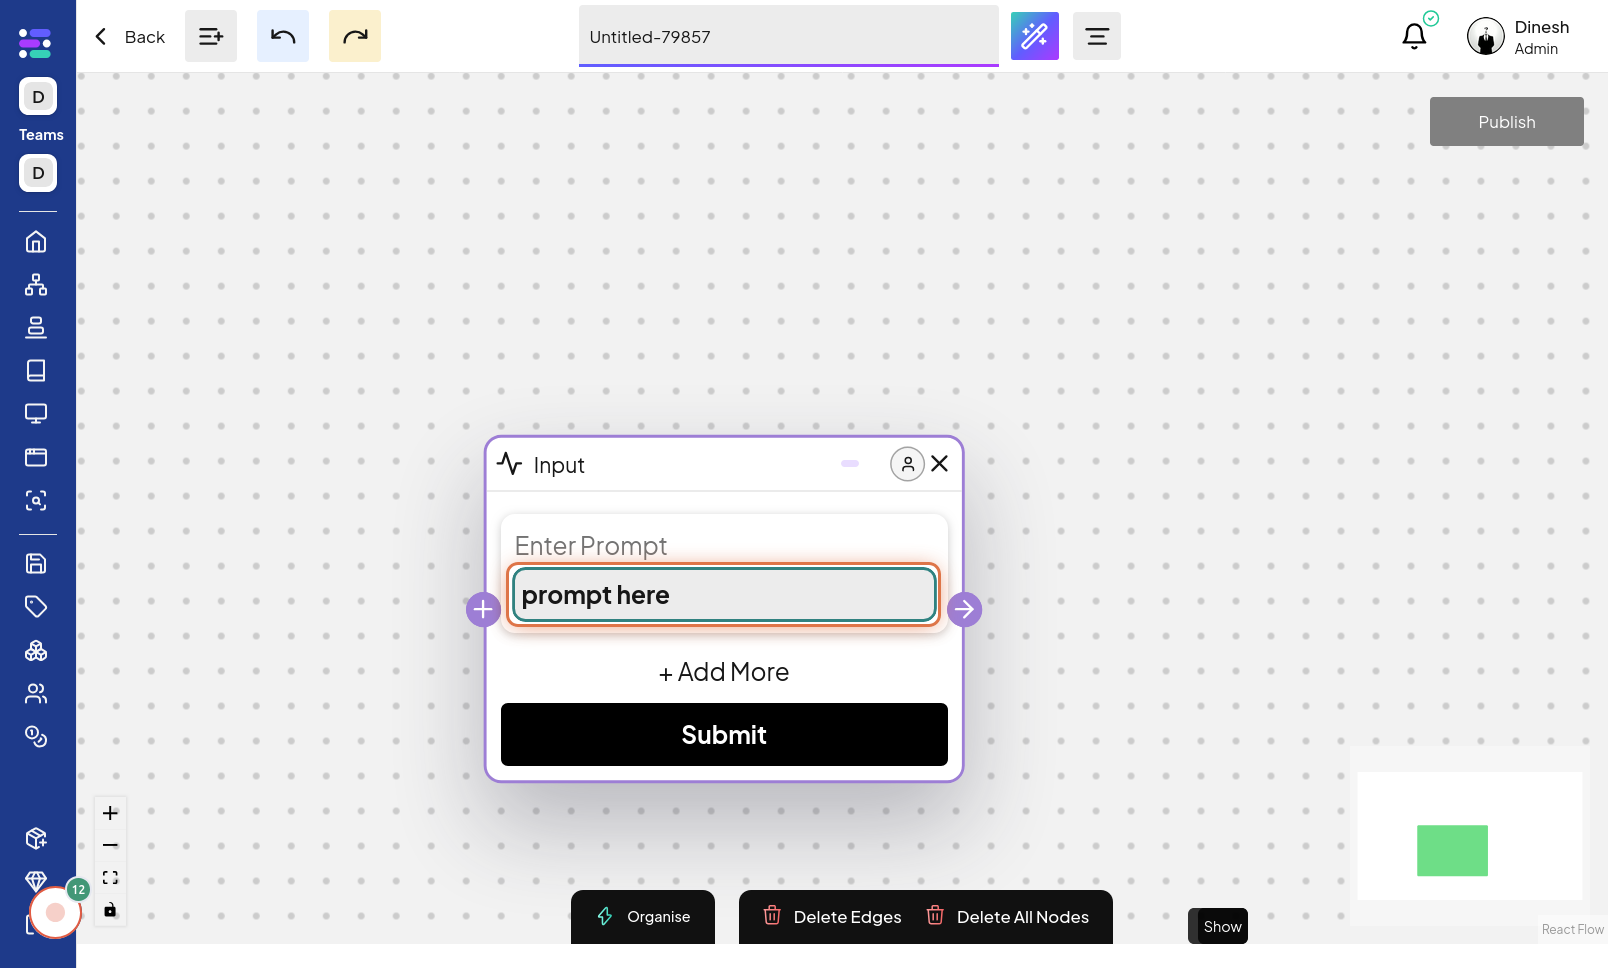
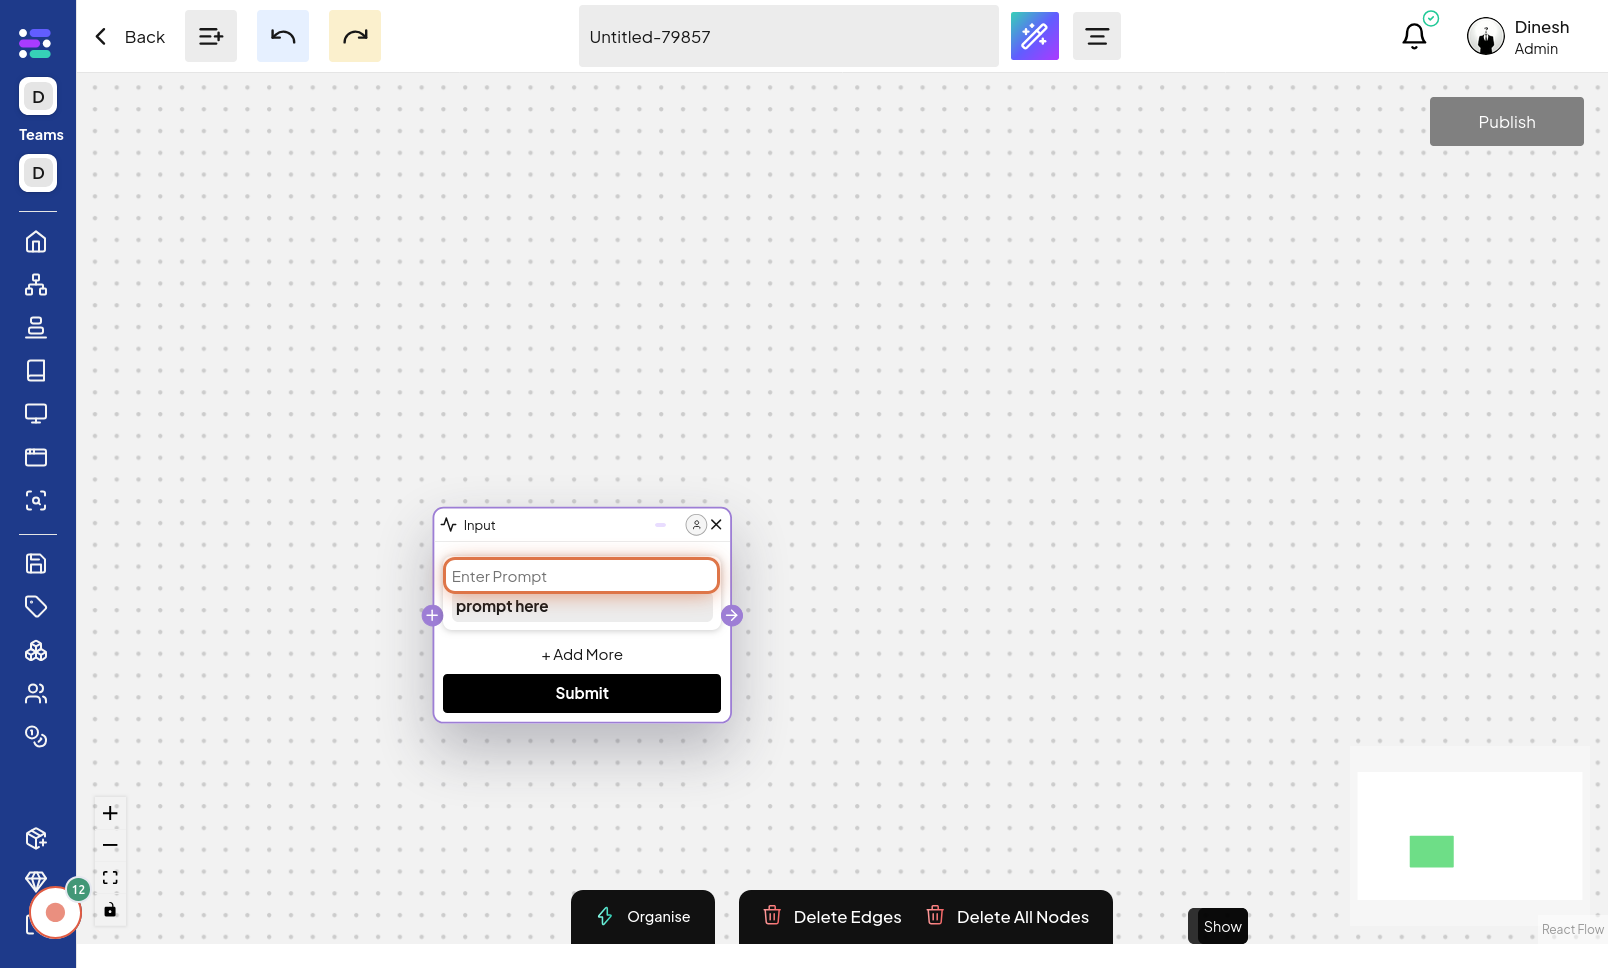
Type prompt here
Now, with the input field activated, you can type your prompt directly into the text area. This step is about entering the actual text of your prompt into the designated input field. The image for this step likely shows text being typed into the prompt input area.
Click on Enter Prompt
After typing your prompt, you might need to click "Enter Prompt" again to confirm or finalize the prompt input. This action could save the prompt text or move to the next configuration step. The image for this step likely shows clicking "Enter Prompt" again, possibly to save or confirm the entered prompt.
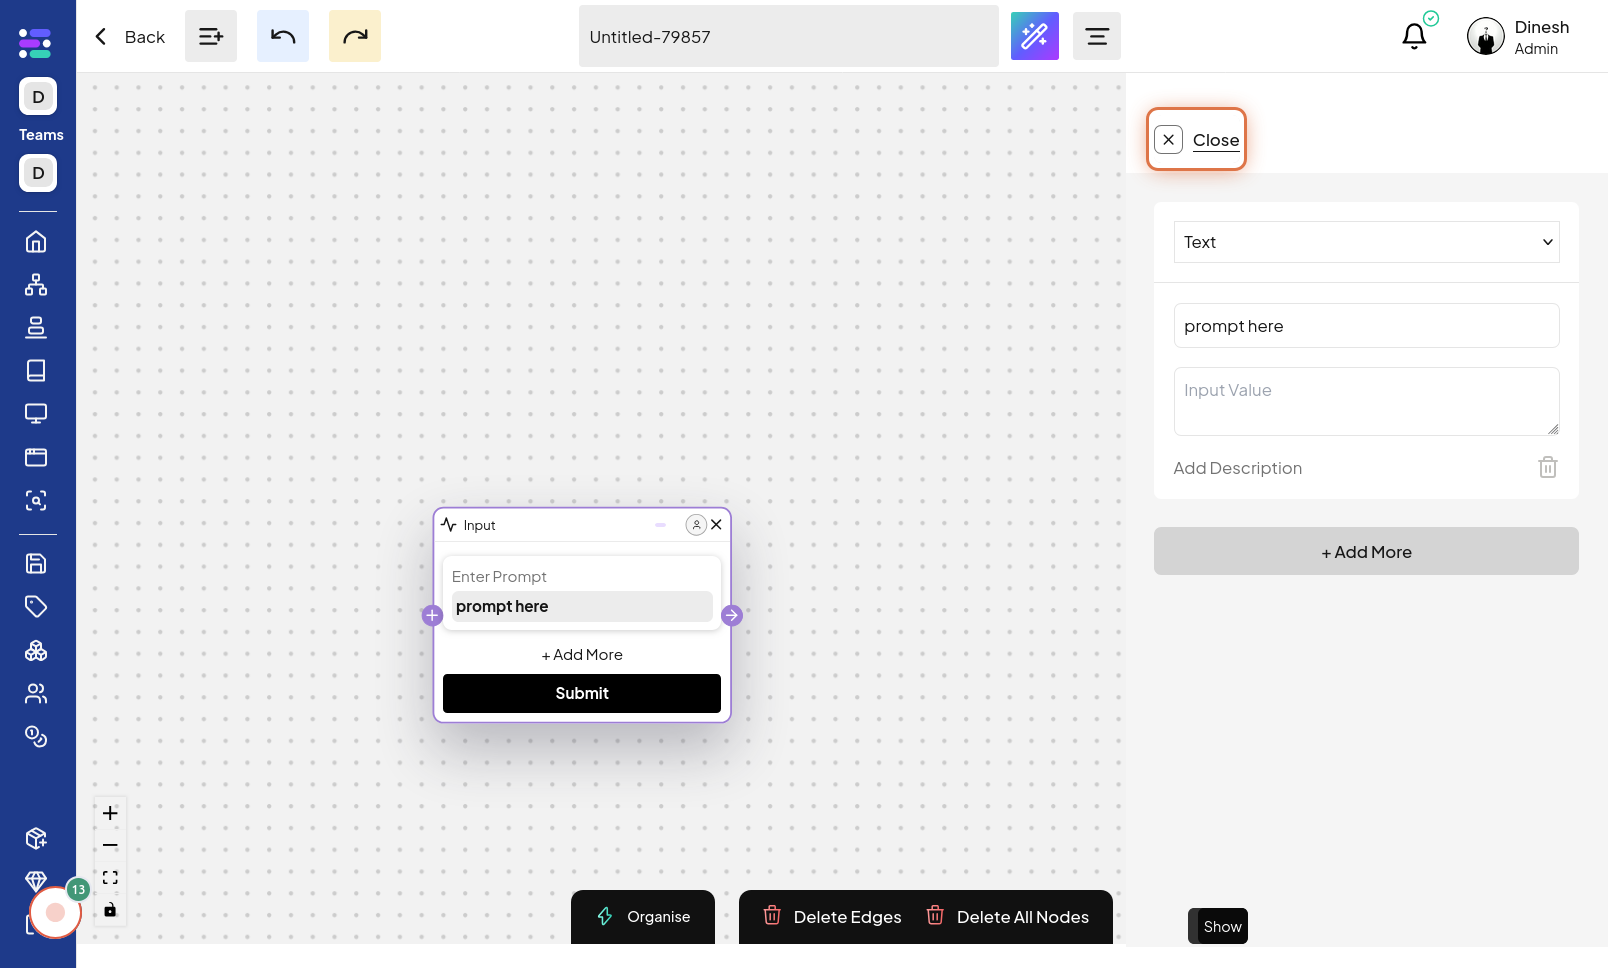
Click on Close
After configuring the prompt node, you may need to close the configuration panel. Click on the "Close" button, typically represented by an 'X' icon, to exit the prompt node settings. The image for this step highlights the "Close" button, indicating where to click to exit the prompt configuration.
Click on button
To finalize the node configuration or move to the next stage, click on the generic "button" shown in this step. The exact label of the button isn't specified, but context suggests it's a confirmation or action button within the workflow interface. The image will show the specific button to click, likely for saving or proceeding.

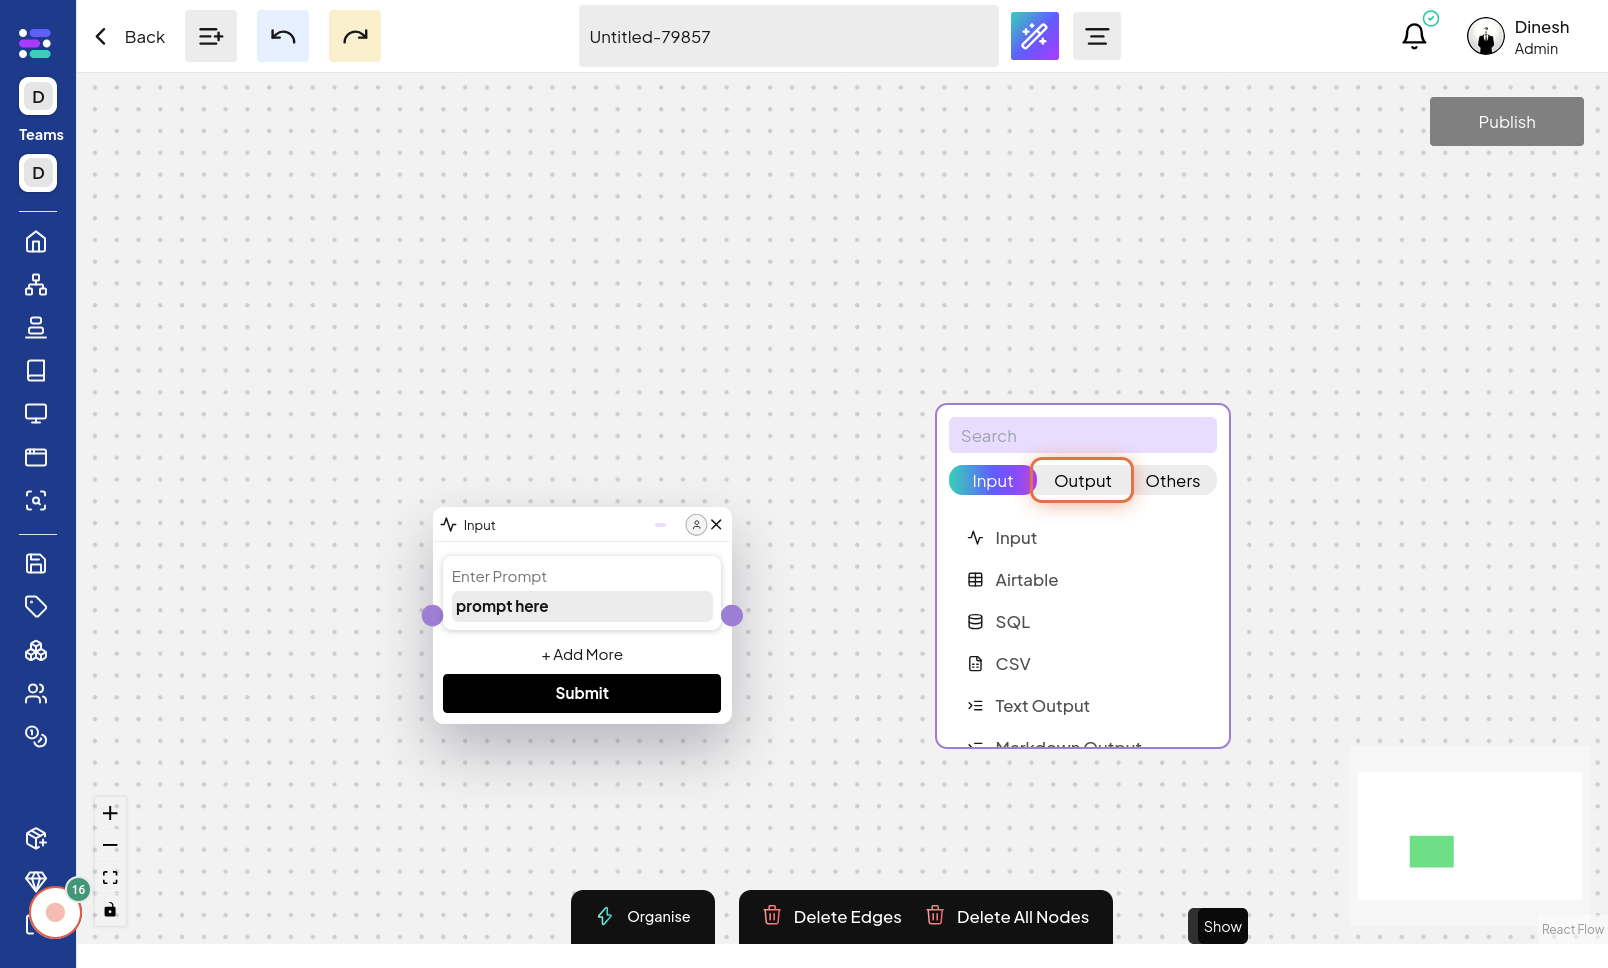
Click on Output
To configure the output of your series, you need to select the output node settings. Click on the "Output" option, which will take you to the output node configuration panel. The image for this step points to the "Output" option, indicating where to click to configure the series output.
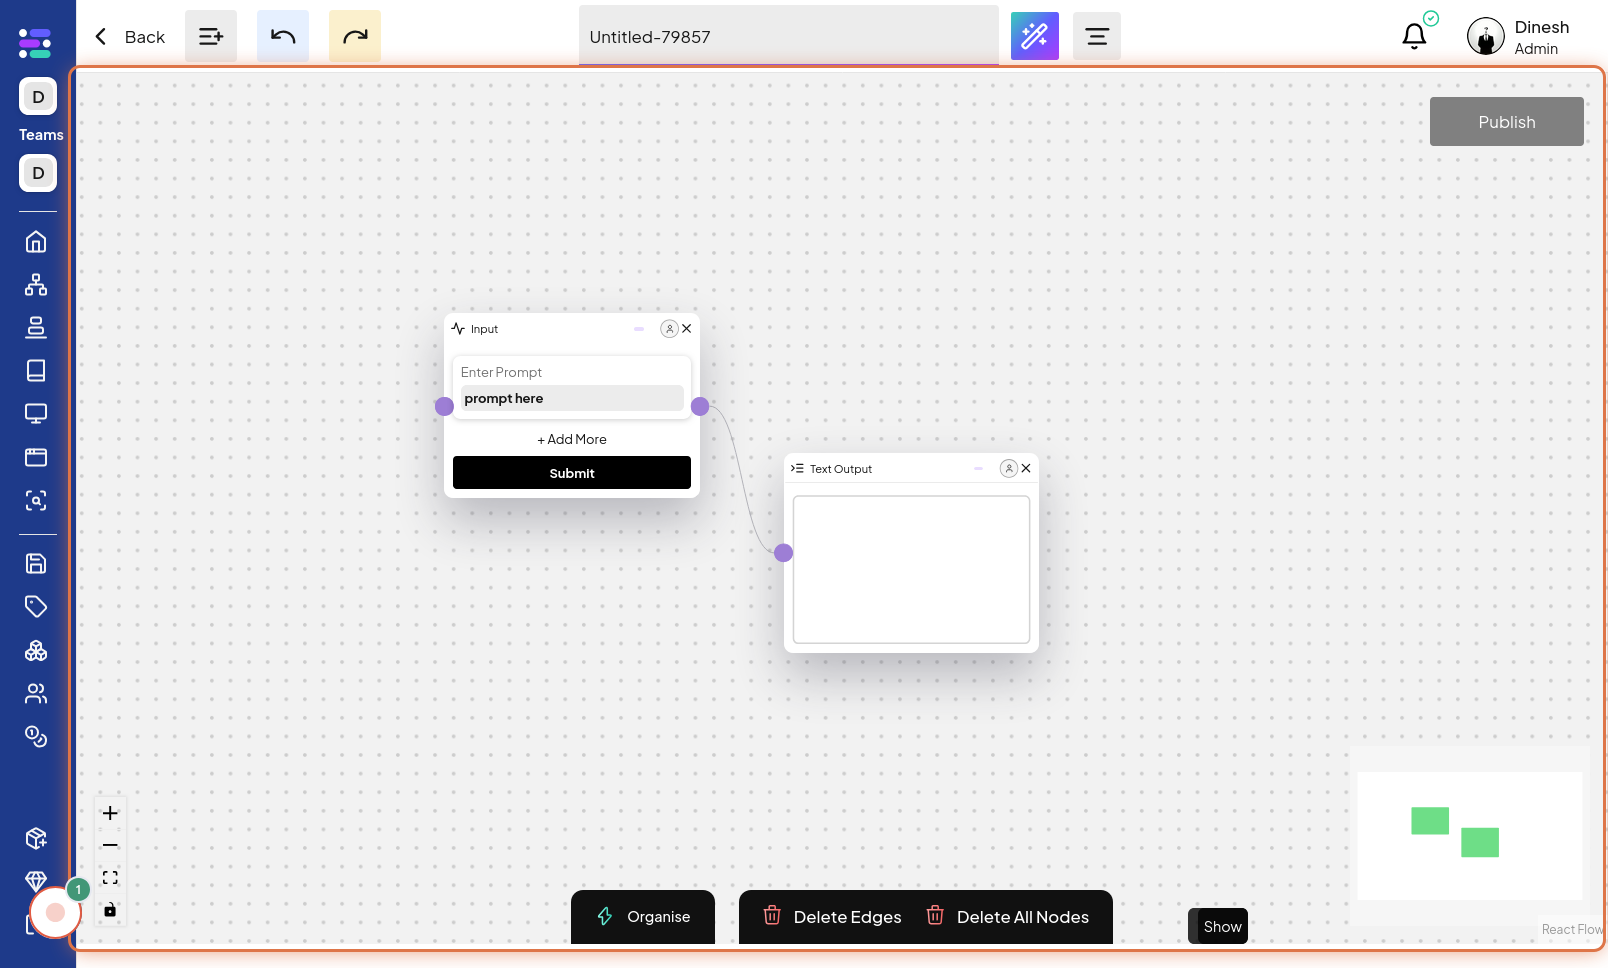
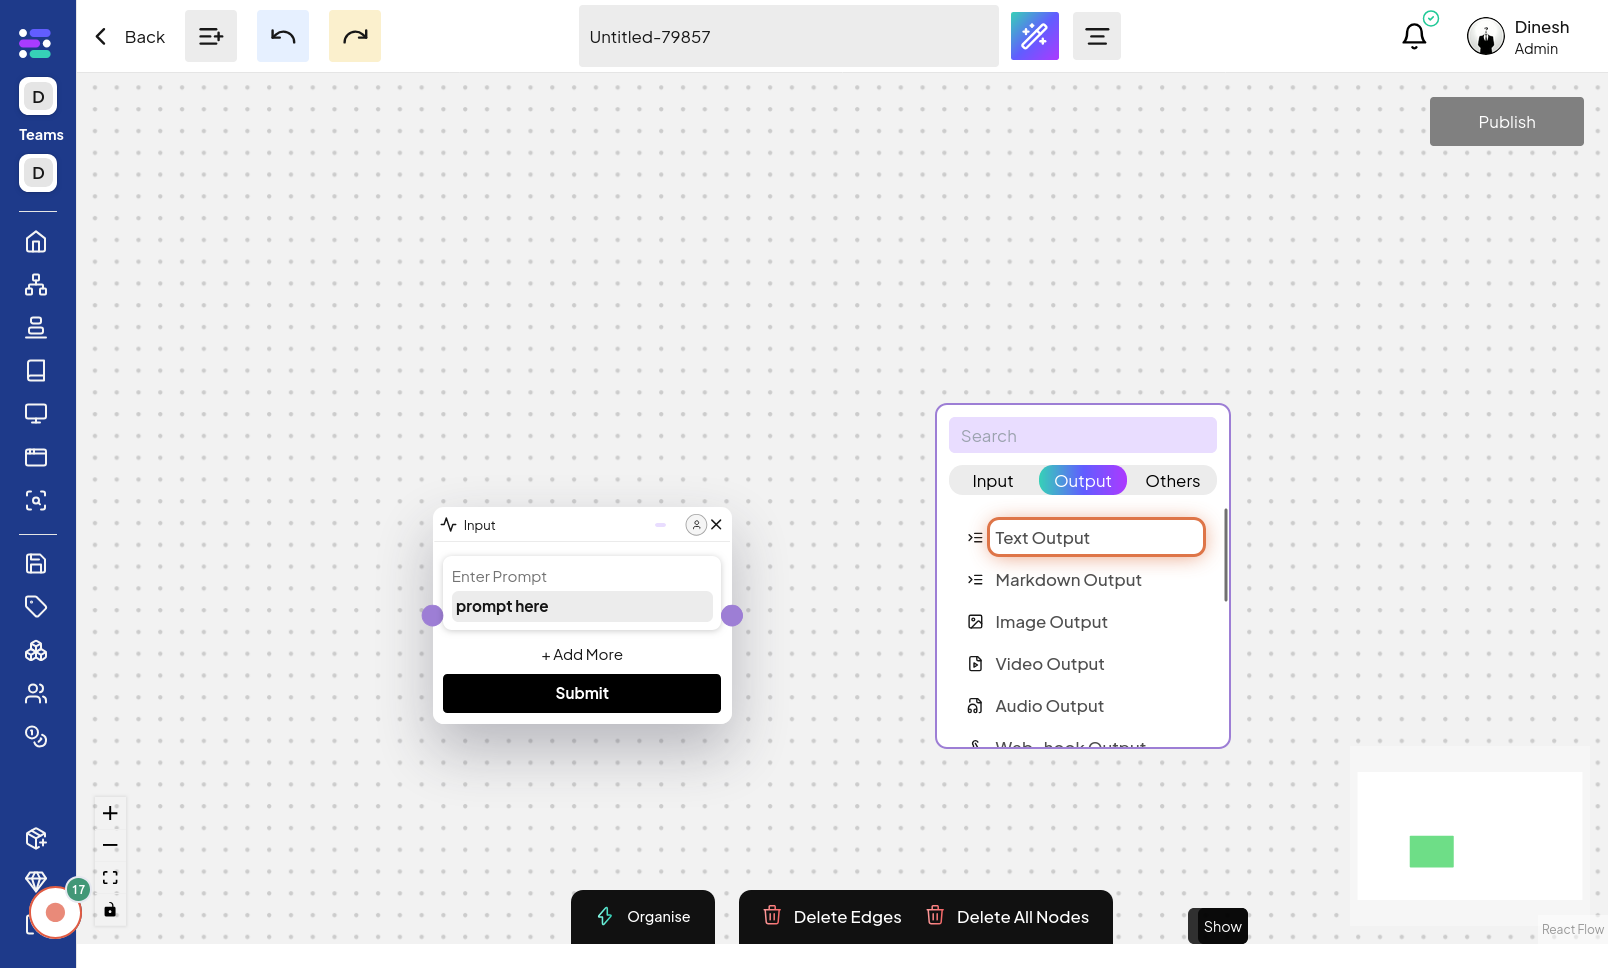
Click on Text Output
To specify the output format, click on "Text Output". This selection indicates that you want the series to output text. The image for this step highlights the "Text Output" option, which you need to click to choose text as the output format.
Series created
This final step indicates that the series creation process is complete. There is no action to perform here, it's just a confirmation message. The image for this step likely shows a visual confirmation that the series has been successfully created.