Create Tag
Go to Everyday

Click on Tag Menu
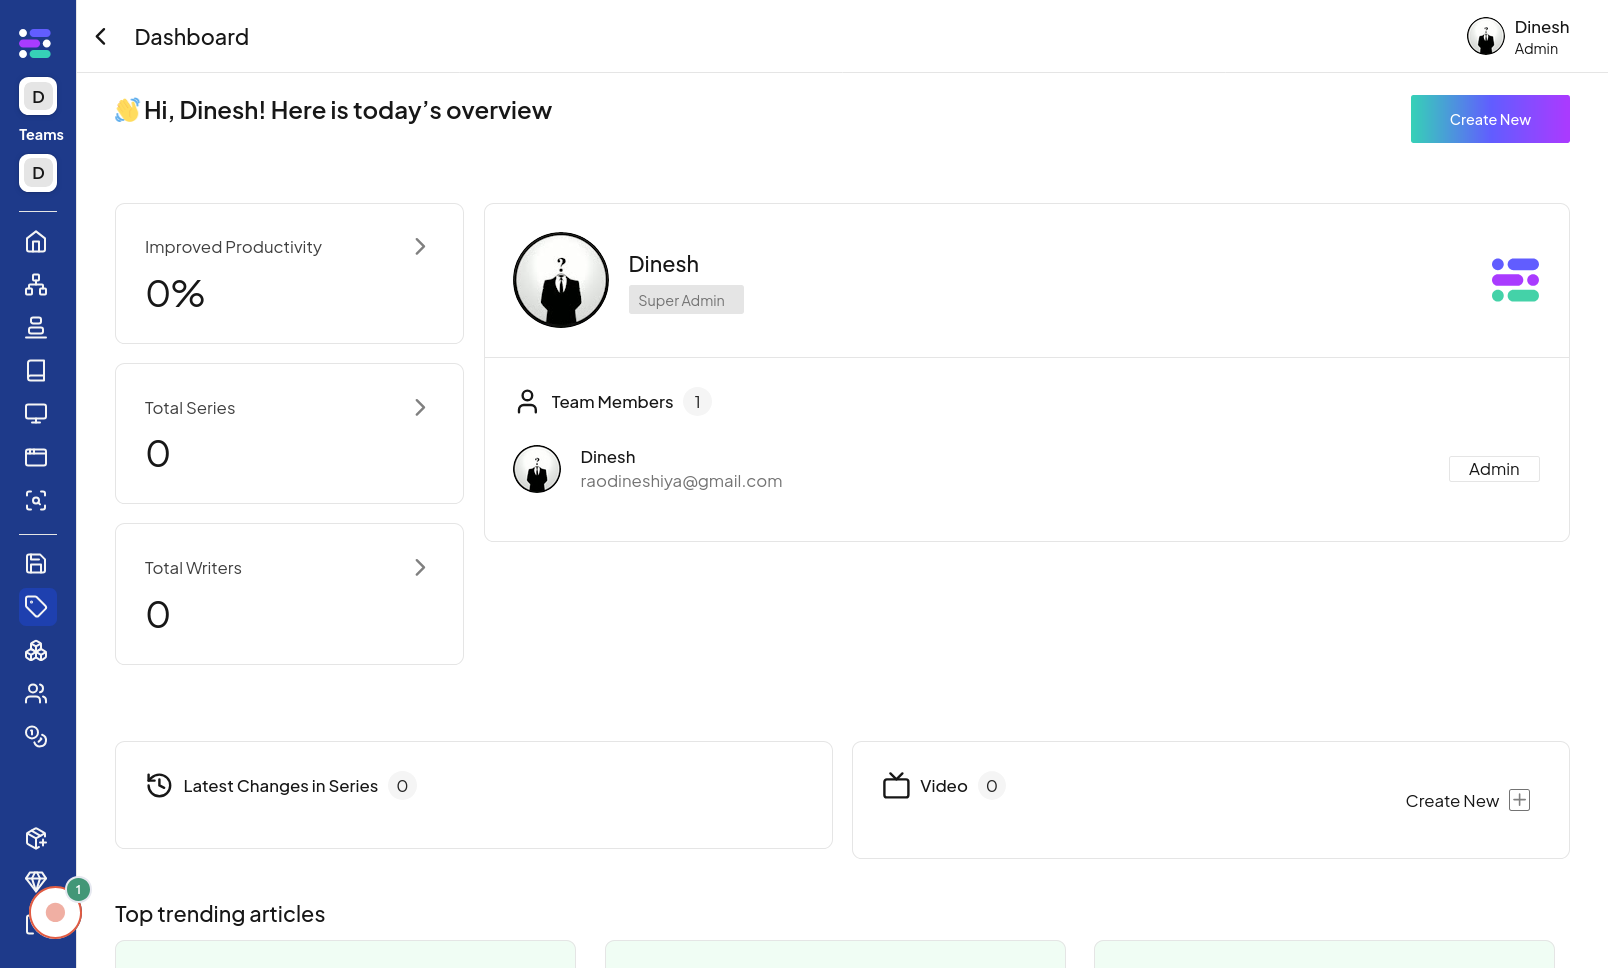
To begin creating a new tag, the first step is to navigate to the "Sidebar" section of the website. This is likely the main dashboard or homepage where tag management options can be found. The image for this step will guide you to locate and click on the "Tag" navigation link or button. Once you are in the "Tag" section, you need to access the tag management menu. Click on the "Tag Menu" option, which is likely located in the navigation or sidebar and provides access to tag-related actions. The image for this step visually indicates where to find and click the "Tag Menu" button.
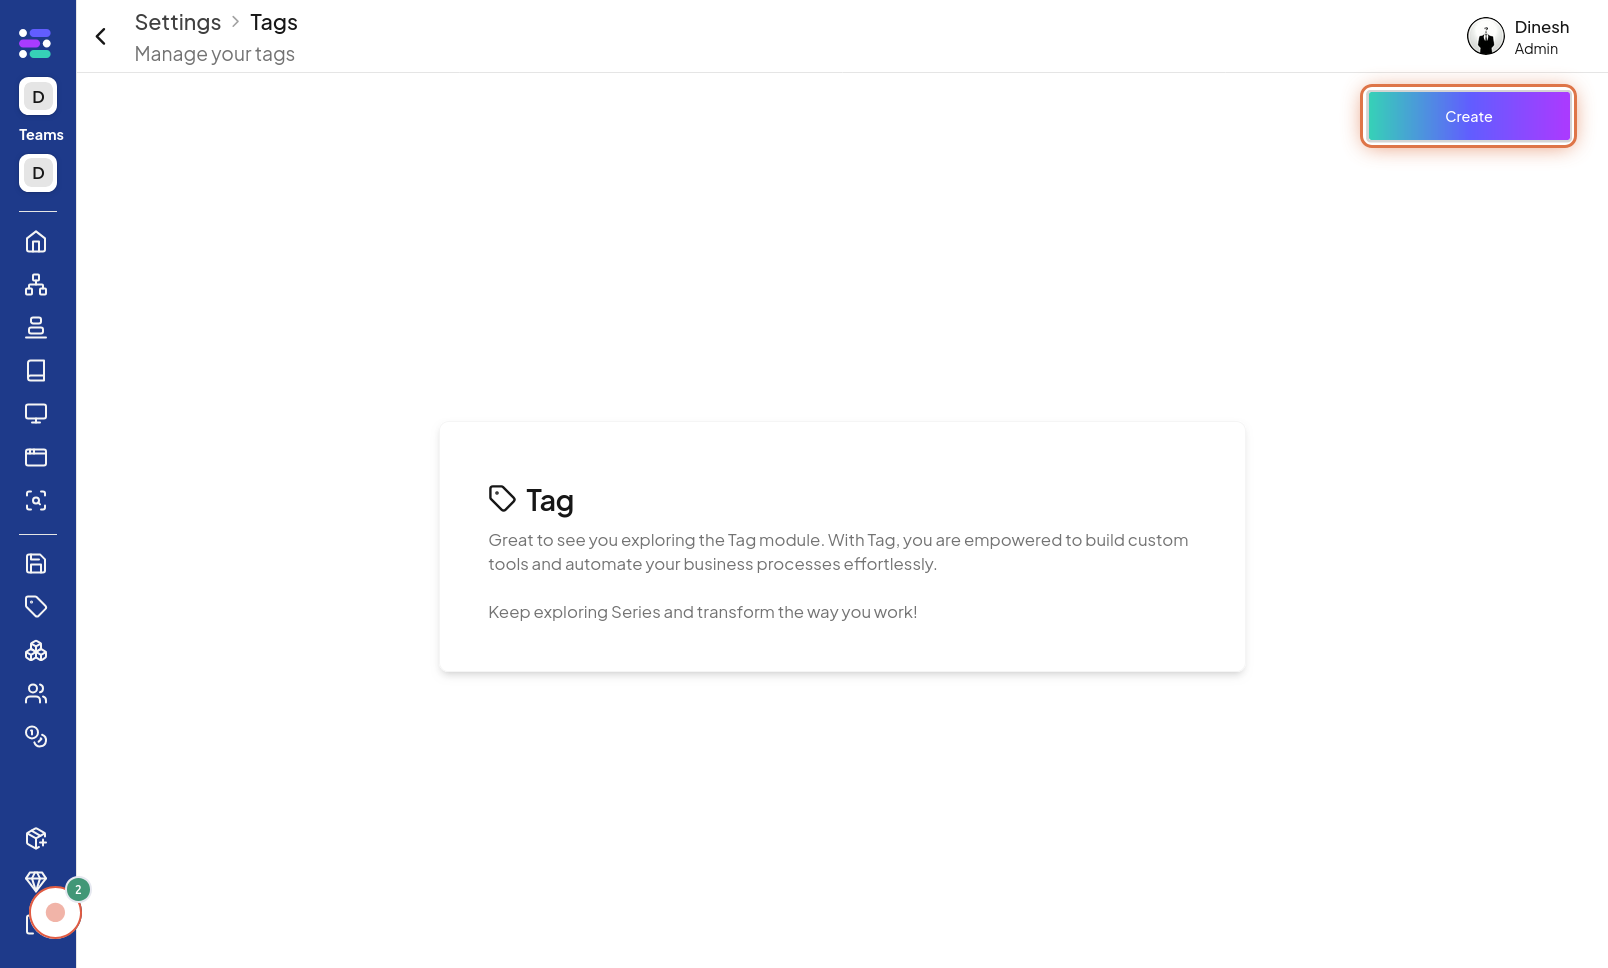
Click on Create
After opening the Tag menu, you will see an option to create a new tag. Click on the "Create" button to initiate the tag creation process. The image for this step highlights the "Create" button within the menu that you need to click to proceed.
Click on Tag name
To create a tag, you need to give it a name. Click on the "Tag name" field to activate it, allowing you to type in the desired name for your new tag. The image in this step shows the "Tag name" field that you need to click on to start entering the name.
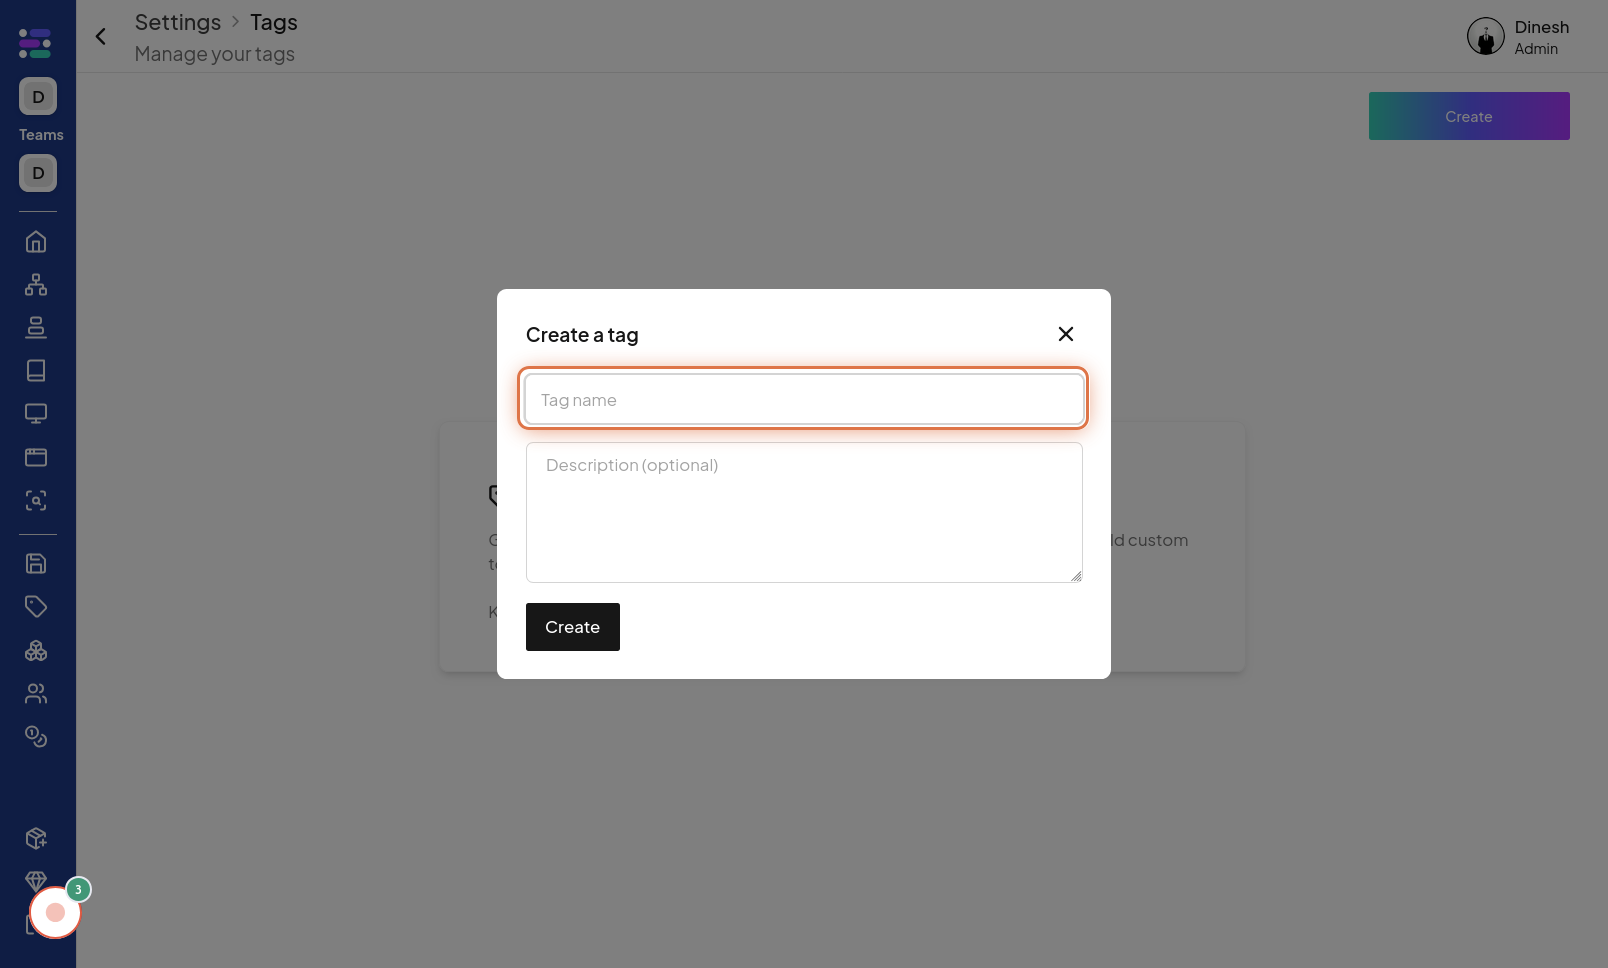
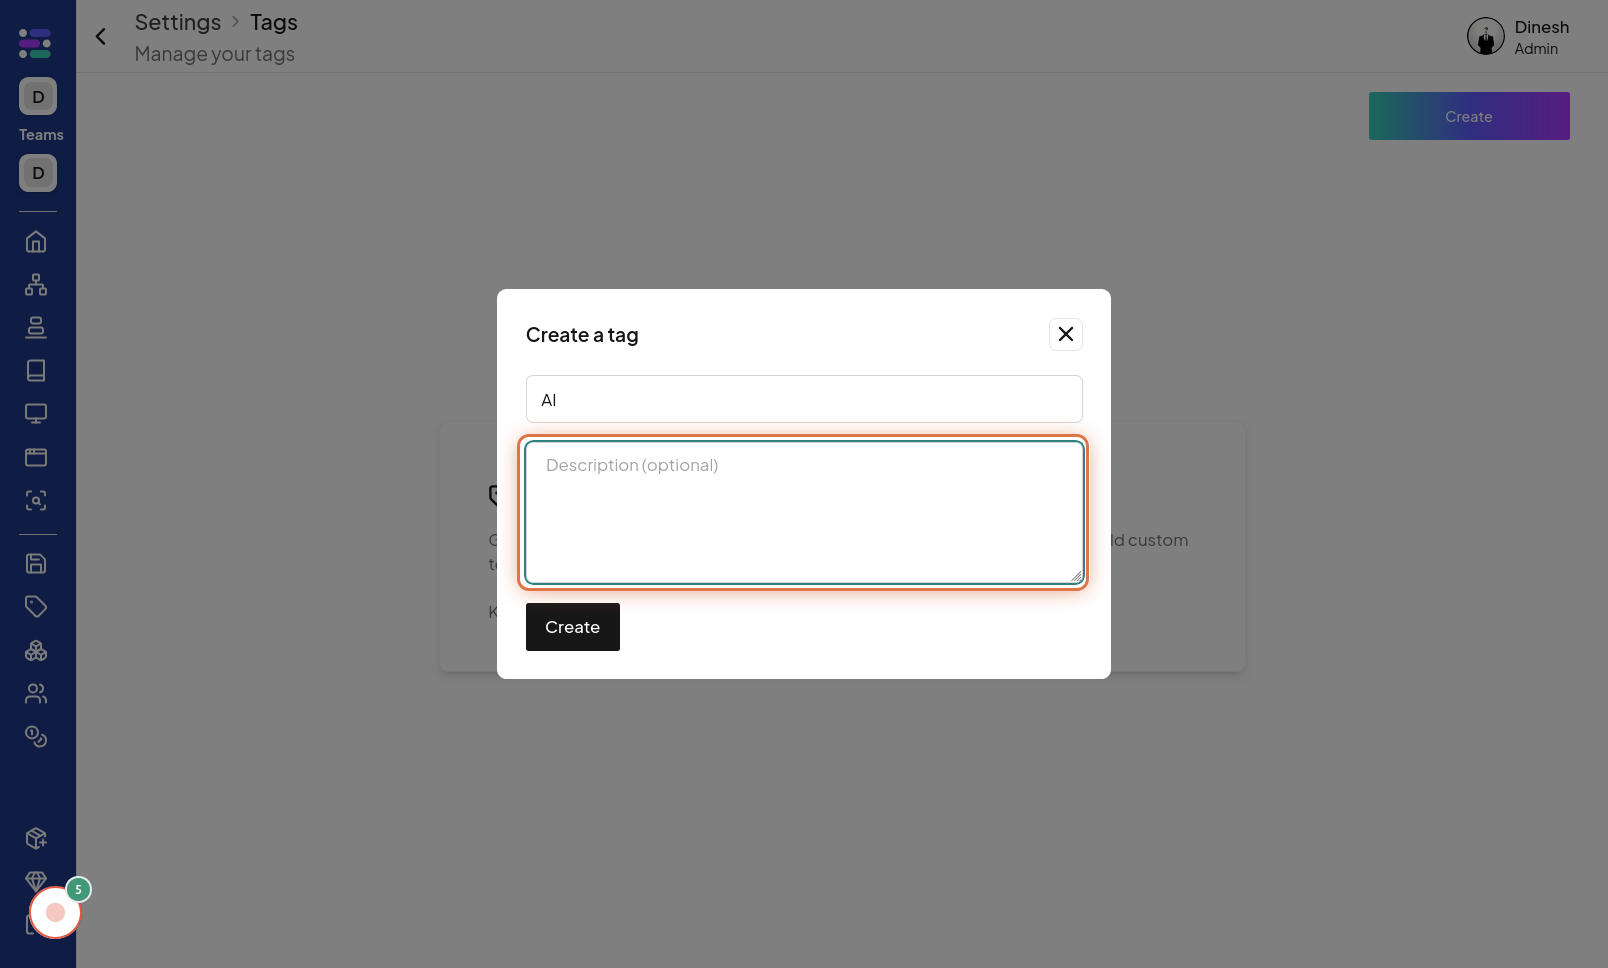
Click on Description (optional)
Optionally, you can add a description to your tag for better organization or context. Click on the "Description (optional)" field if you wish to add a descriptive text for the tag. This step's image points out the "Description (optional)" field, indicating where you should click to add a description.
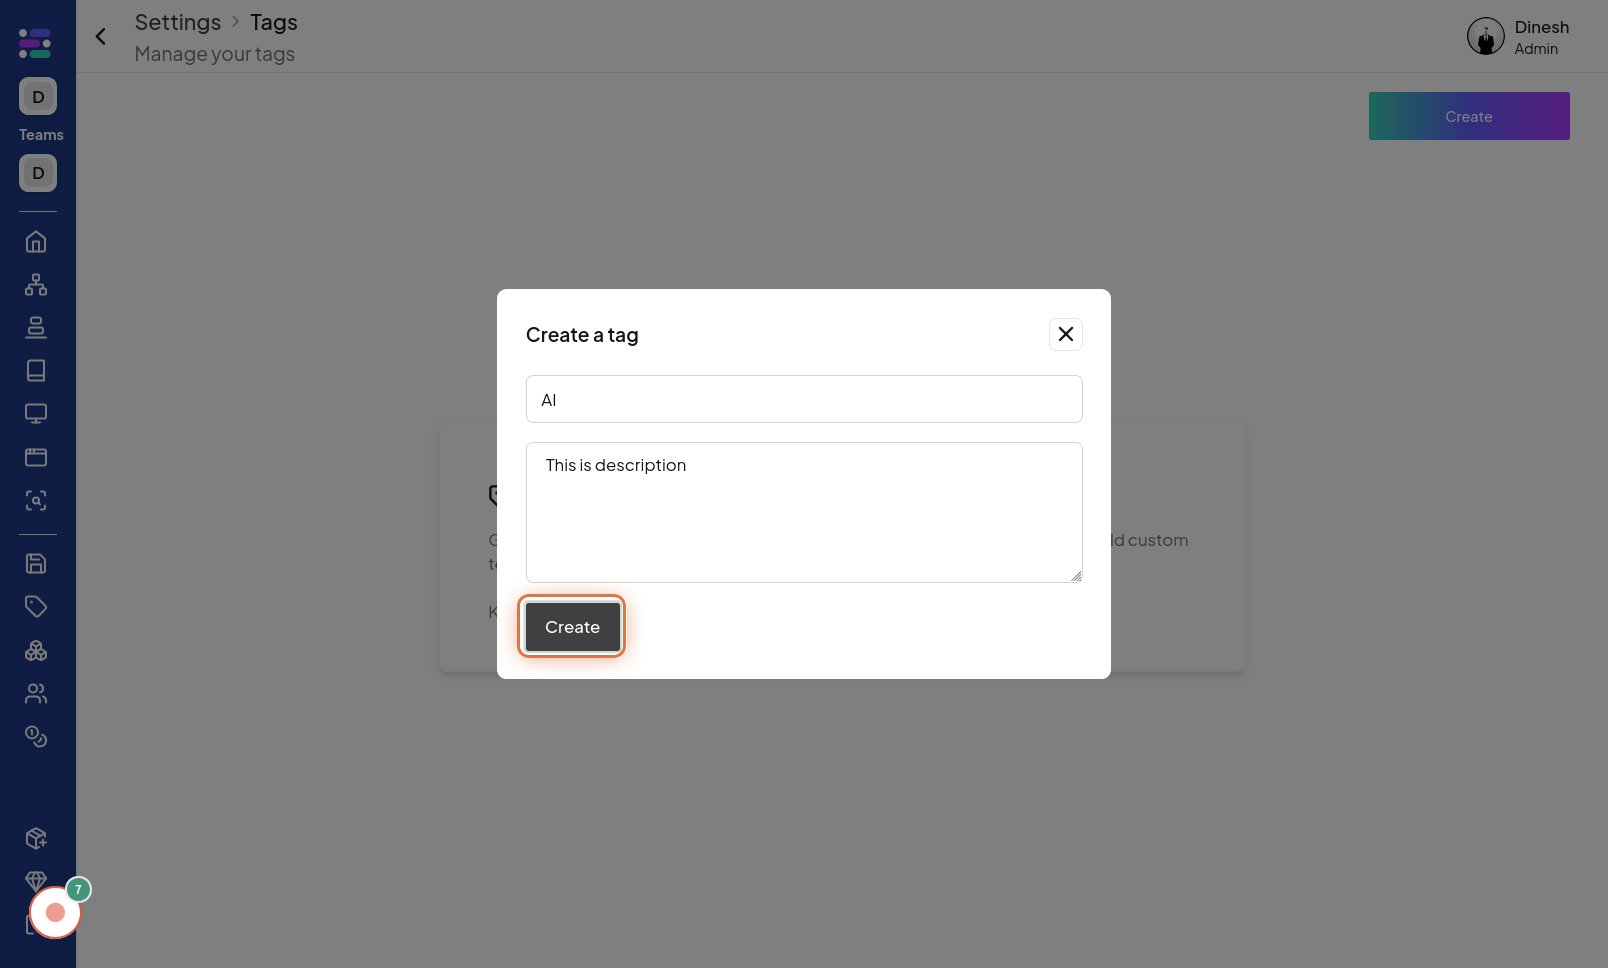
Click on Create
After filling in the tag name and optionally a description, the final step is to create the tag. Click on the "Create" button again to submit the information and finalize the creation of your new tag. The image in this step shows the final "Create" button that you need to click to complete the process and create your tag.