Ghost Integration
Click on StepThis step likely indicates the starting point of the integration process. The user needs to locate and click on a button or link labeled "Step" within the application's interface.
Click on Ghost
After the initial step, the user needs to find and click on an option or icon representing "Ghost." This suggests that the integration is specifically for connecting with the Ghost platform.
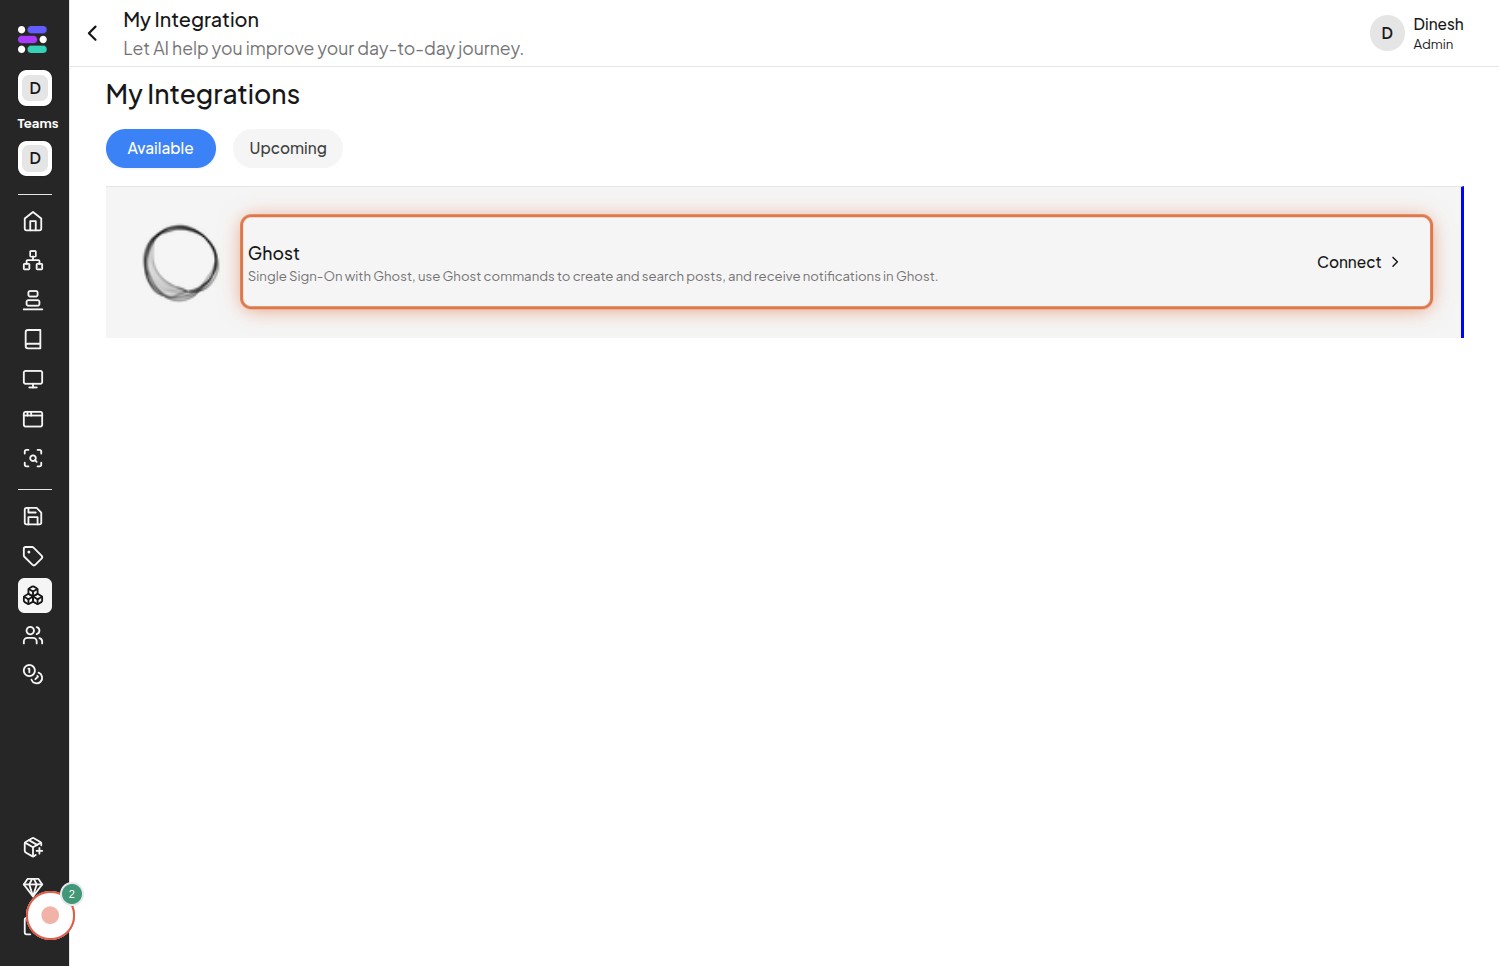
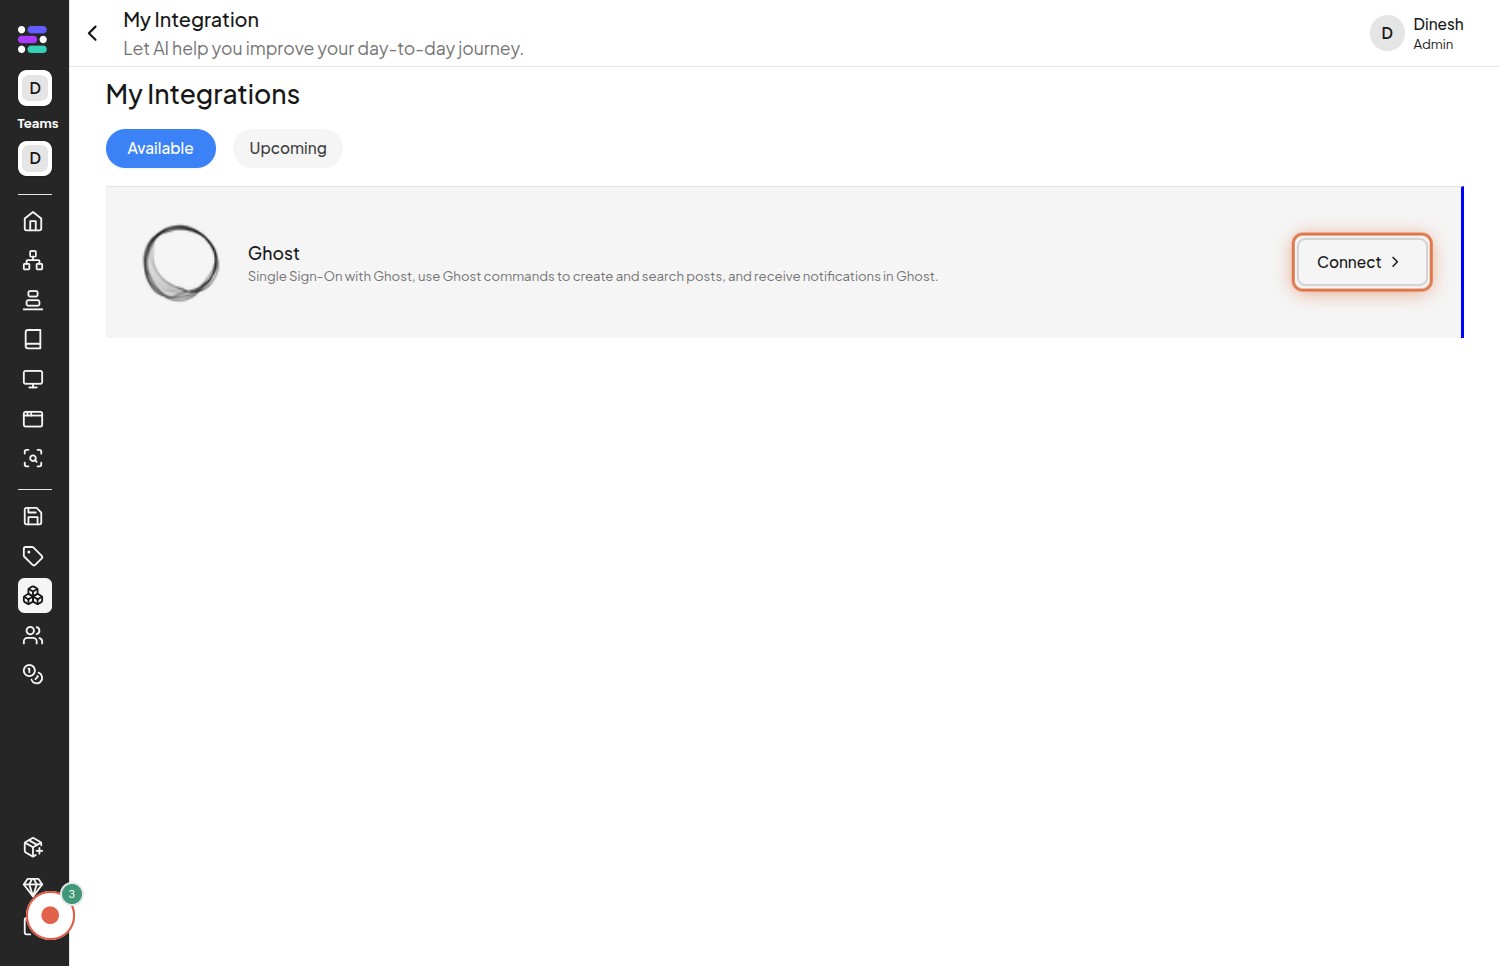
Click on Connect
Once "Ghost" is selected, the user should look for and click on a "Connect" button. This action will initiate the connection process between the current application and the Ghost platform.
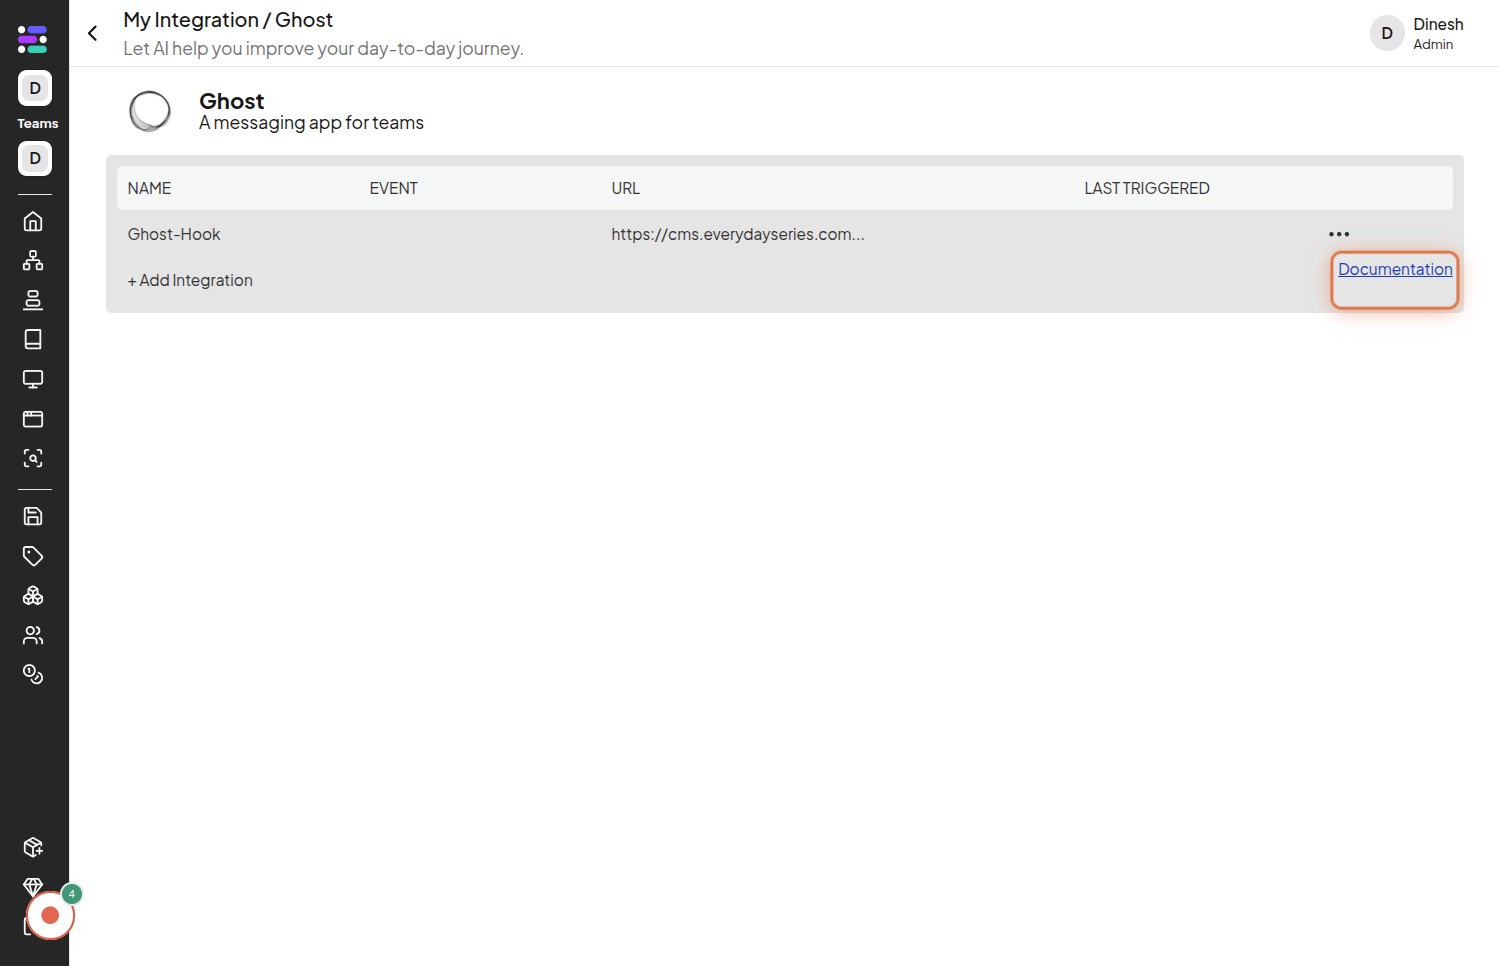
Click on Documentation
This step advises the user to click on "Documentation." This likely opens a page or section containing instructions or guides related to the Ghost integration. It's recommended to review this documentation for detailed information.
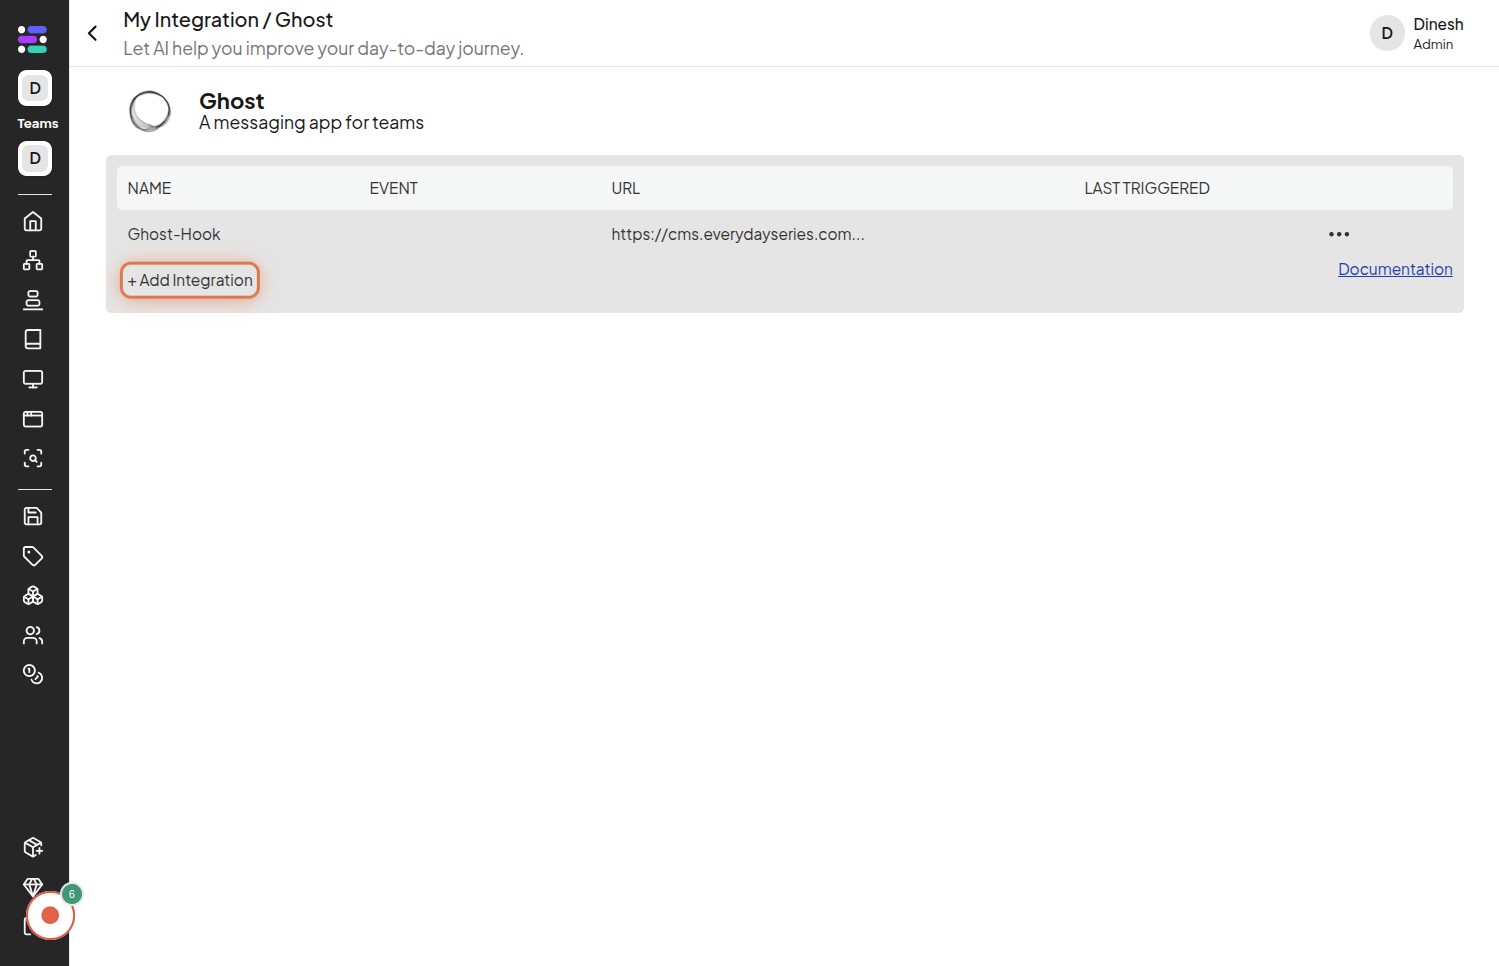
Click on + Add Integration
To begin setting up the Ghost integration, the user needs to click on a button or link labeled "+ Add Integration." This action will likely lead to a form or interface for configuring the connection.
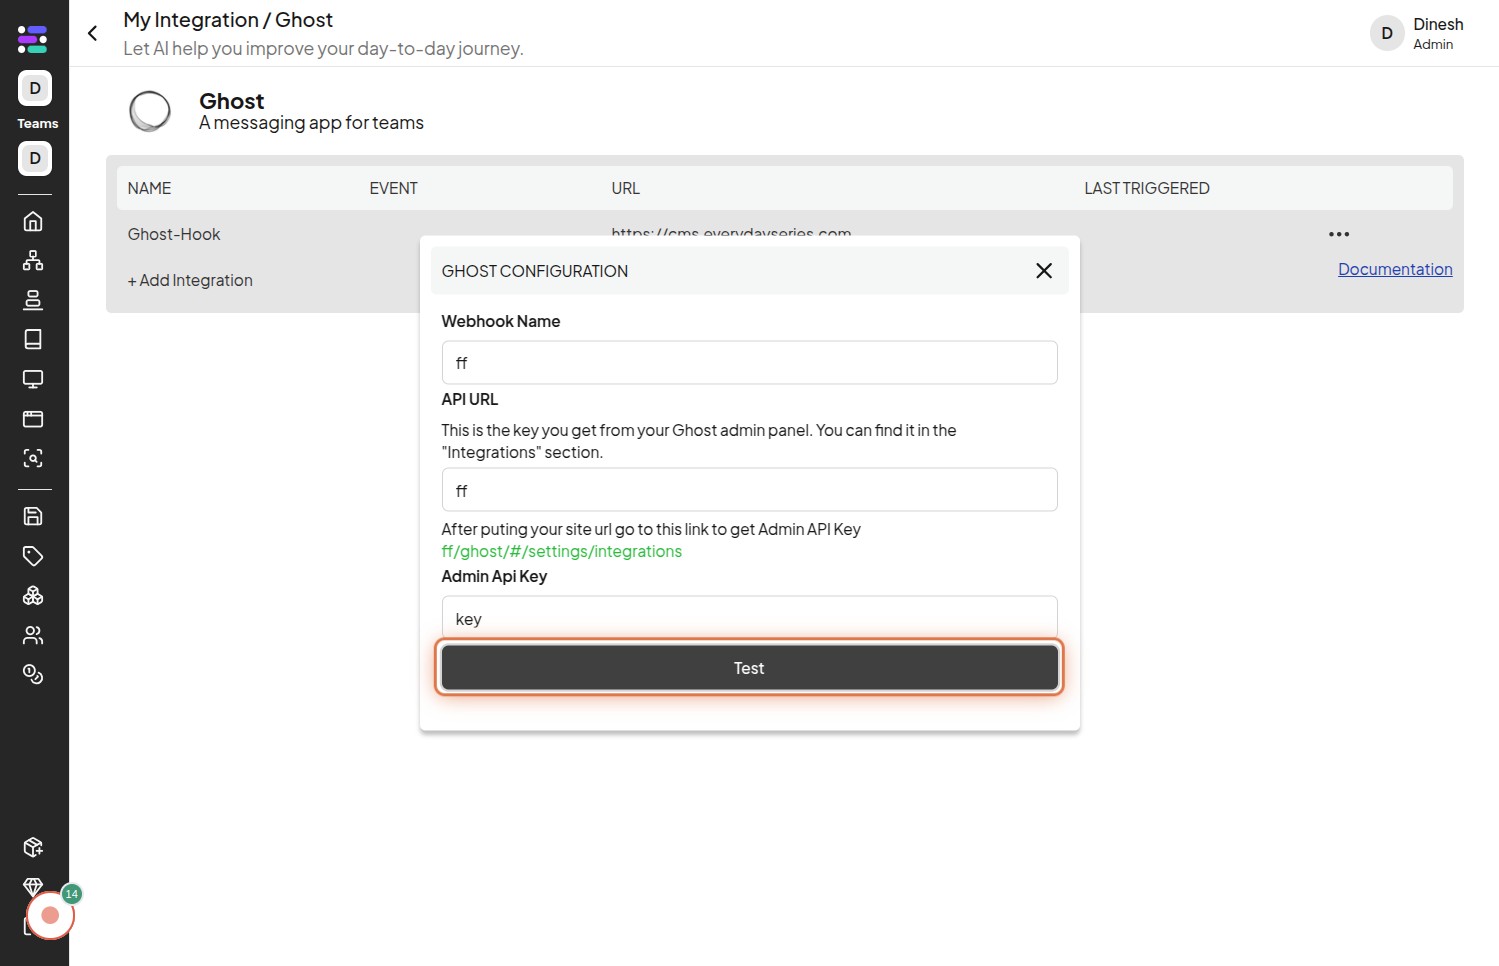
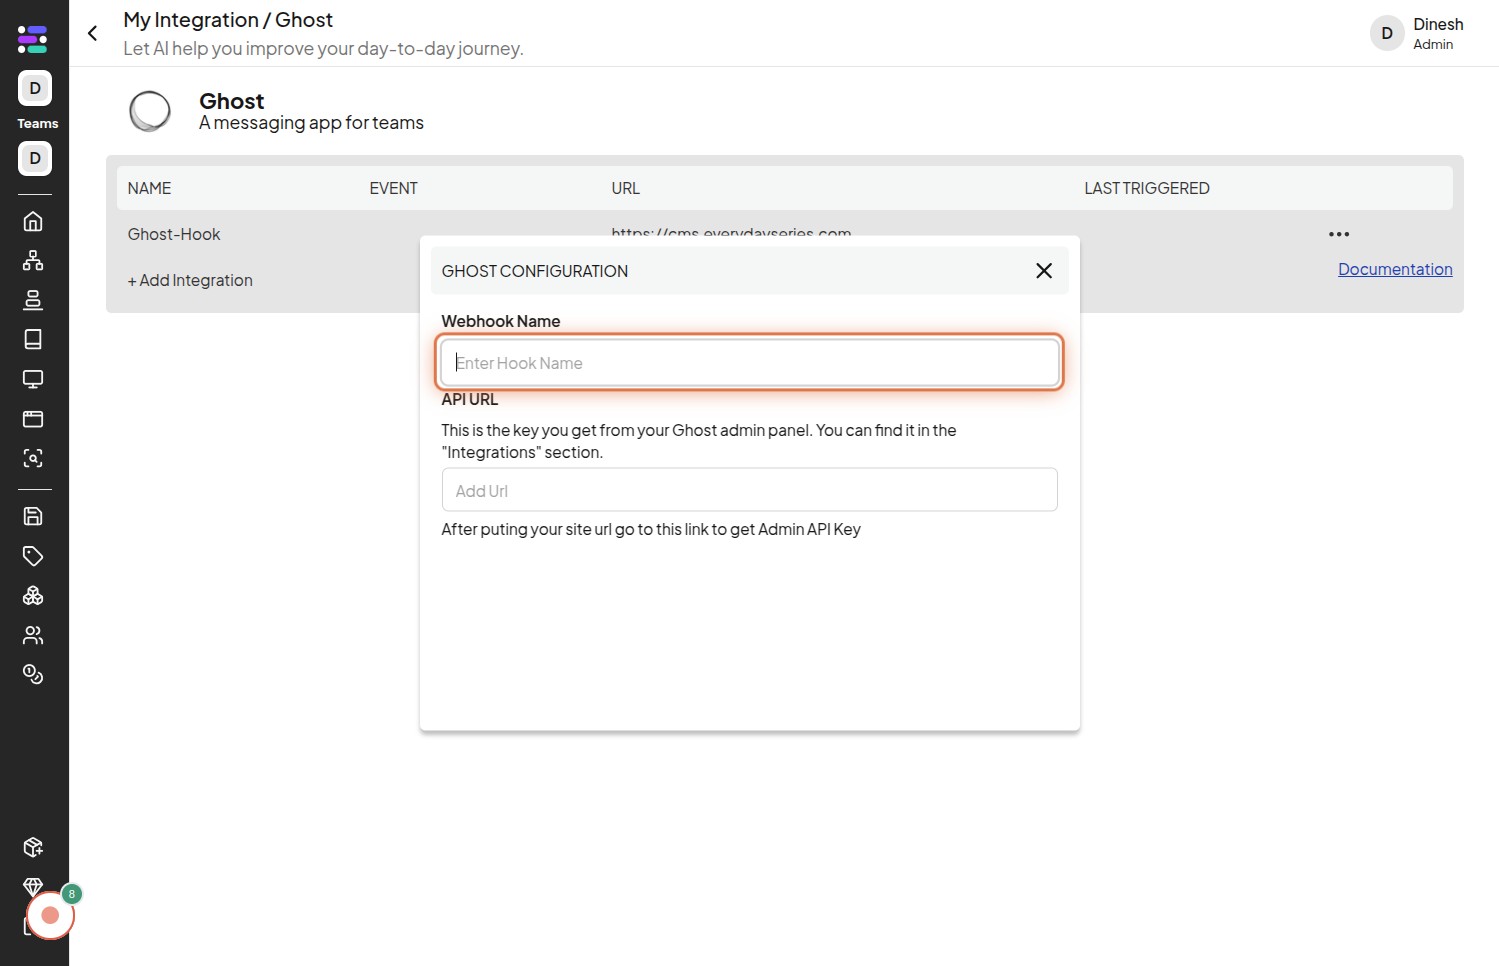
Click on Enter Hook Name
In this step, the user is instructed to click on a field where they can enter a "Hook Name." This name is likely used to identify or label the specific Ghost integration being set up.
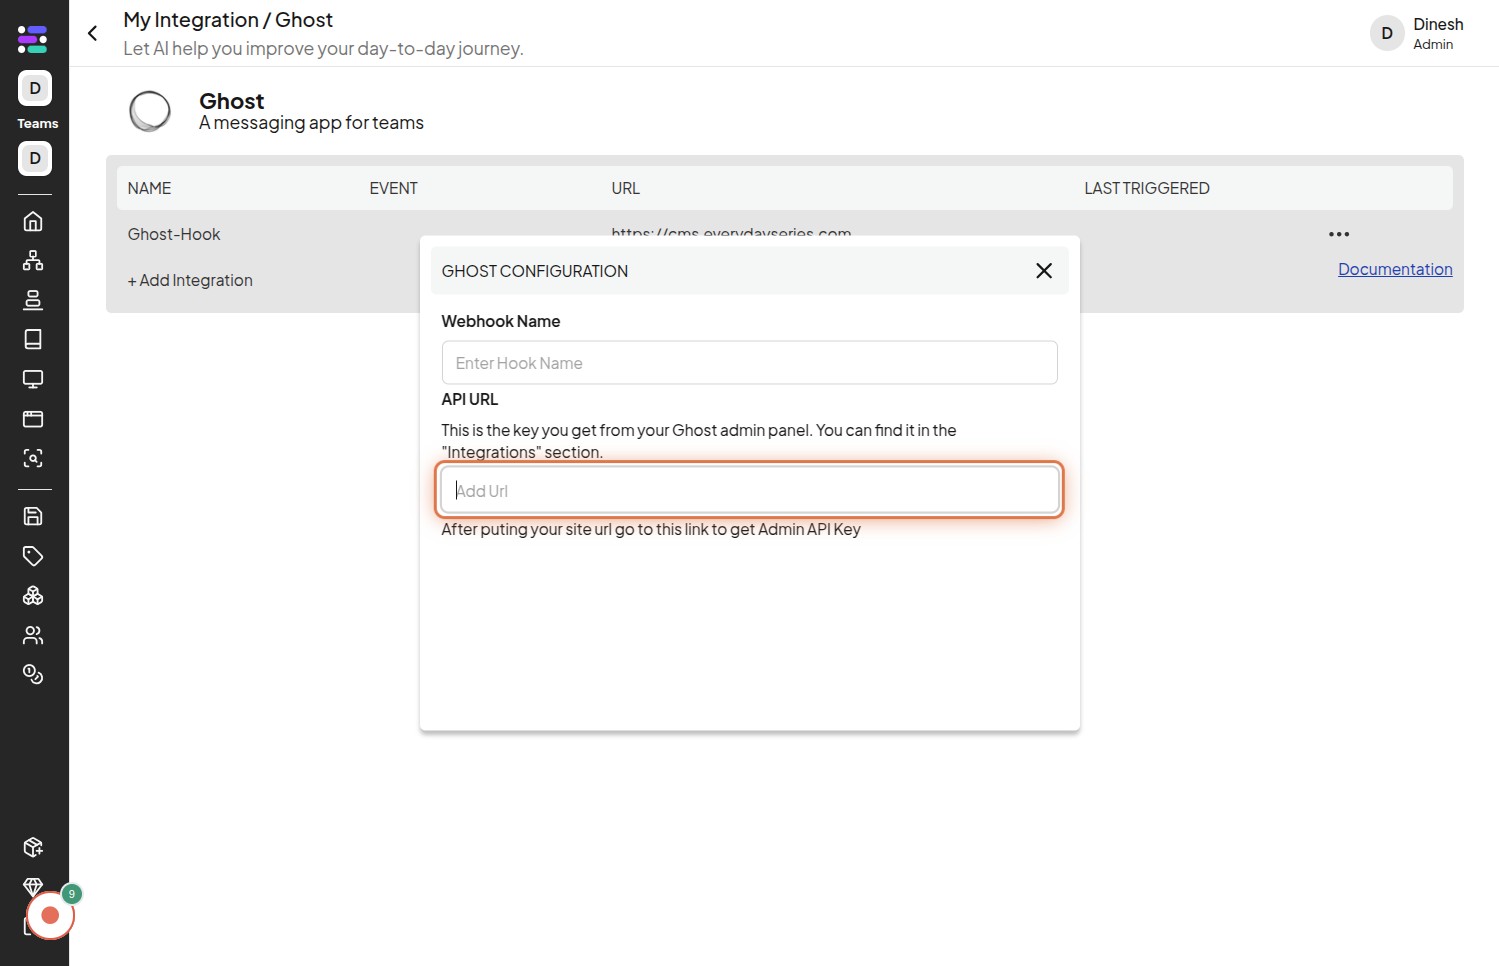
Click on Add Url
The user needs to click on a field or button to "Add Url." This URL is probably the webhook URL provided by the Ghost platform that will receive data or notifications from the current application.
Click on Api Key
This step requires the user to click on a field to enter the "Api Key." This API key is a credential needed to authenticate and authorize the connection between the application and the Ghost platform.
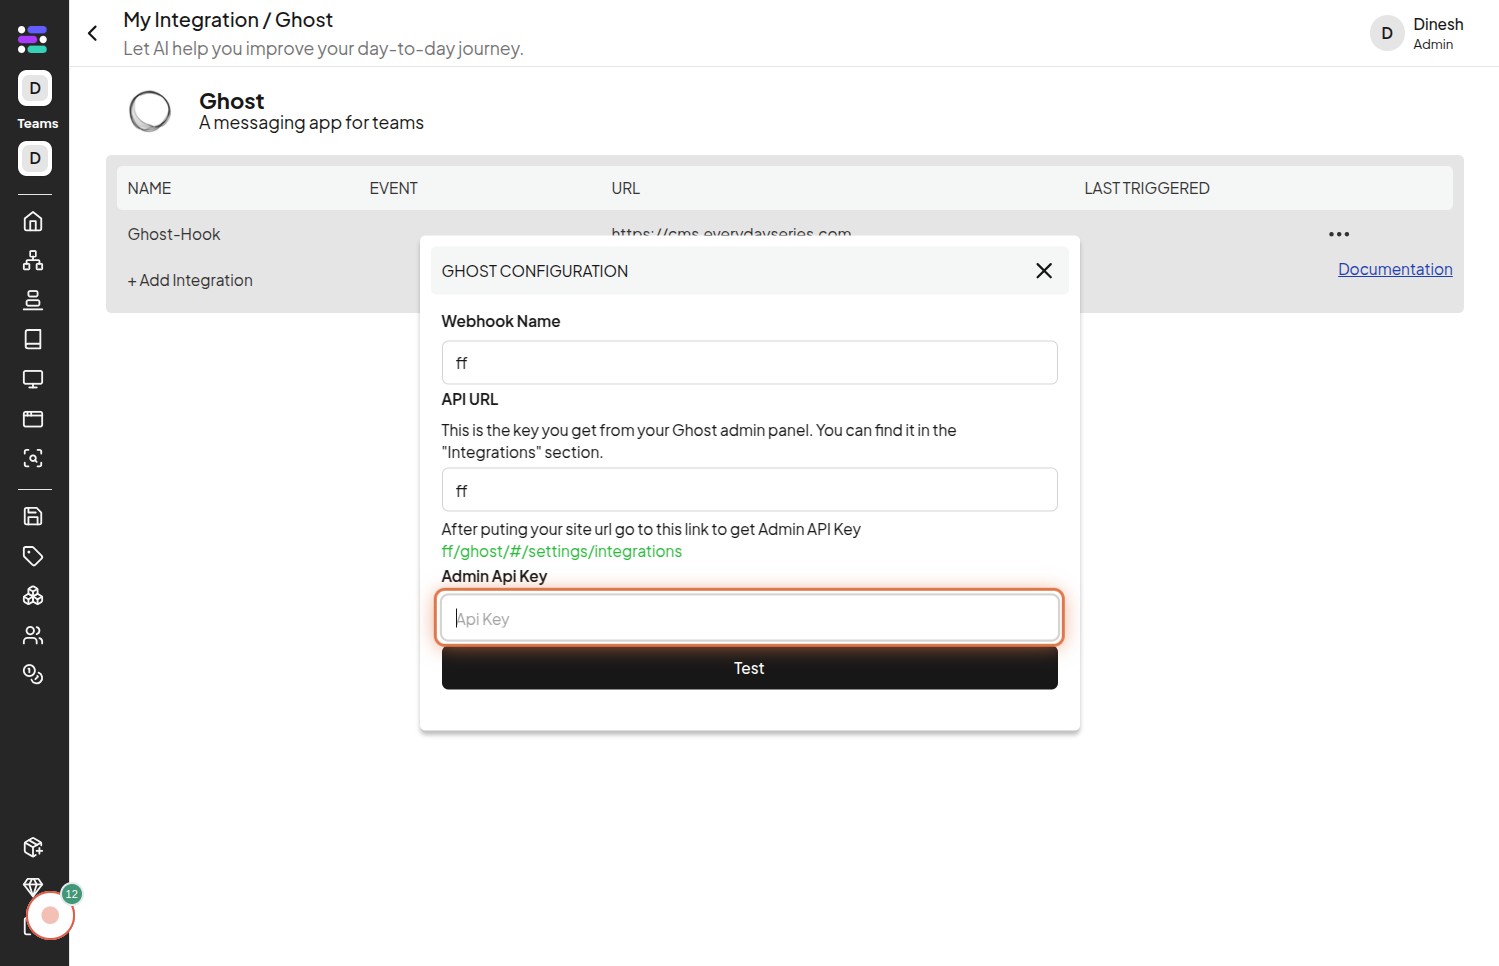
Click on Test
After configuring the integration with the hook name, URL, and API key, the user should click on a "Test" button. This action will likely send a test request to the Ghost platform to verify that the connection is working correctly.