Manage Team Member
Click on Staff menu

To begin managing your team members, the first step is to navigate to the "Sidebar" section of the website. Once you are in the "Sidebar" section, you'll need to access the staff management options. Click on the "Staff menu" option, which is usually located in the navigation menu or sidebar. This action will take you to the staff management area. The image for this step highlights the "Staff menu" button that you need to click.
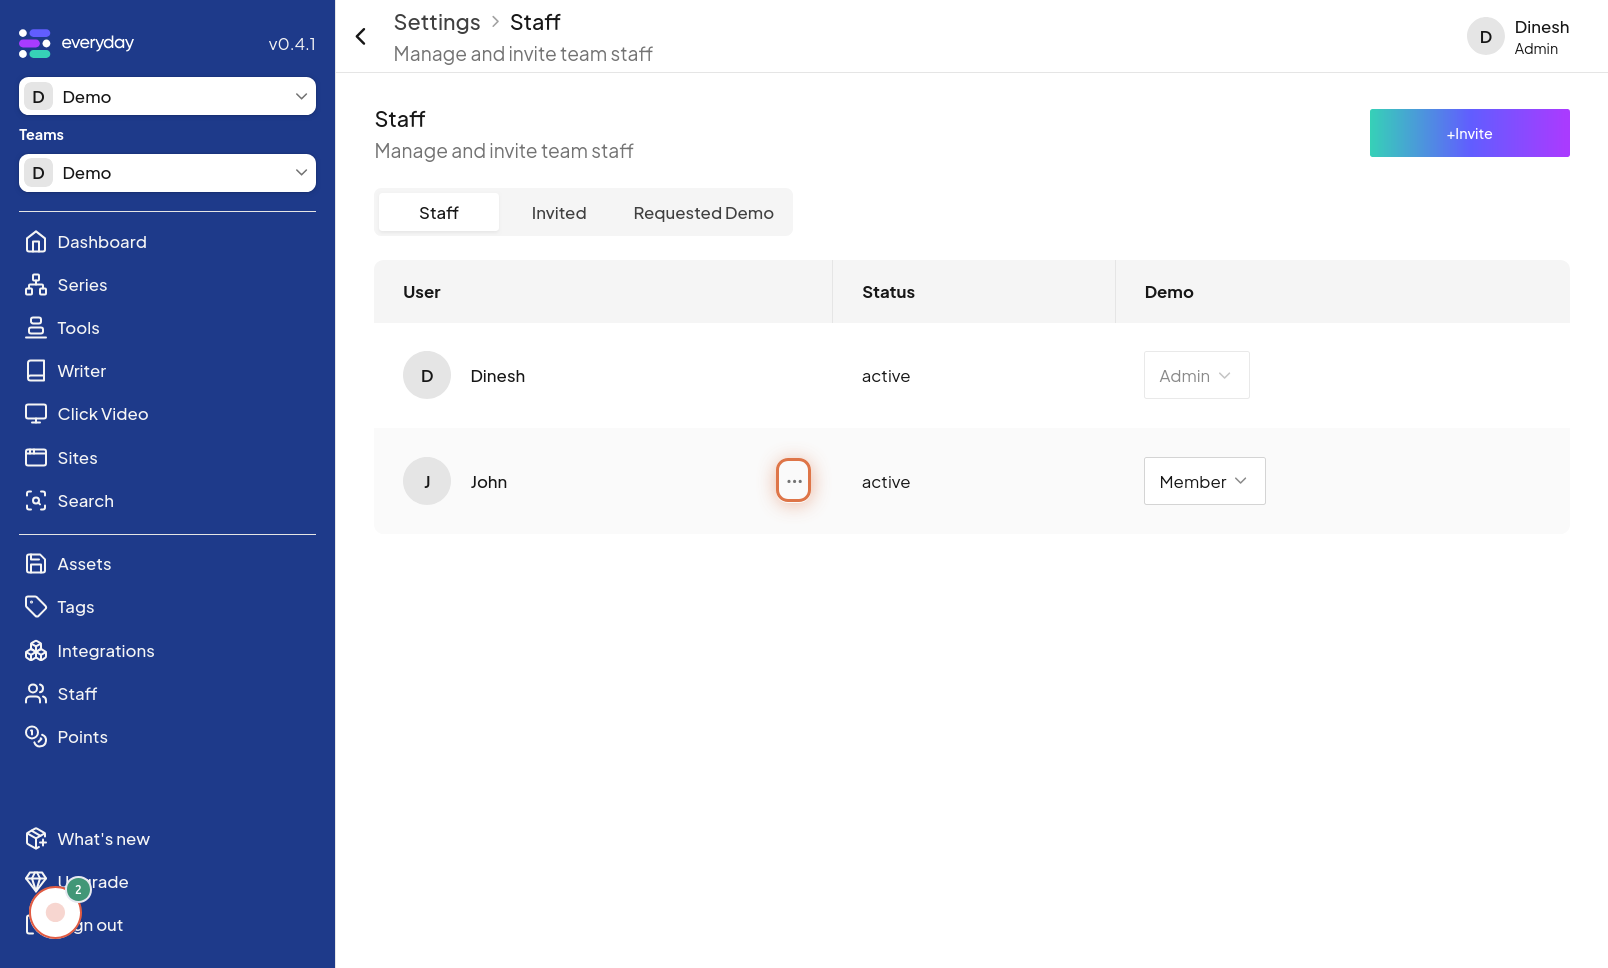
Click on Action icon
To manage a specific team member, you need to locate their entry in the team member list and click on the associated "Action icon". This icon, typically represented by three dots or a gear, provides access to management options for that specific member. The image in this step points out the "Action icon" next to a team member's name, indicating where to click to manage their settings.
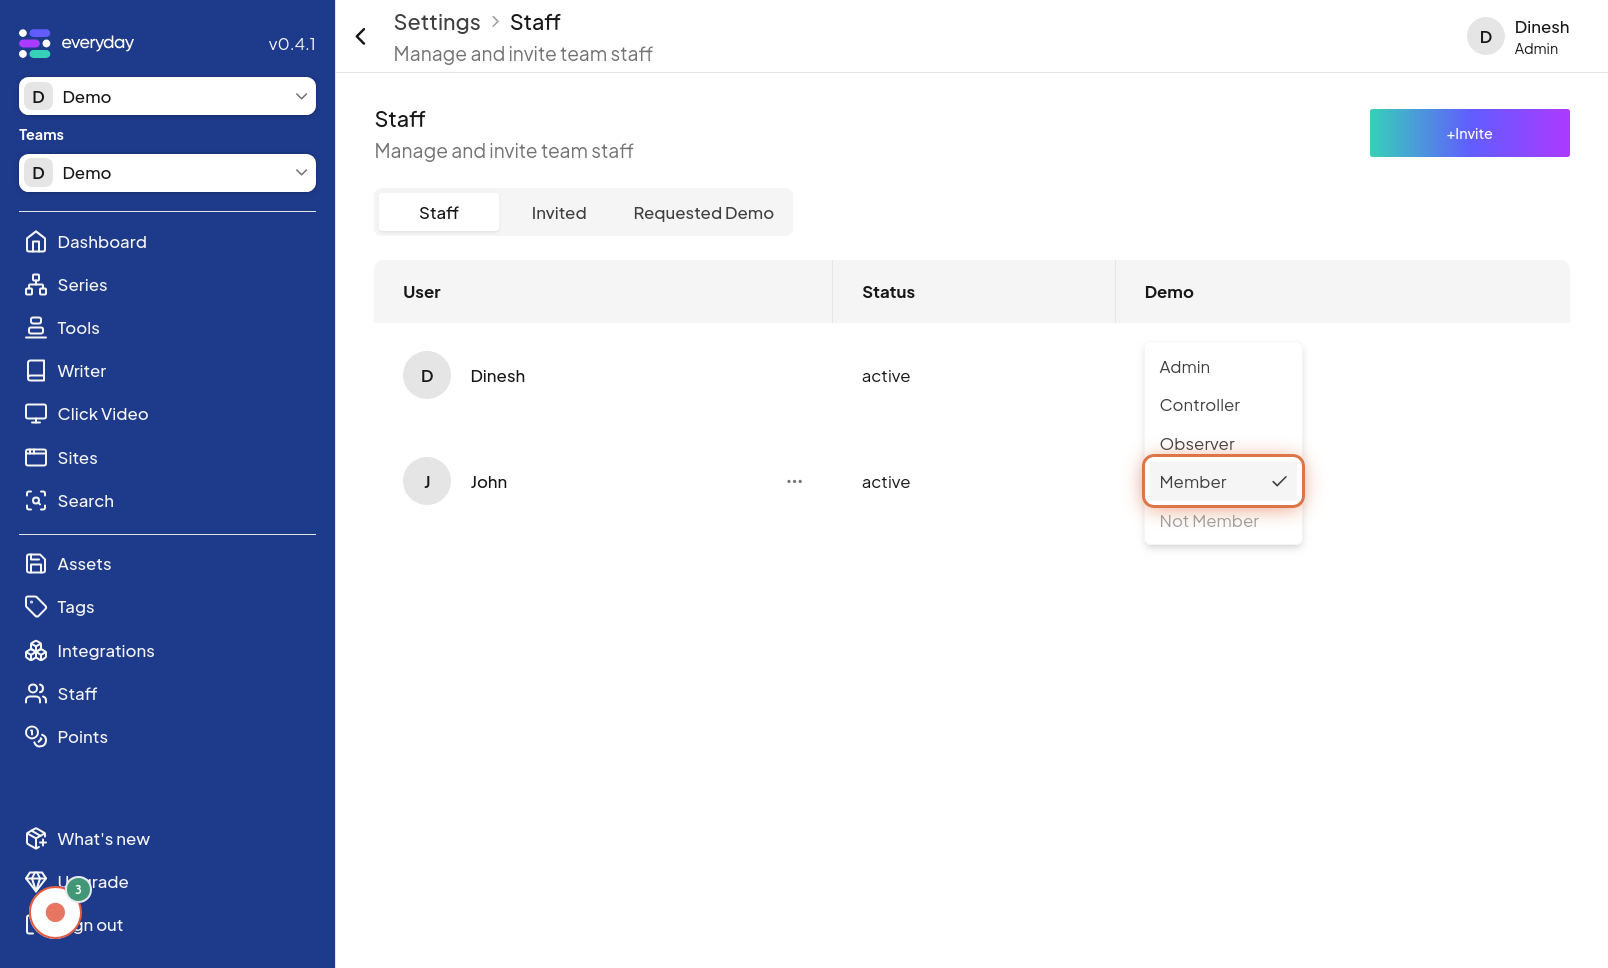
Click on Member
After clicking the "Action icon," a menu will appear with different options. In this step, you need to click on the "Member" option from the action menu. This selection will likely lead you to a detailed view or settings page for the selected team member. The image for this step highlights the "Member" option within the action menu.

Change Member Role
Once you are in the member management interface, you can change the team member's role. This step refers to selecting and applying a new role for the team member, which could involve using a dropdown menu or similar control to choose from available roles. The image for this step demonstrates the area where you can change the "Member Role", showing a dropdown or selection element for role assignment.