Save as Template
Click on Series

To begin saving a series as a template, the first step is to click on the "Series" option. This is likely located in the main navigation menu, and clicking it will take you to the series management area. The image for this step will guide you to find and click the "Series" navigation link or button.

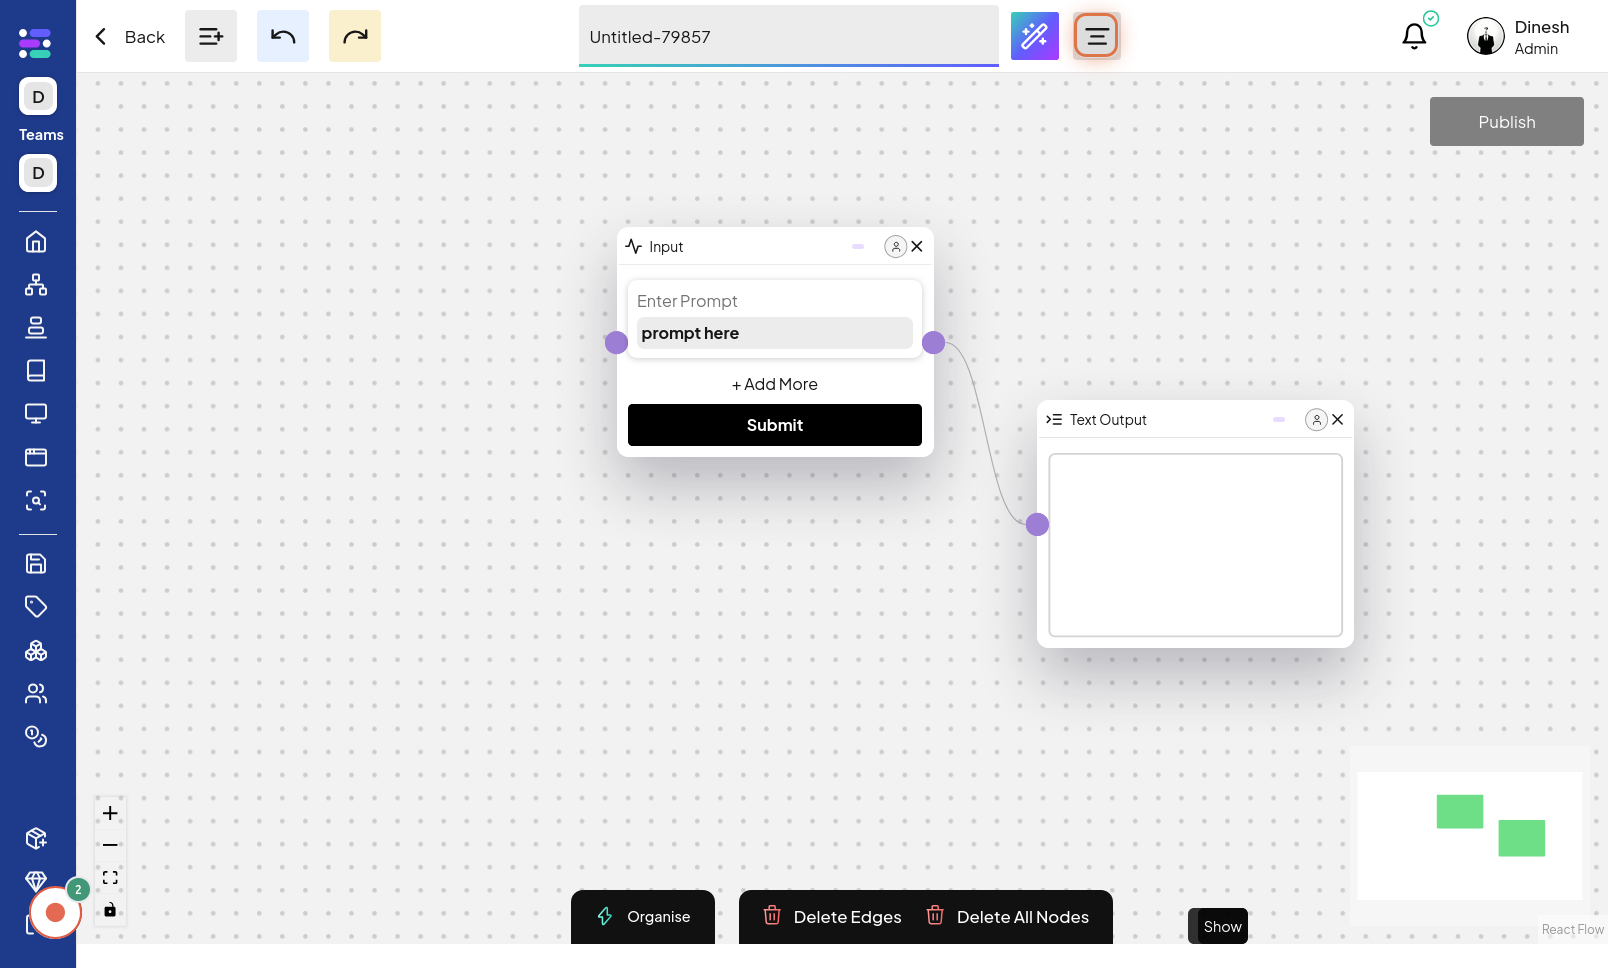
Click on Menu
Once you are in the series management area, you need to access the menu for the specific series you want to save as a template. Click on the "Menu" icon associated with your chosen series. This icon is typically represented by three dots or a similar symbol. The image for this step highlights the "Menu" icon next to a series, indicating where to click to access series-specific options.
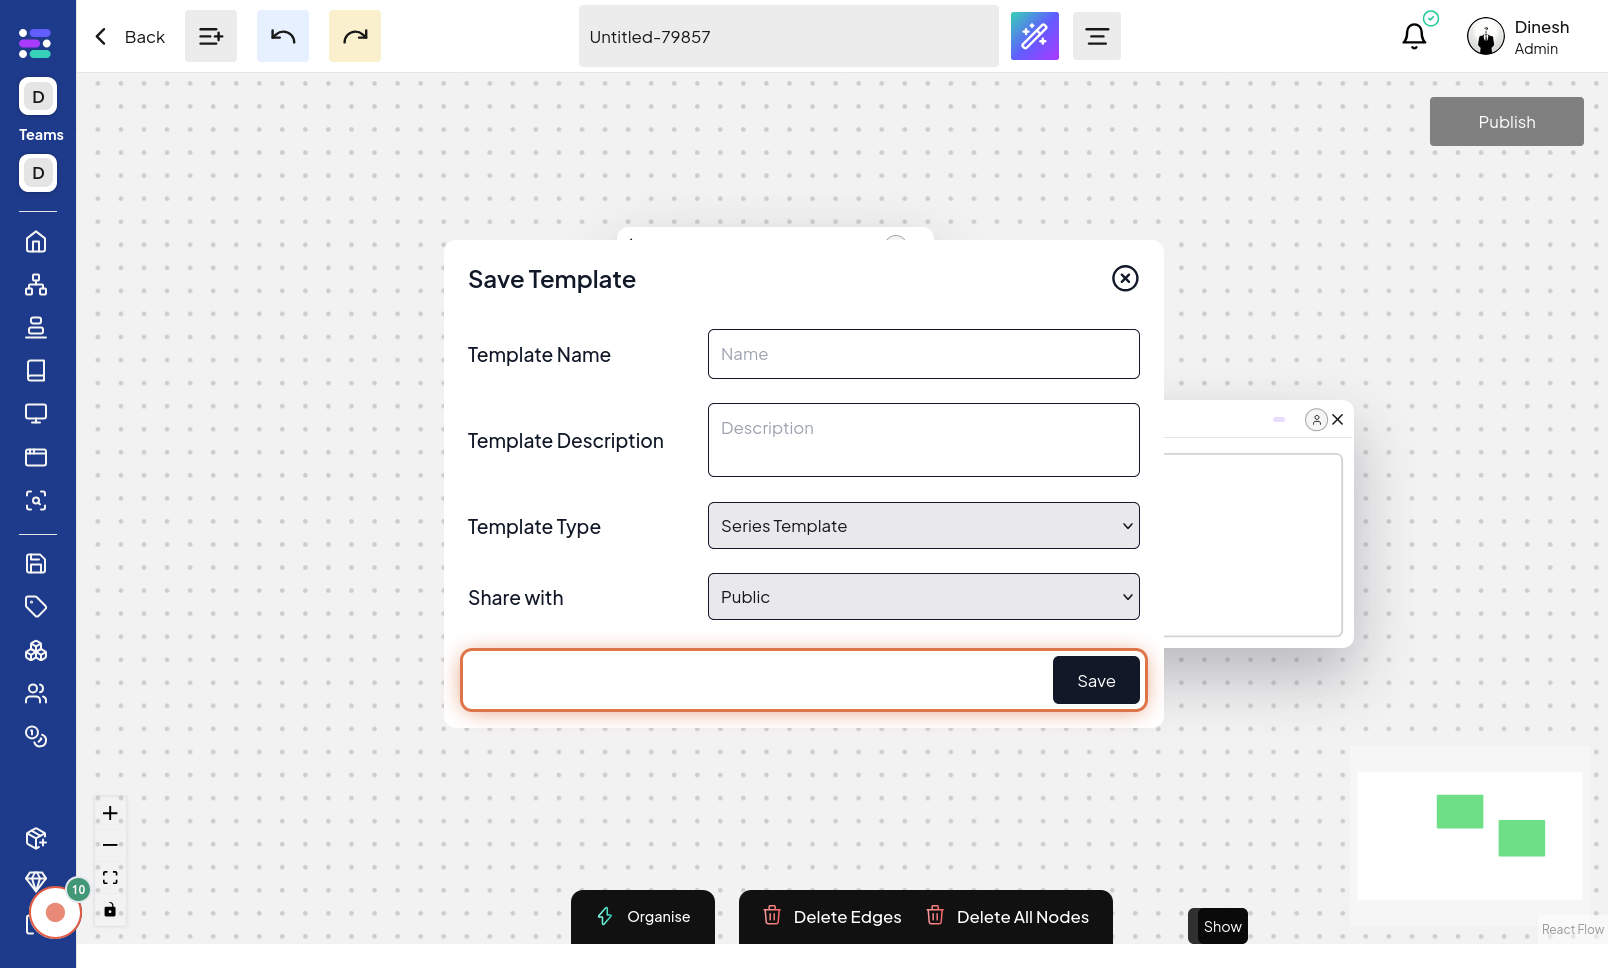
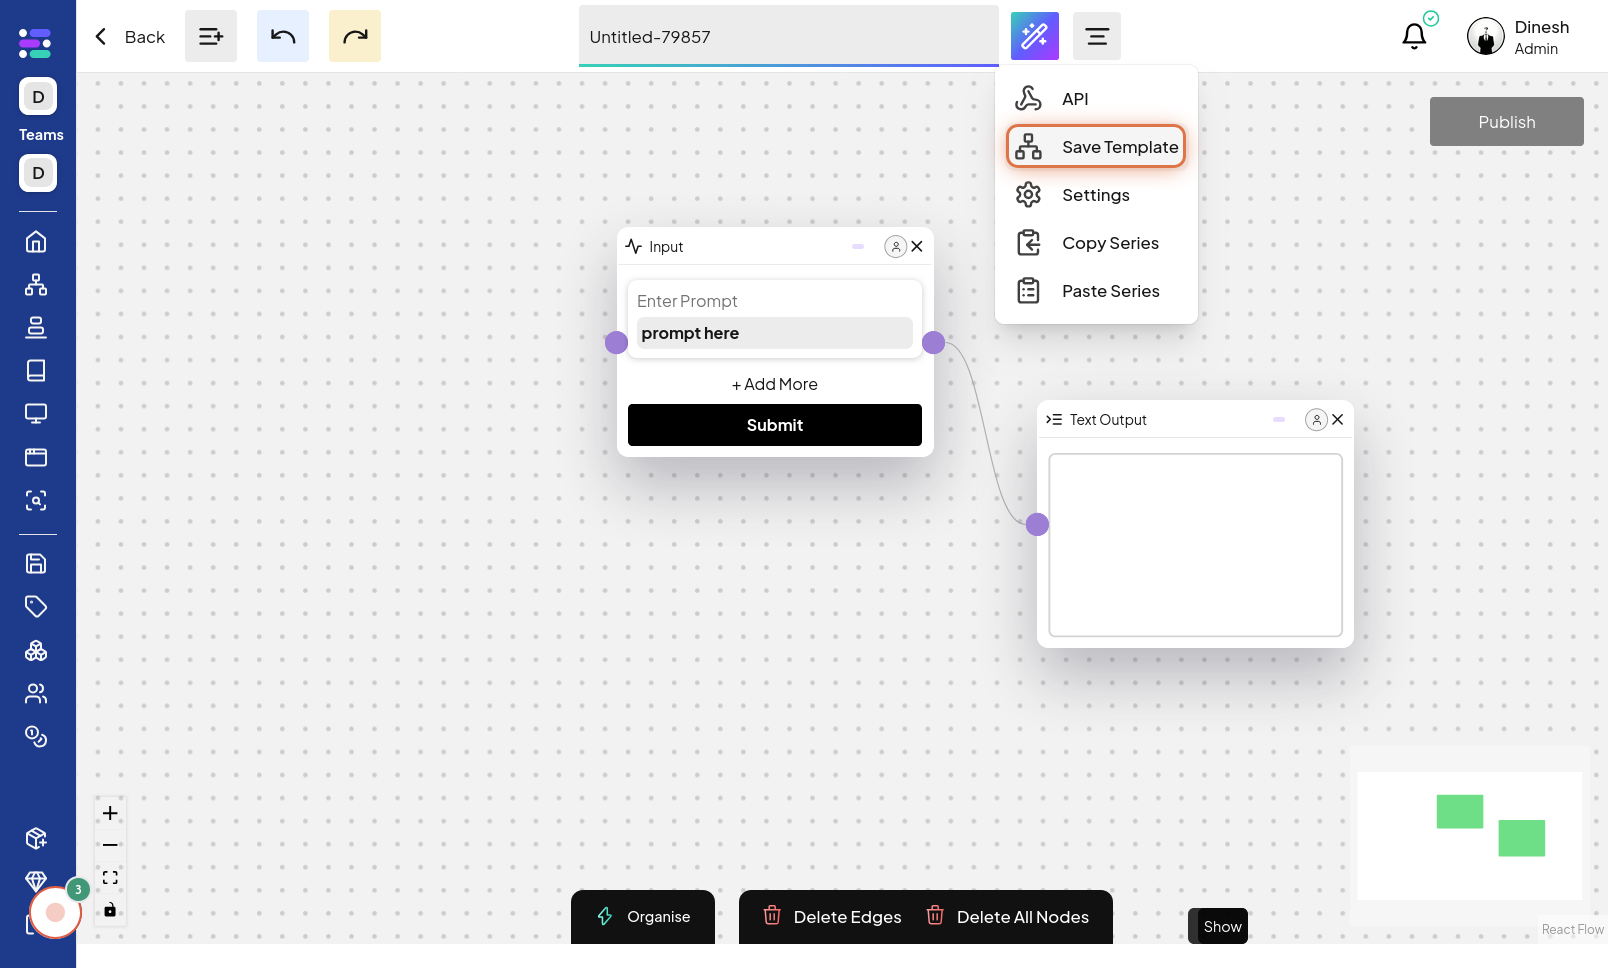
Click on Save Template
From the series menu options, select "Save Template". Clicking on this option will initiate the process of saving the current series as a reusable template. The image for this step points out the "Save Template" option within the series menu, which you need to click to proceed.
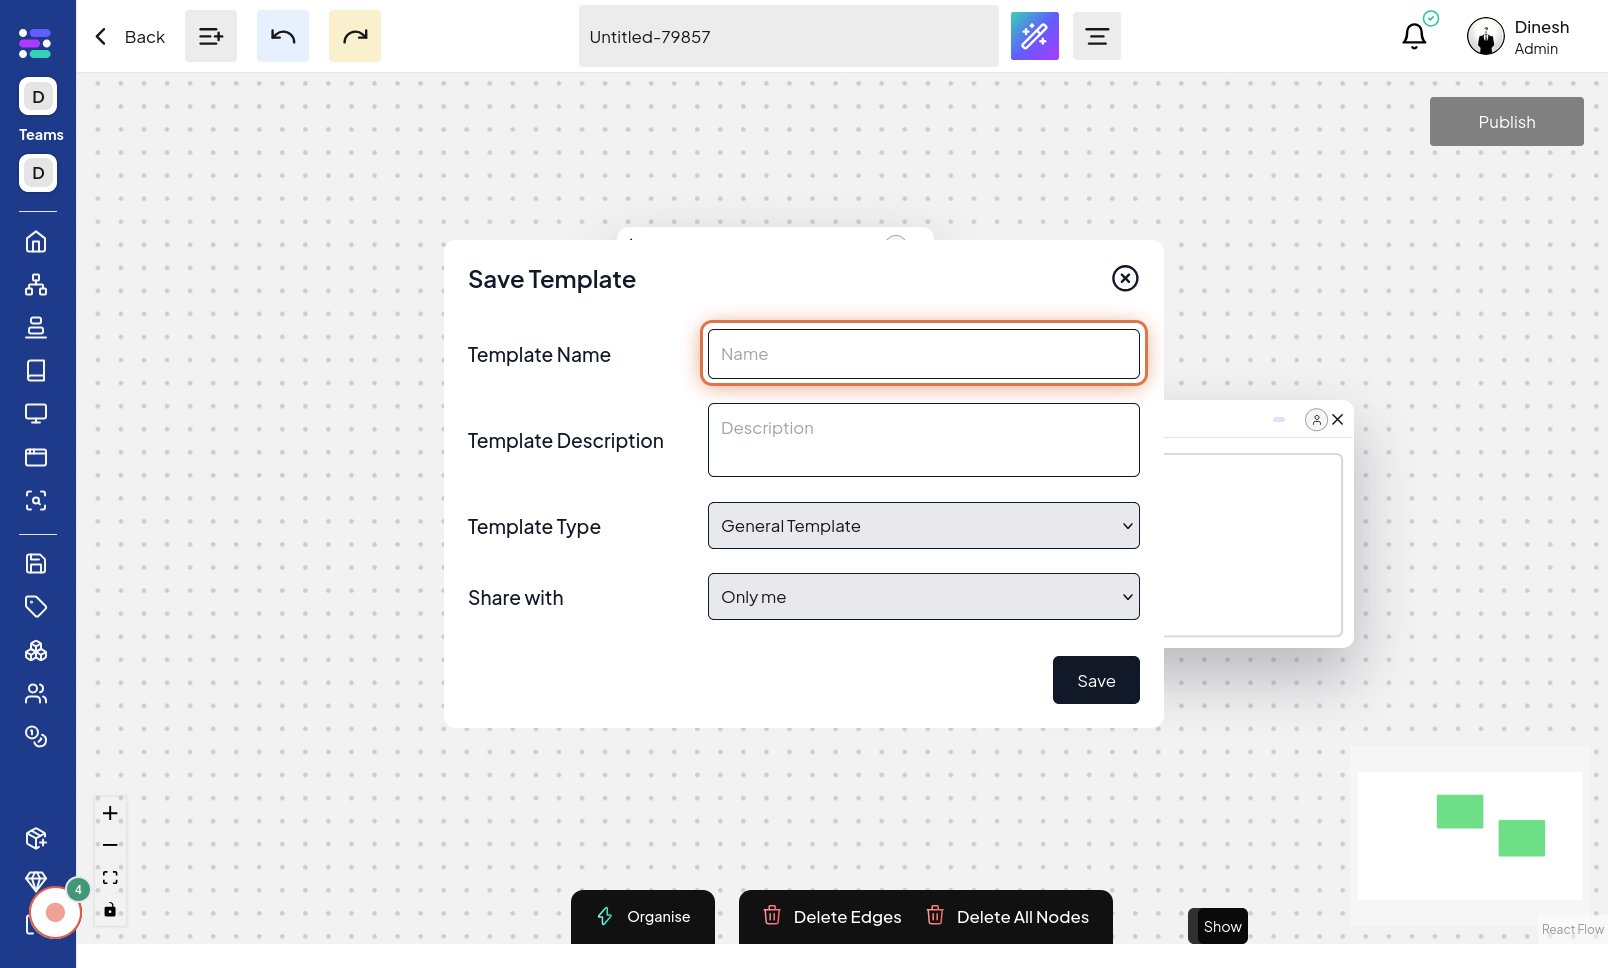
Click on Name
To save the series as a template, you need to provide a name for the template. Click on the "Name" field to activate the text input, allowing you to type in a descriptive name for your template. The image in this step shows the "Name" field that you should click on to start entering the template's name. The description "Enter Name" reinforces this action.
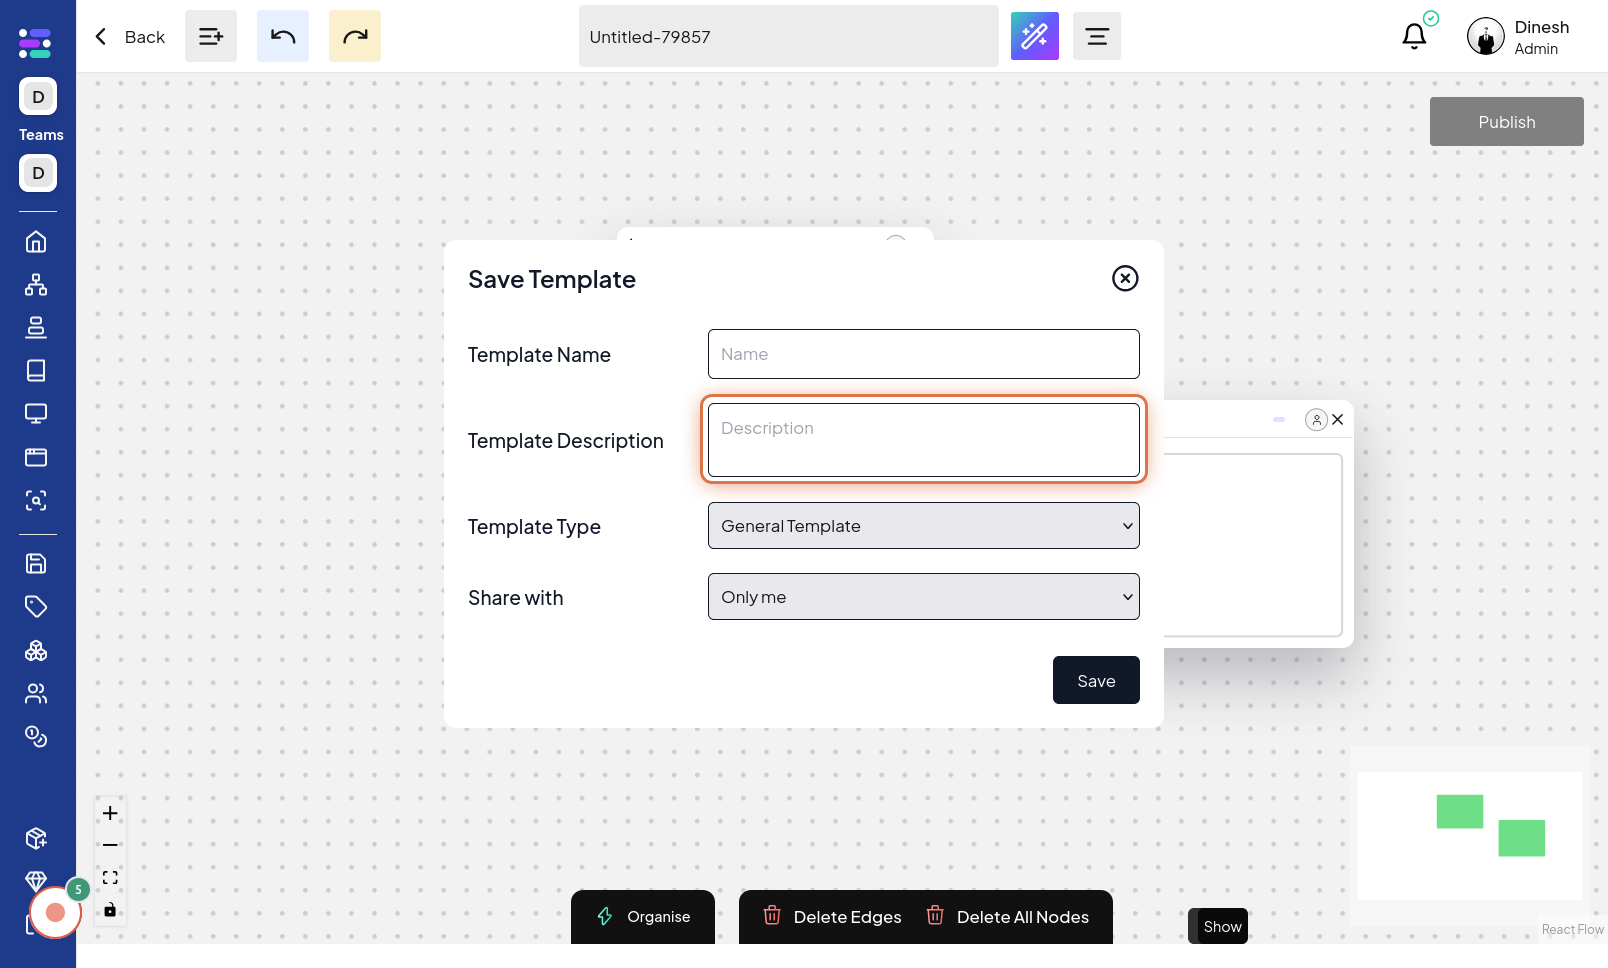
Click on Description
Optionally, you can add a description to your template. Click on the "Description" field to activate the text input and provide a brief explanation or details about the template. The image for this step highlights the "Description" field, indicating where to click to add a descriptive text for the template. The description "Enter Description" reinforces this action.
Click on Type
To categorize or specify the type of template, click on the "Type" field. This action will likely open a dropdown or selection menu where you can choose the template type. The image for this step points out the "Type" field, indicating where to click to select the template type.
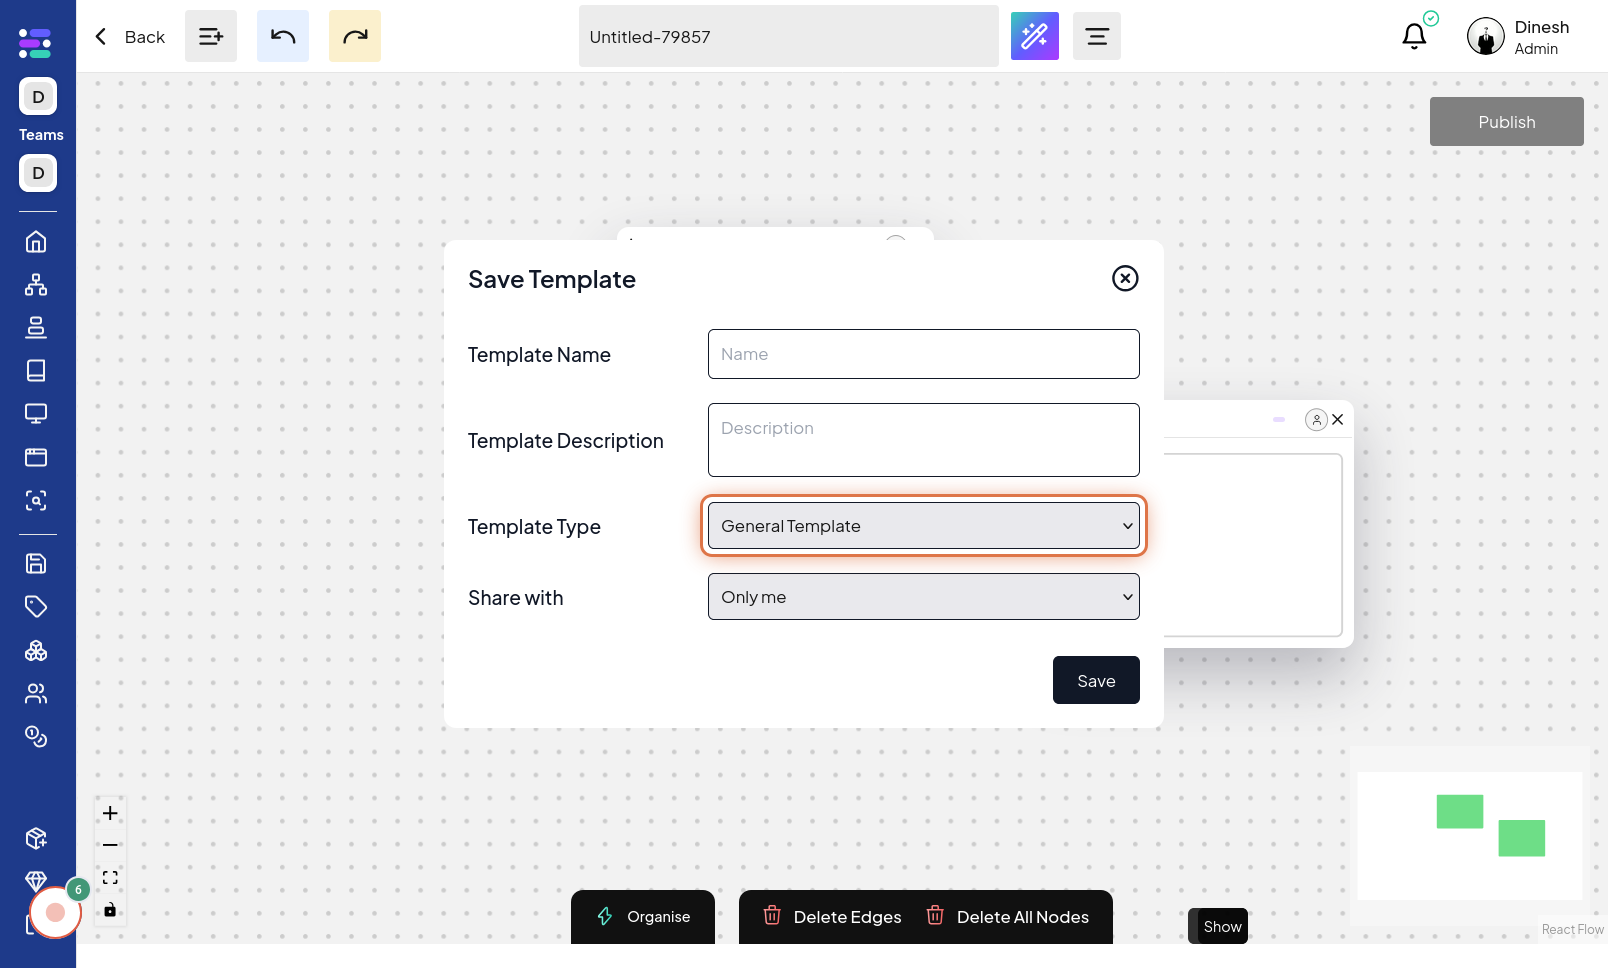
Select Template Type
From the options provided after clicking "Type", you need to select the appropriate template type. Choose the category or type that best describes your template from the available choices. The image for this step shows the dropdown or selection menu with "Template Type" options, highlighting the selection process.
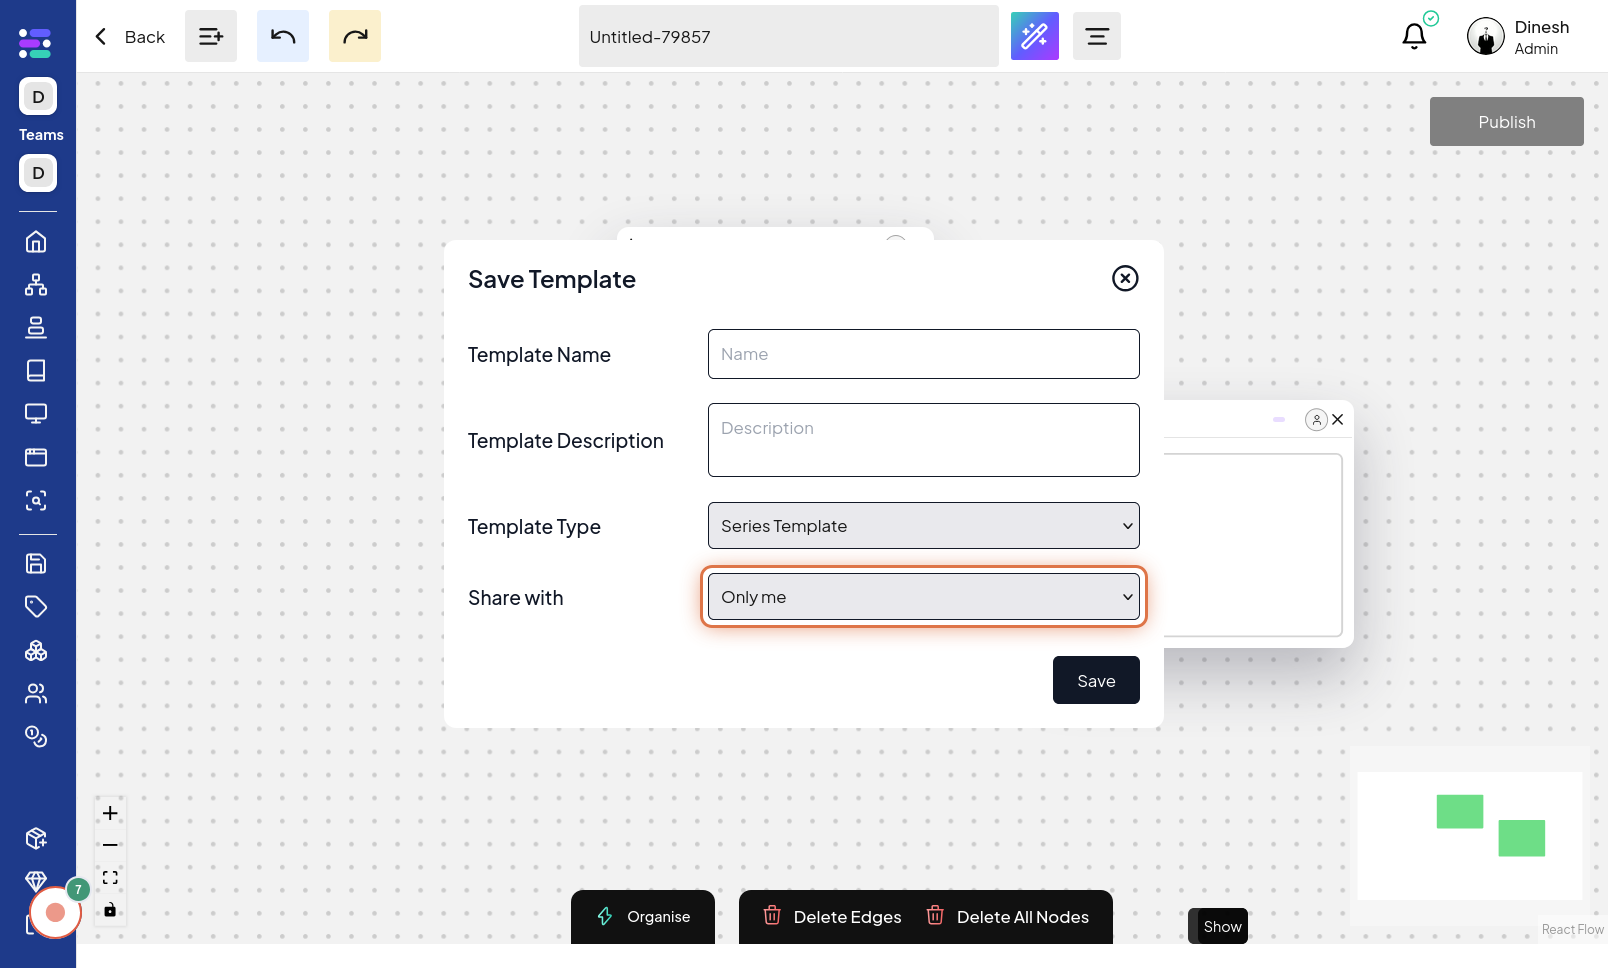
Click on Share with
To control the visibility or sharing settings of your template, click on "Share with". This option will allow you to define who can access or use this template. The image for this step highlights the "Share with" option, indicating where to click to configure sharing settings.

Select Share type
After clicking "Share with", you need to select the desired sharing type. This typically involves choosing from options like 'public', 'private', or 'organization-only' to define the template's accessibility. The image for this step shows the dropdown or selection menu for "Share type", highlighting the process of choosing the sharing level.
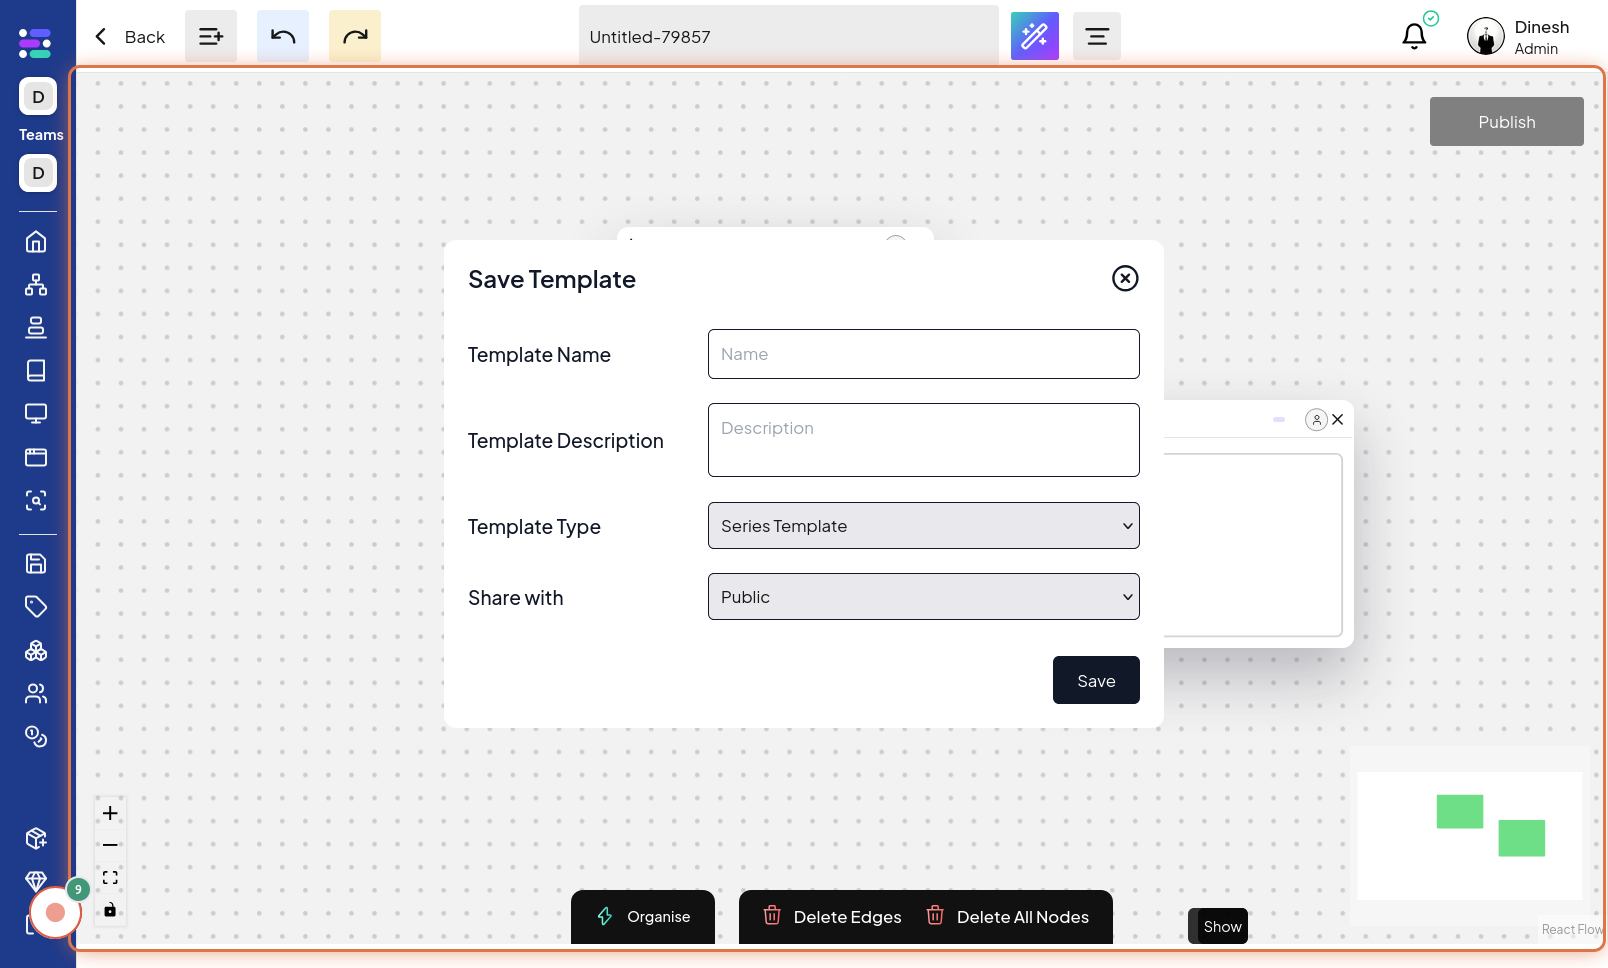
Click on Save
Finally, after configuring all template settings, including name, description, type, and sharing preferences, you must save your template. Click on the "Save" button to finalize the process and store the series as a template. The image for this final step highlights the "Save" button, which you need to click to complete and save your newly created template.