Update Series
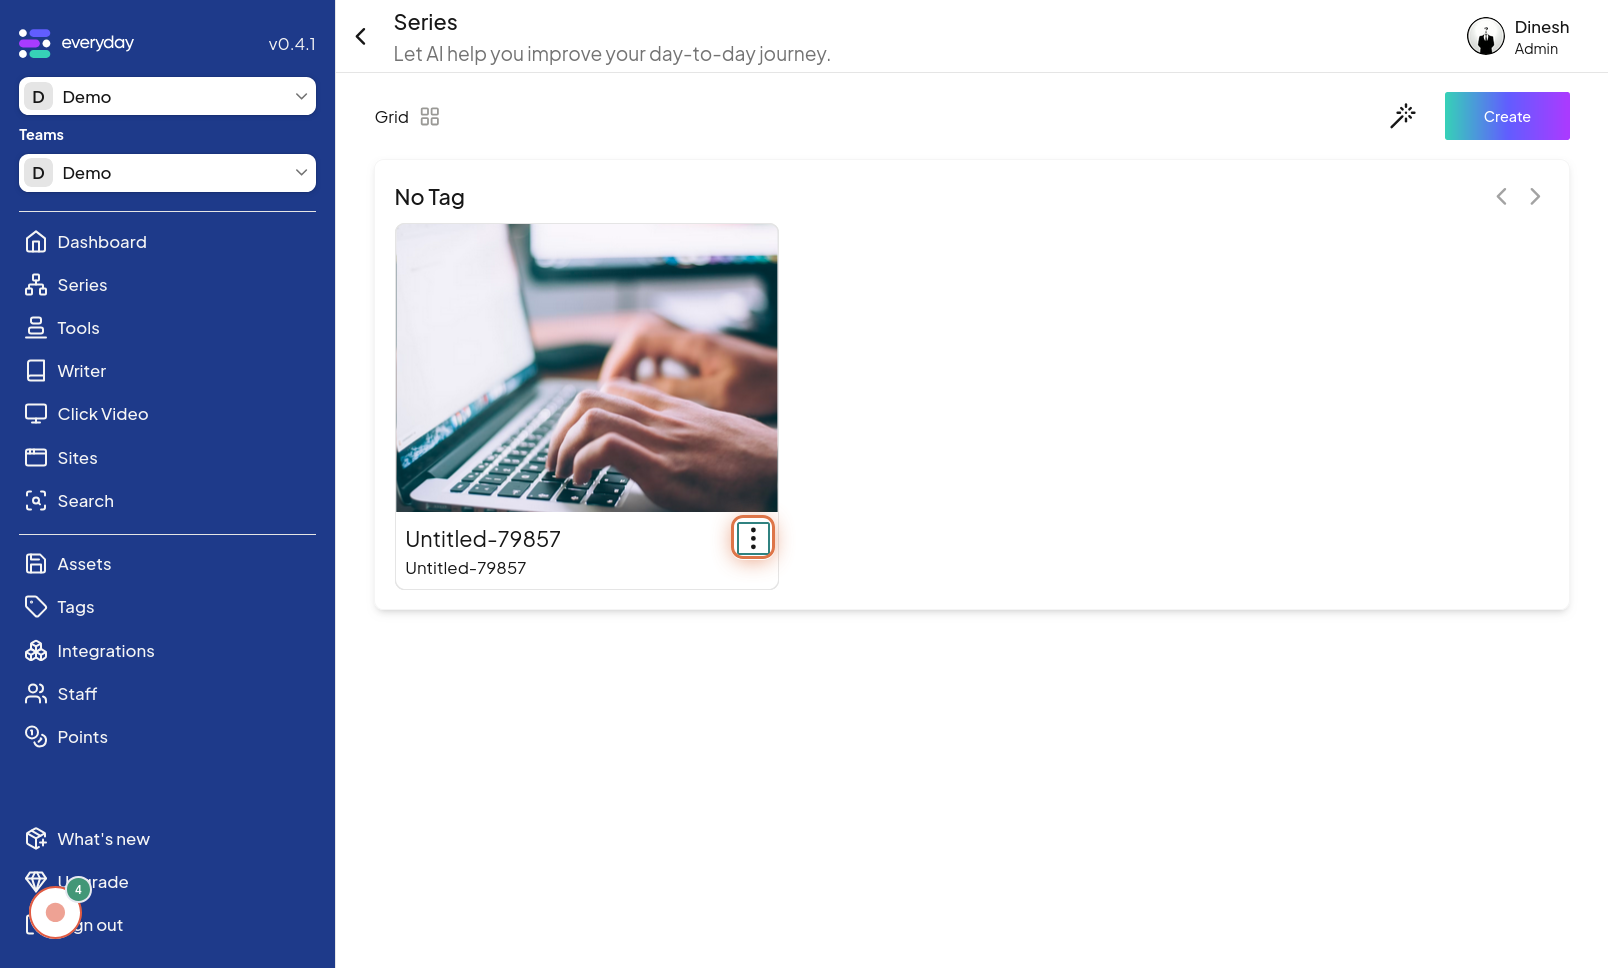
Click on Menu Icon

To begin updating a series, the first step is to click on the "Menu Icon". This icon, typically represented by three horizontal lines or dots, is used to access the menu options for series management. The image for this step will guide you to locate and click on this menu icon.

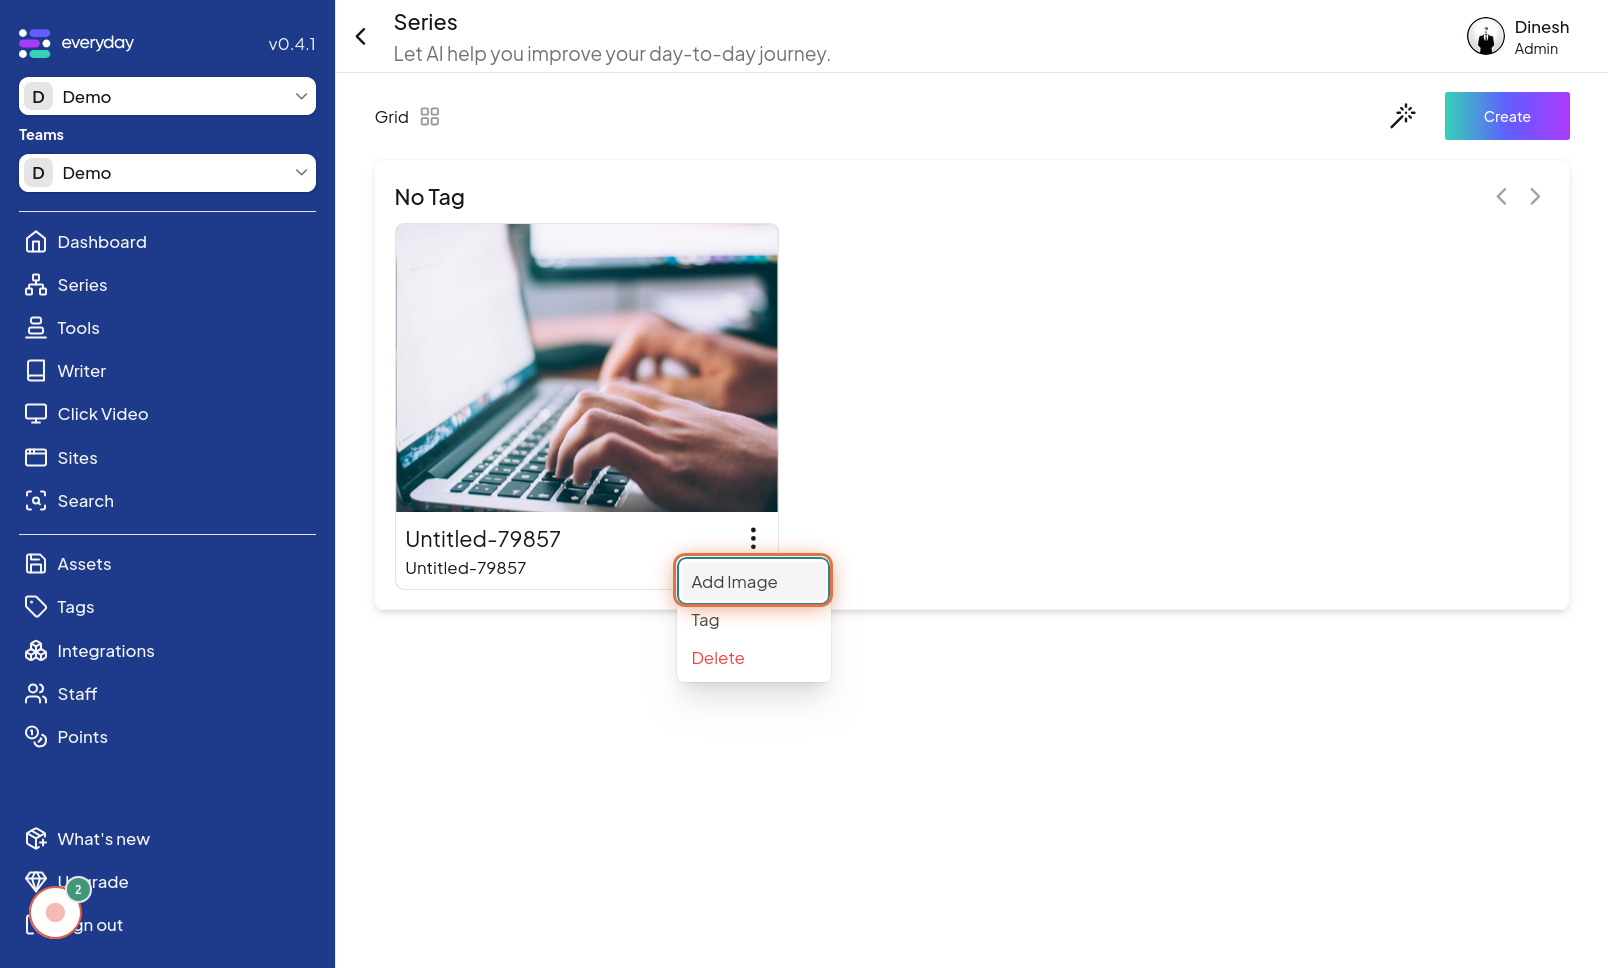
Click on Add Image
Once the menu is open, you need to select the option to update the series' image. Click on "Add Image" to change the current image associated with the series. The image for this step highlights the "Add Image" option within the menu.
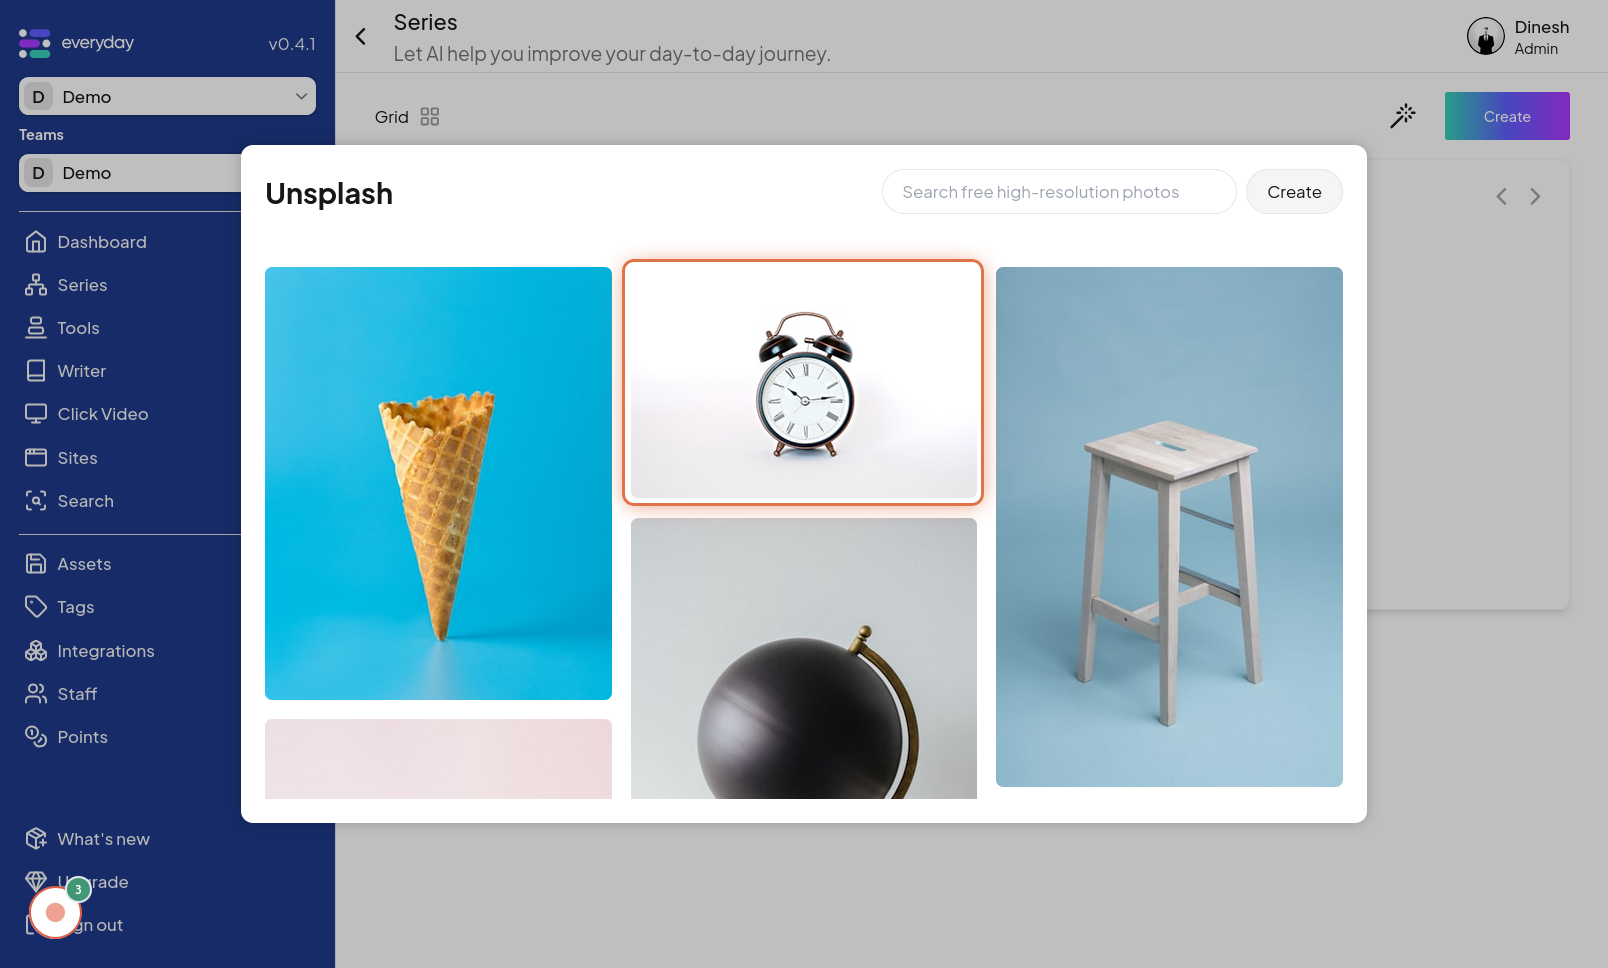
Select Image
After choosing to add or change the image, you will be prompted to select a new image. In this step, you need to choose the desired image file to update the series' visual representation. The image for this step shows the interface where you can select a new image for your series.
Click on Menu Icon
To access further update options, you'll need to click on the "Menu Icon" again. This might be the same menu icon or a different one depending on the interface design, but it's necessary to proceed with other updates. The image for this step points out the "Menu Icon" that needs to be clicked for the second time.
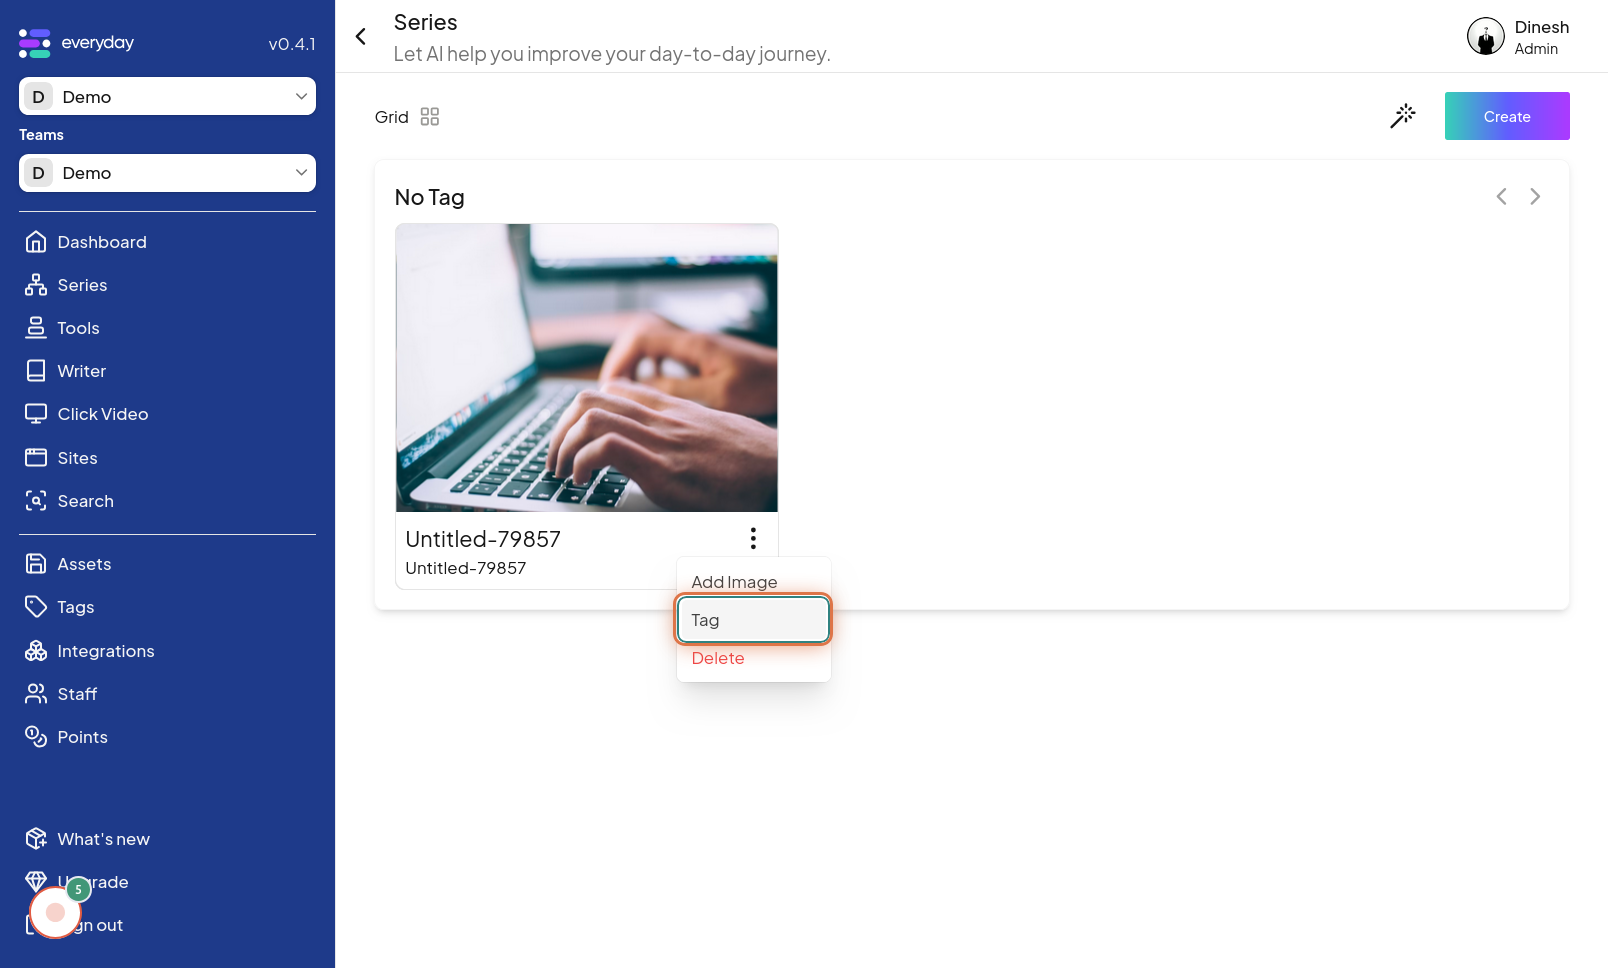
Click on Tag
From the menu options, select "Tag" to manage or update the tags associated with the series. Clicking on "Tag" will take you to the tag management section for the series. The image for this step highlights the "Tag" option within the menu.
Click on Select Tag
To change the tag associated with the series, click on "Select Tag". This action will likely open a dropdown or interface where you can choose a new tag from the available options. The image for this step shows the "Select Tag" option, indicating where to click to change the series tag.

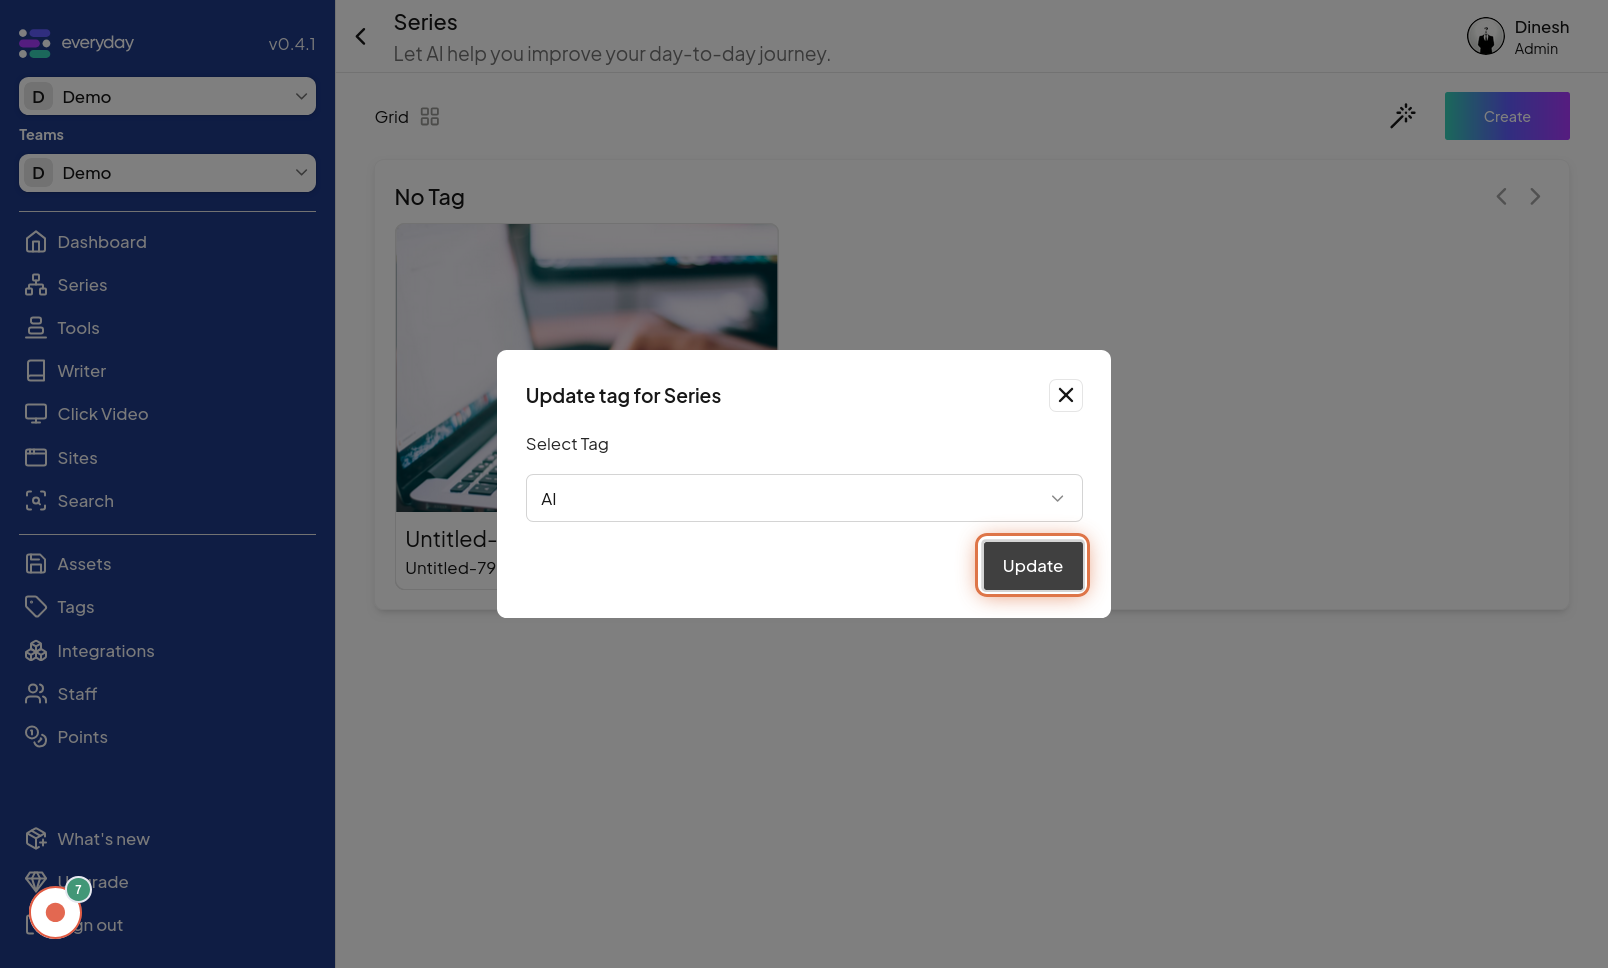
Click on Update
After making changes to the tag or other settings, you need to apply these changes. Click on the "Update" button to save the modifications you've made. The image for this step highlights the "Update" button that you need to click to finalize and save your changes.
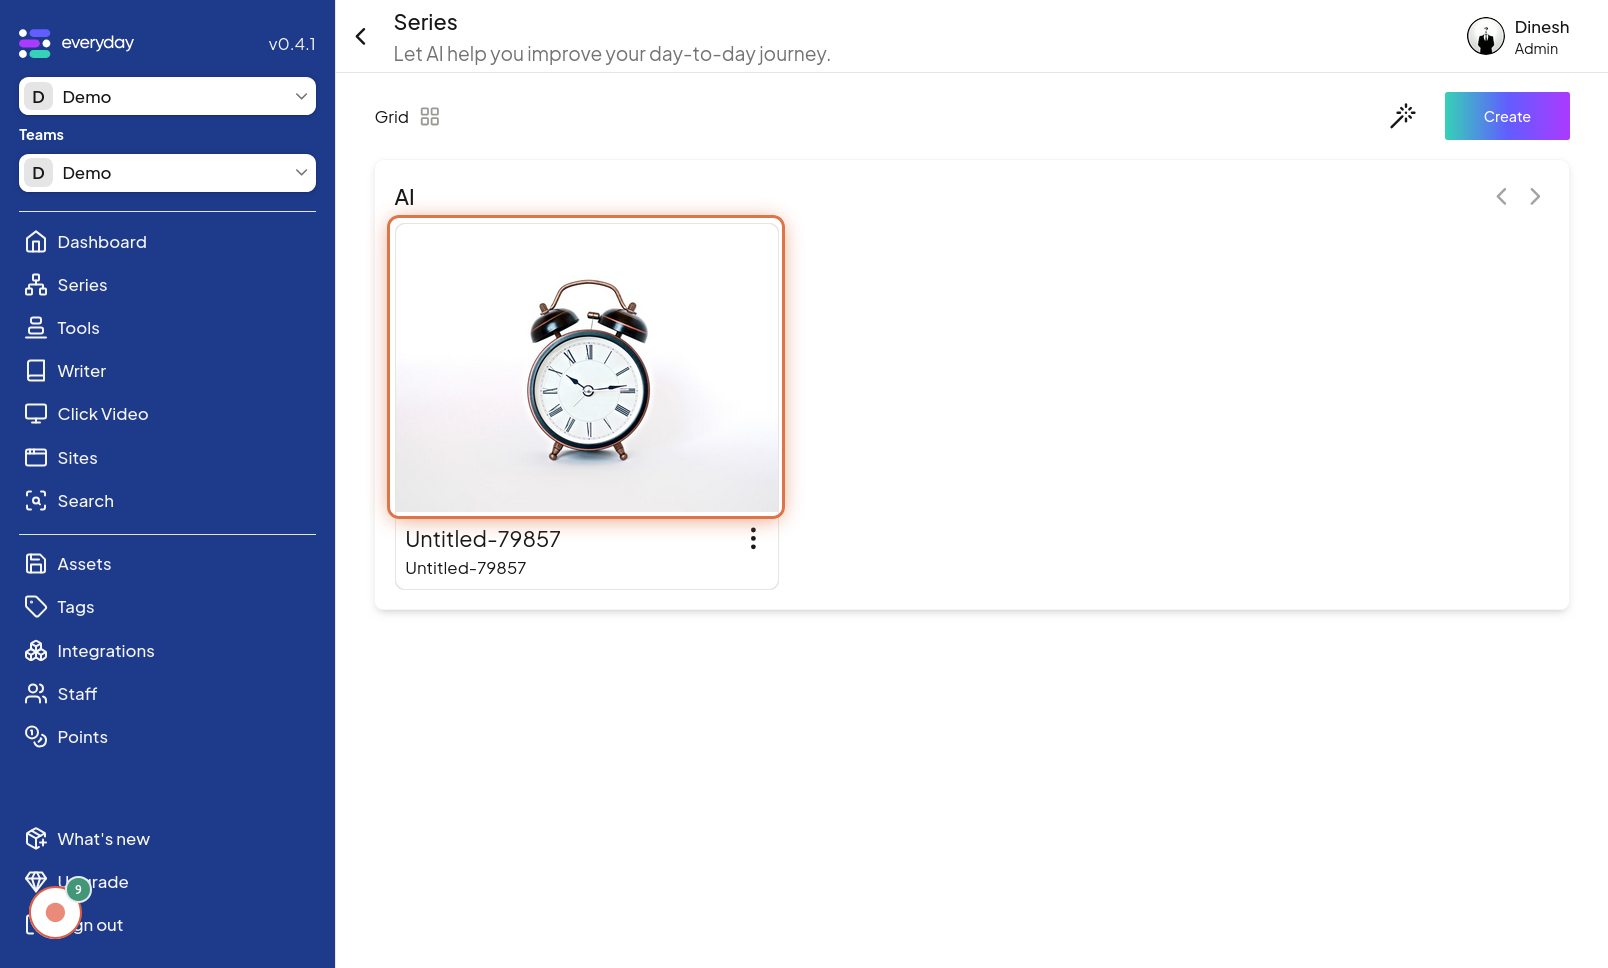
Click on Series
To navigate back to the overview of all series or to the series list, click on "Series". This action will typically close the current editing view and return you to the series listing. The image for this step points out the "Series" option, which you click to go back to the main series view. The description "Other way to update" suggests this might be an alternative navigation path.
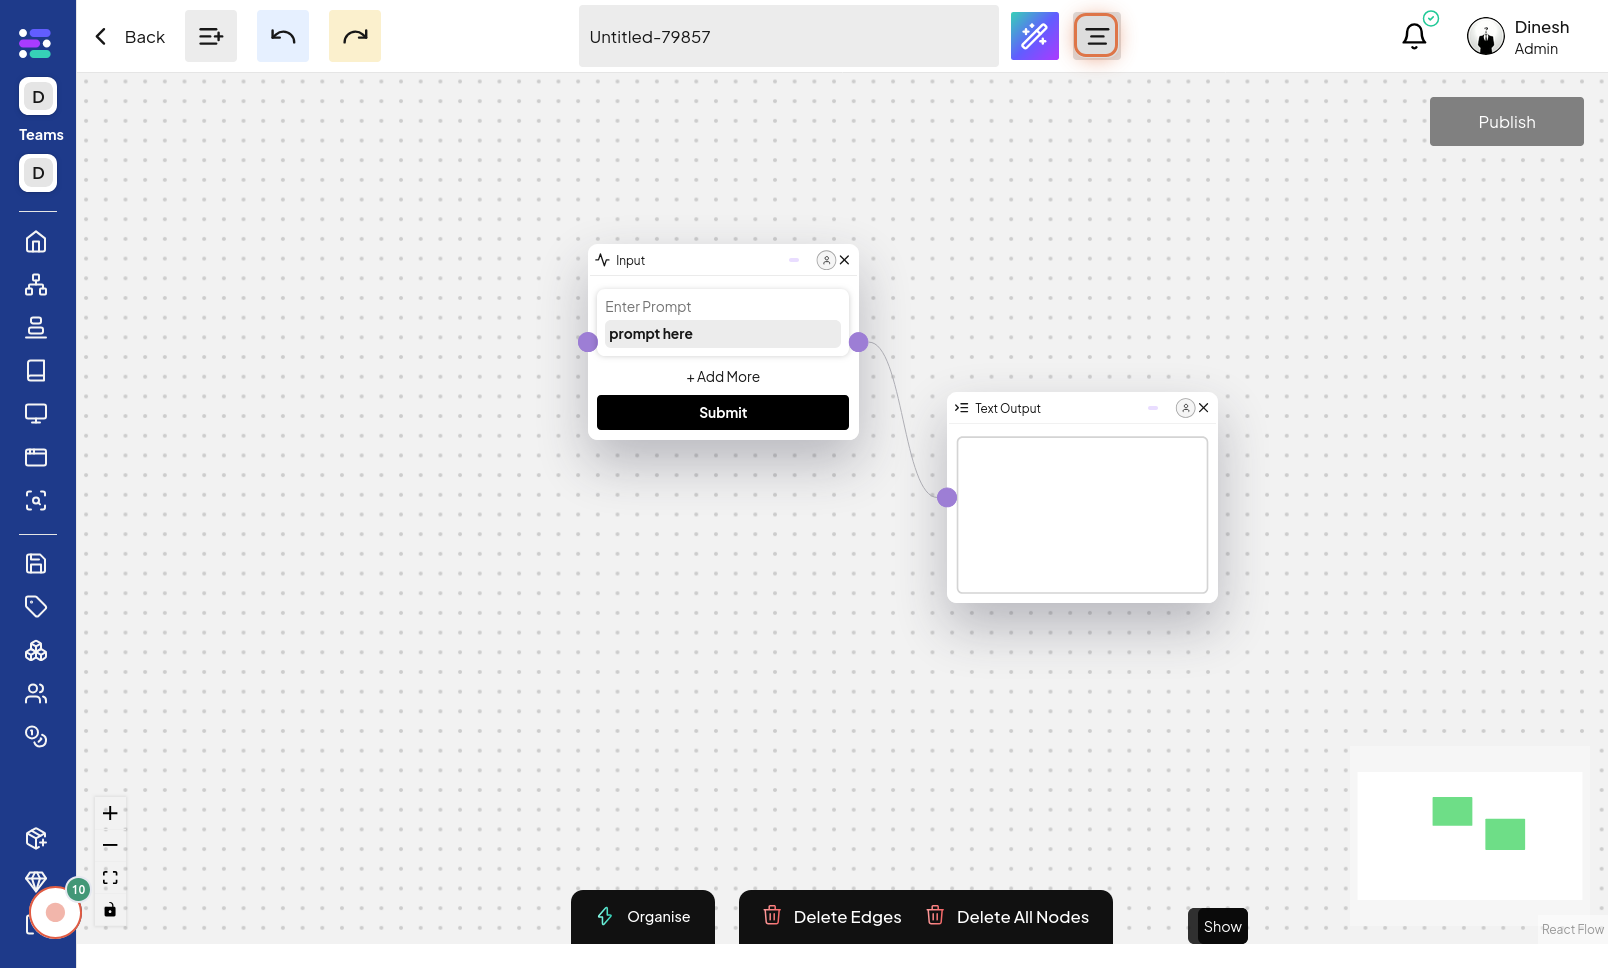
Click on Menu
To manage settings for a particular series, you'll need to access its individual menu. Click on the "Menu" icon associated with the specific series you wish to update. This action opens the menu for that series alone. The image for this step highlights the "Menu" icon next to a specific series in a list.
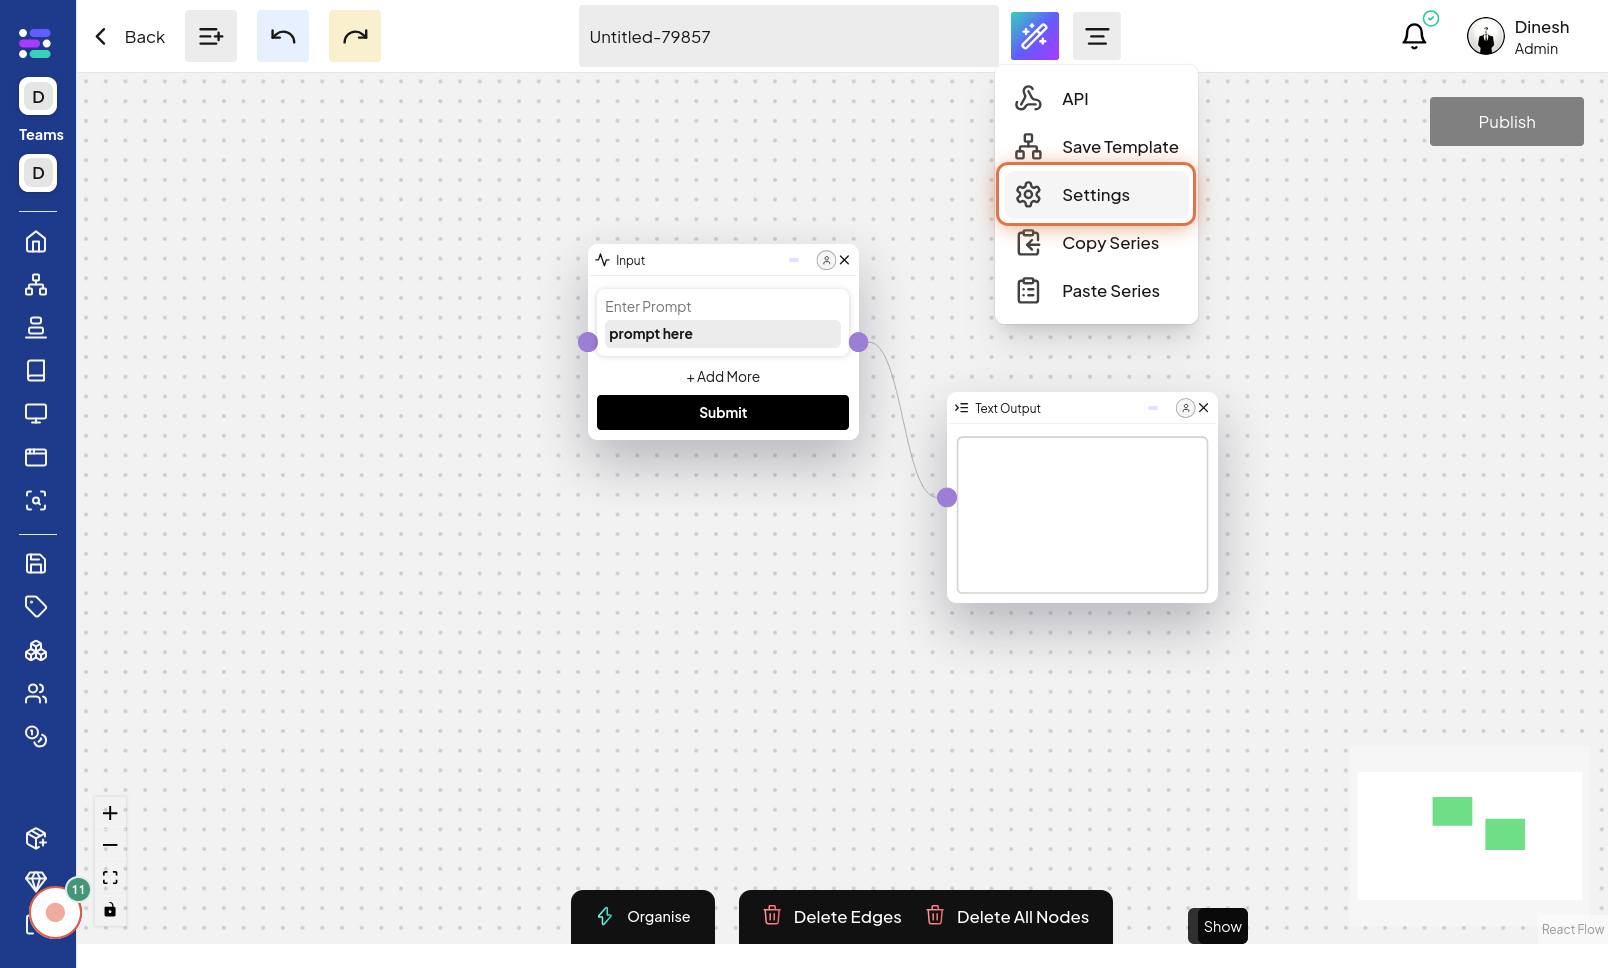
Click on Settings
Within the series-specific menu, select "Settings". This option will take you to the settings panel for the chosen series, where you can make detailed updates. The image for this step points out the "Settings" option within the series menu.
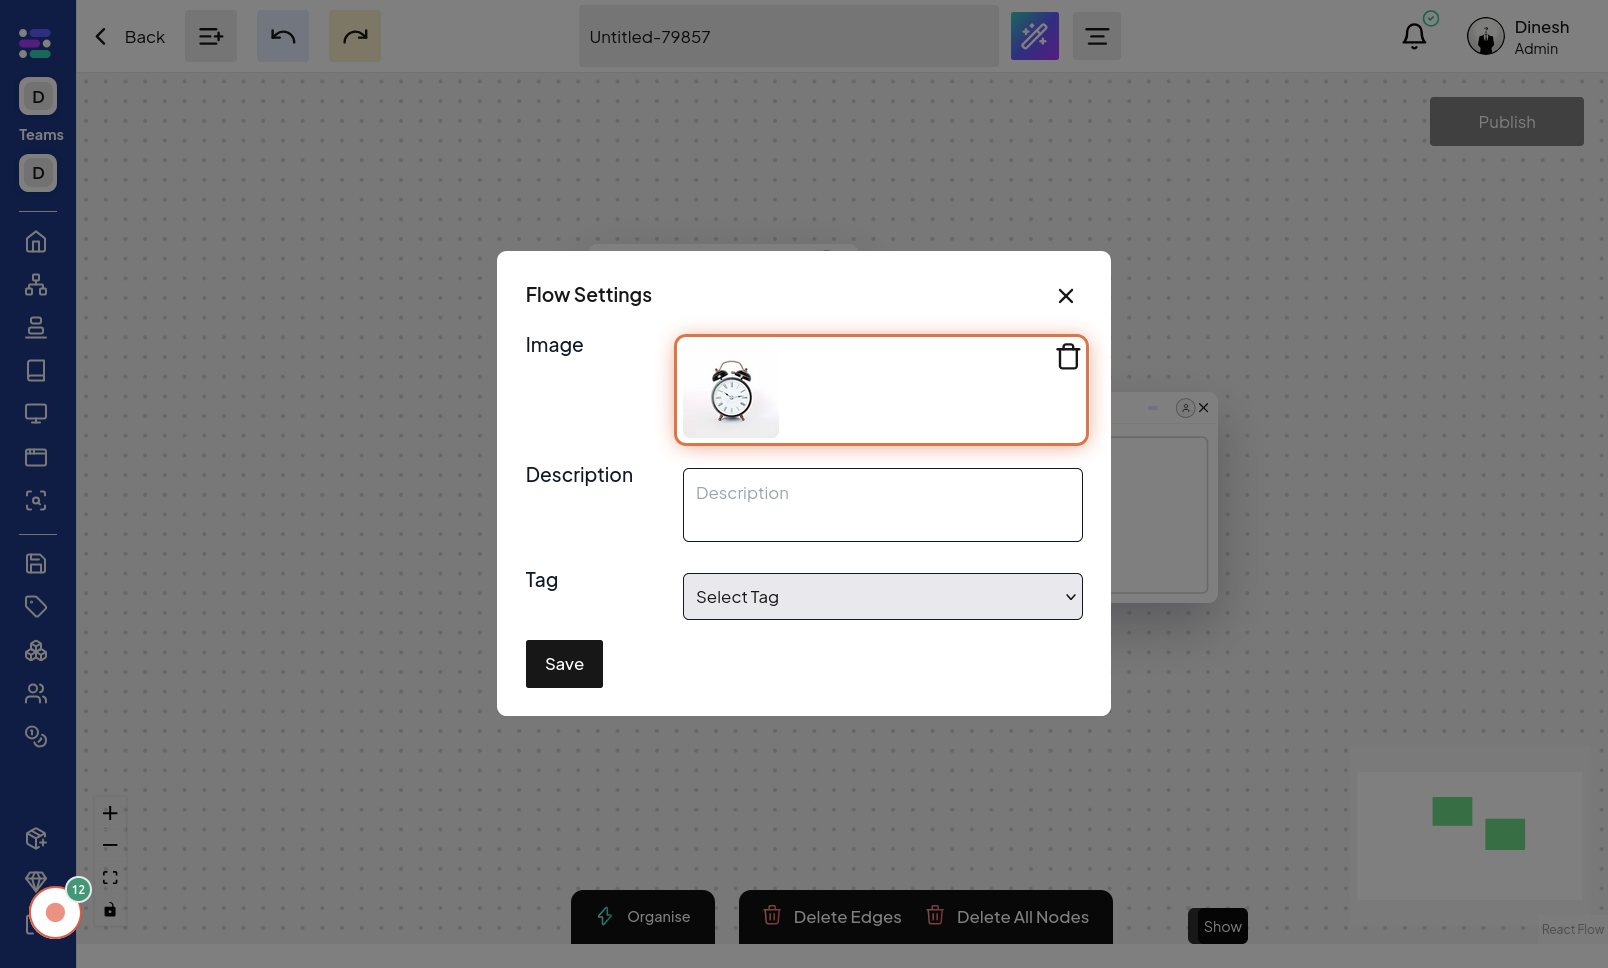
Click on Image
To update the series image from within the settings panel, click on the "Image" option. This action will allow you to change the series image via the settings interface. The image for this step highlights the "Image" option within the series settings. The description "Update Image" reinforces the action.
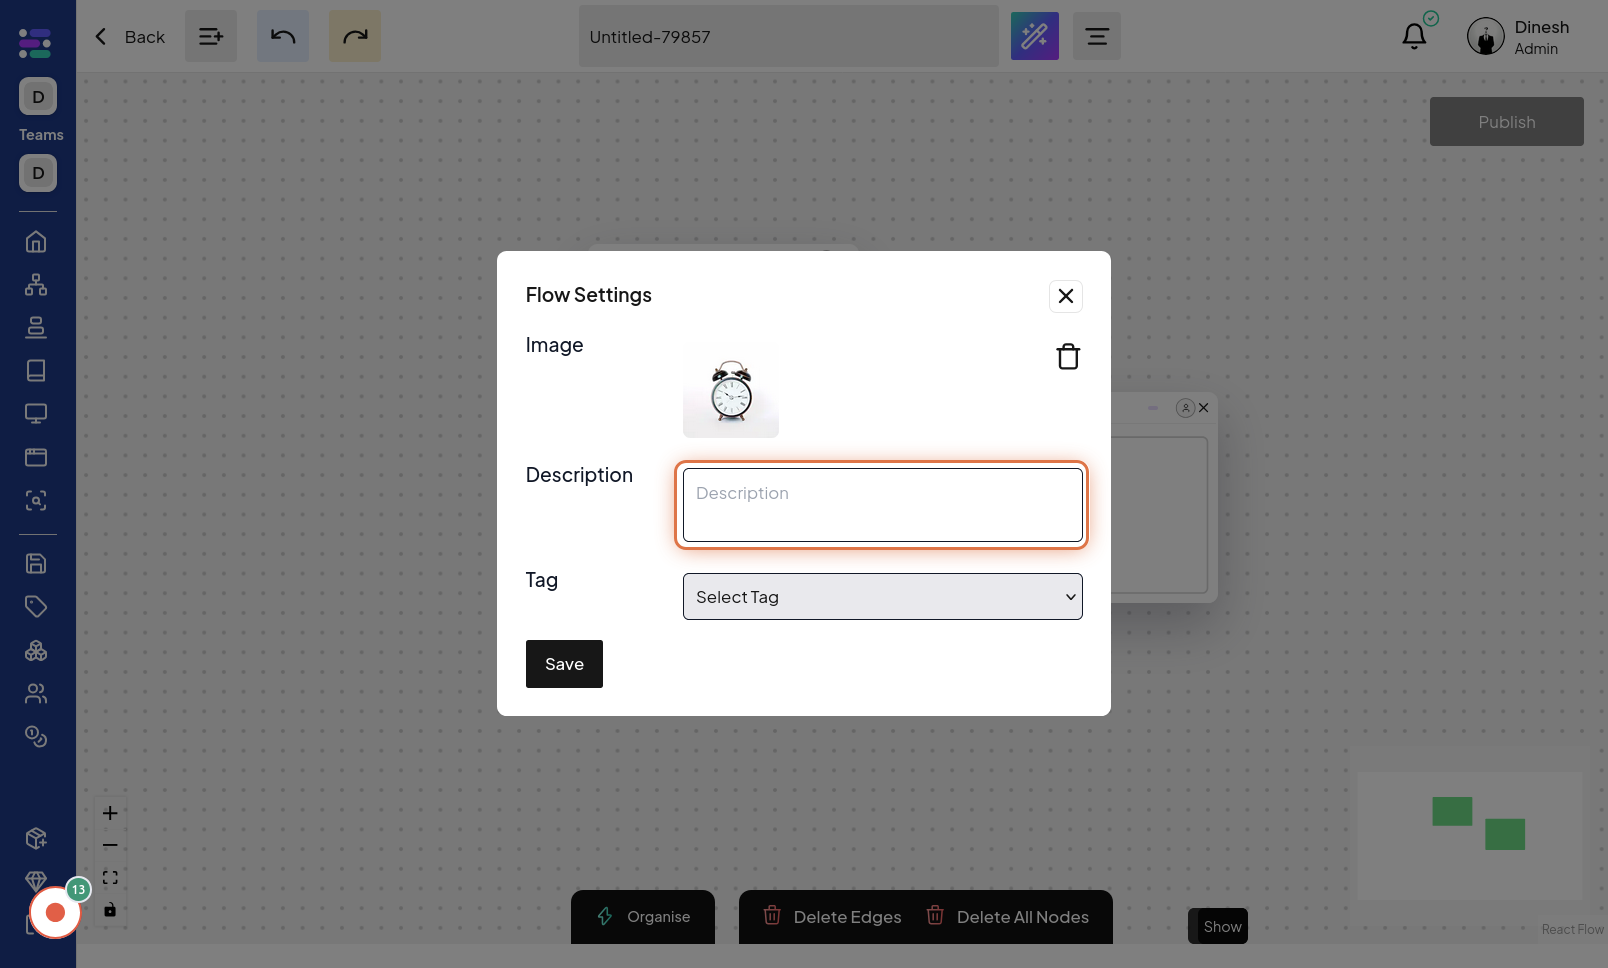
Click on Description
To update the series description from within the settings panel, click on the "Description" option. This will activate the field where you can edit the descriptive text for the series. The image for this step highlights the "Description" option within the series settings. The description "Update description" reinforces the action.
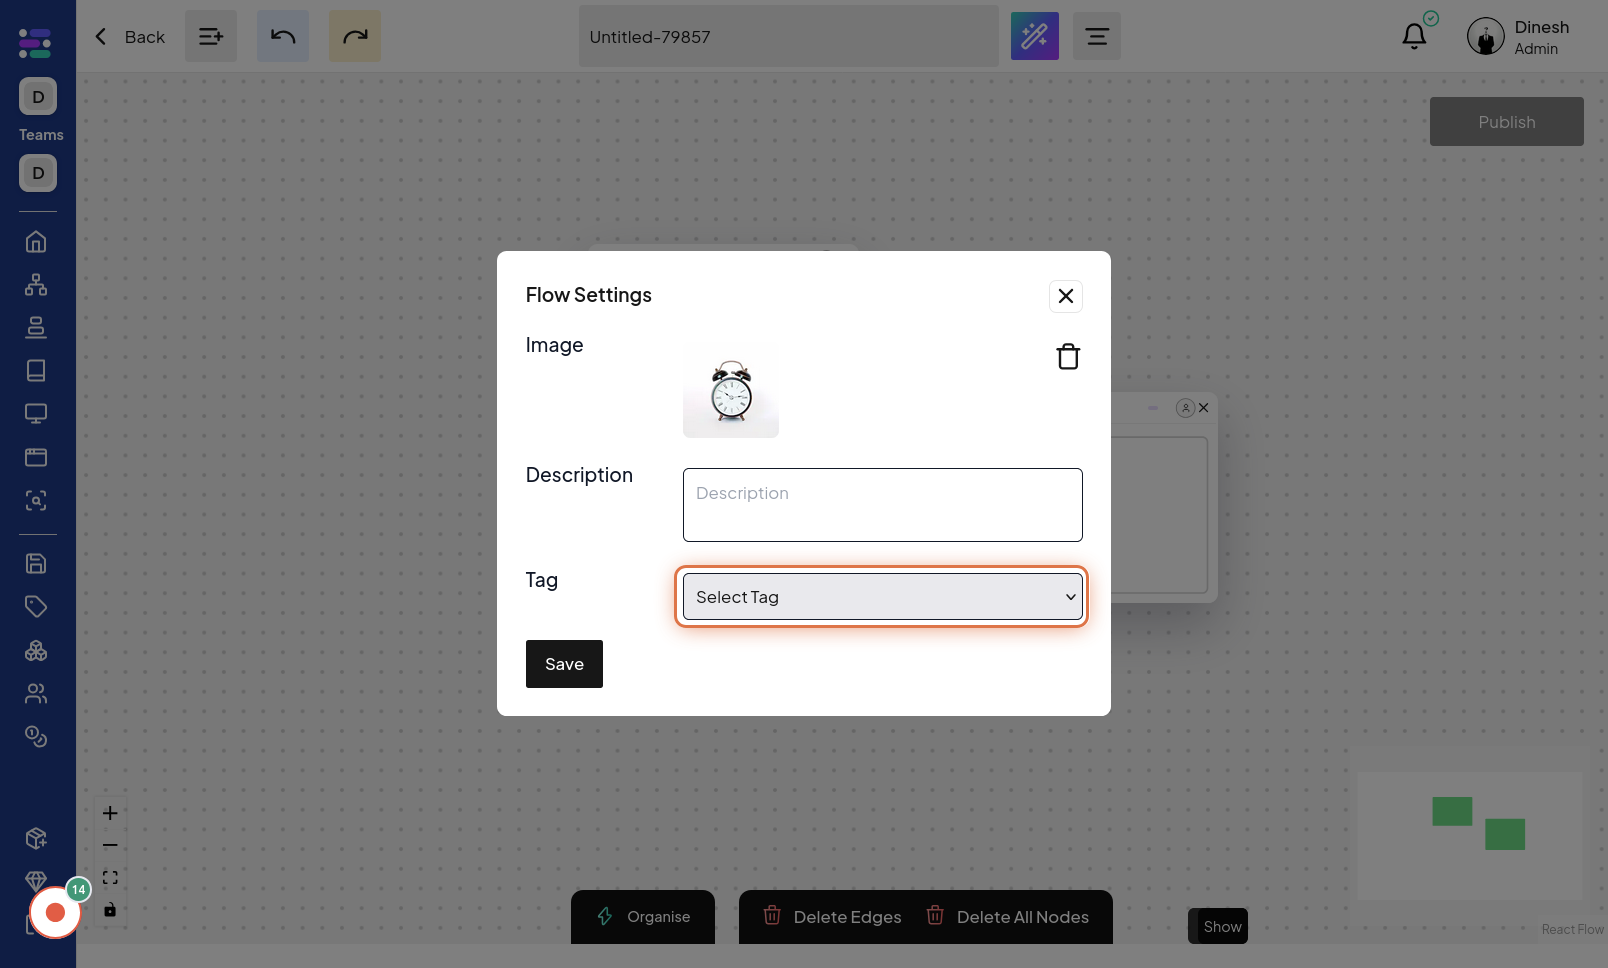
Click on Select Tag
To update the tags associated with the series from within the settings panel, click on "Select Tag". This option allows you to change or add tags to the series via the settings interface. The image for this step highlights the "Select Tag" option within the series settings. The description "Update Tag" reinforces the action.
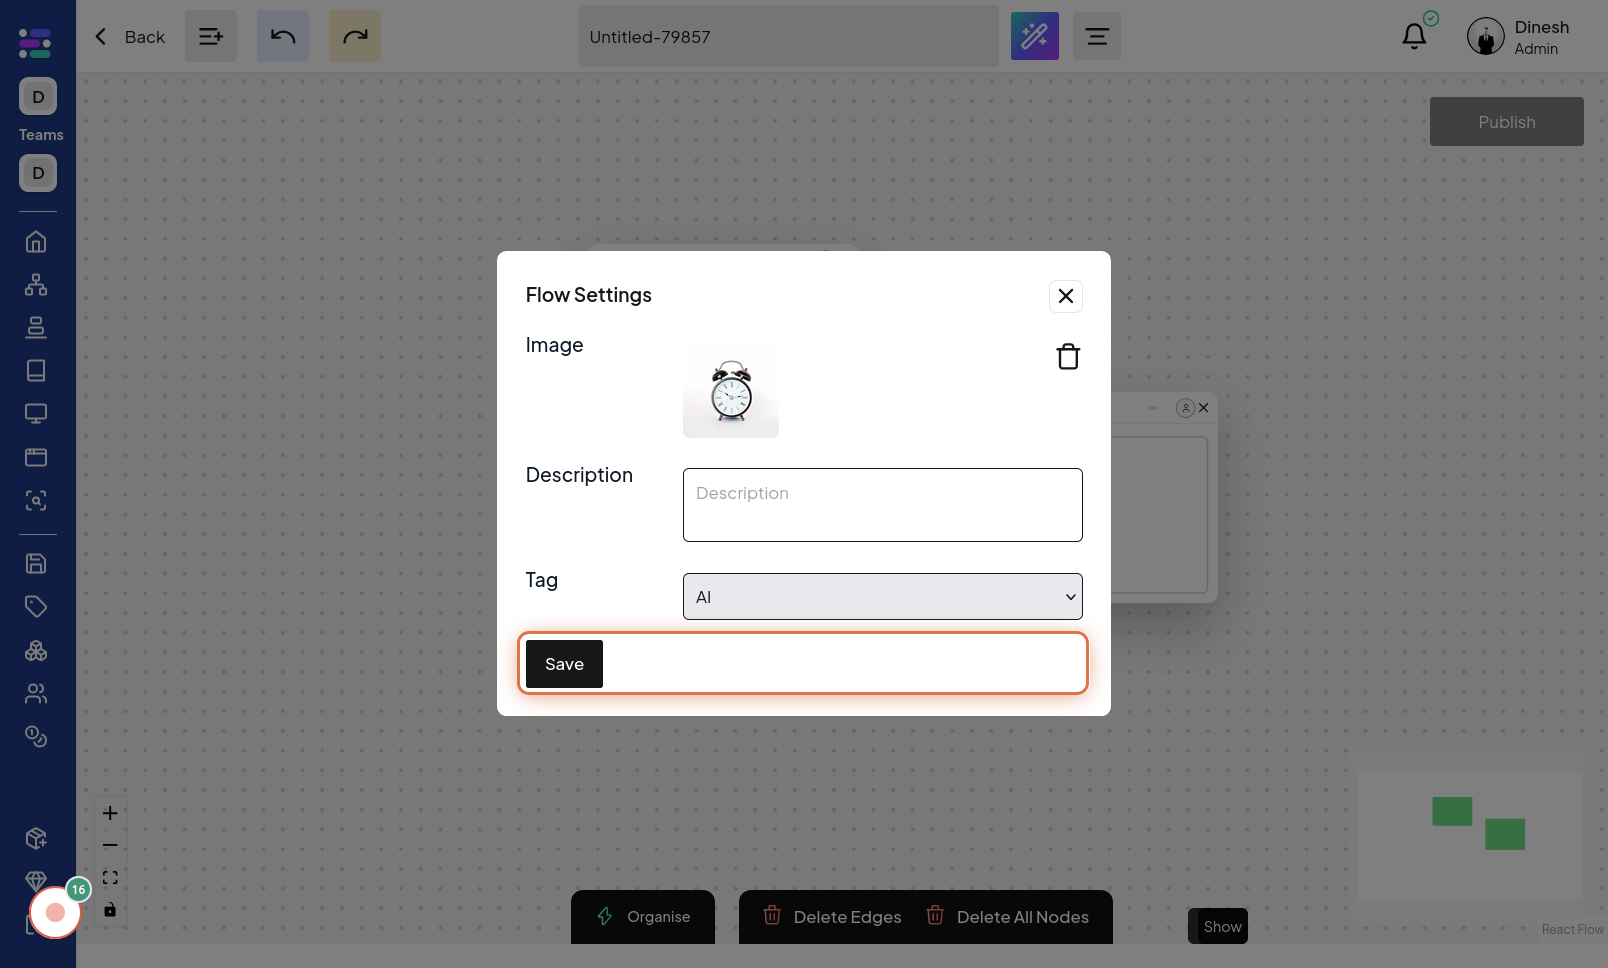
Click on Save
After making all desired updates within the series settings, it's crucial to save your changes. Click on the "Save" button to apply all modifications you've made in the settings panel. The image for this final step highlights the "Save" button, which you need to click to ensure all your series updates are saved.